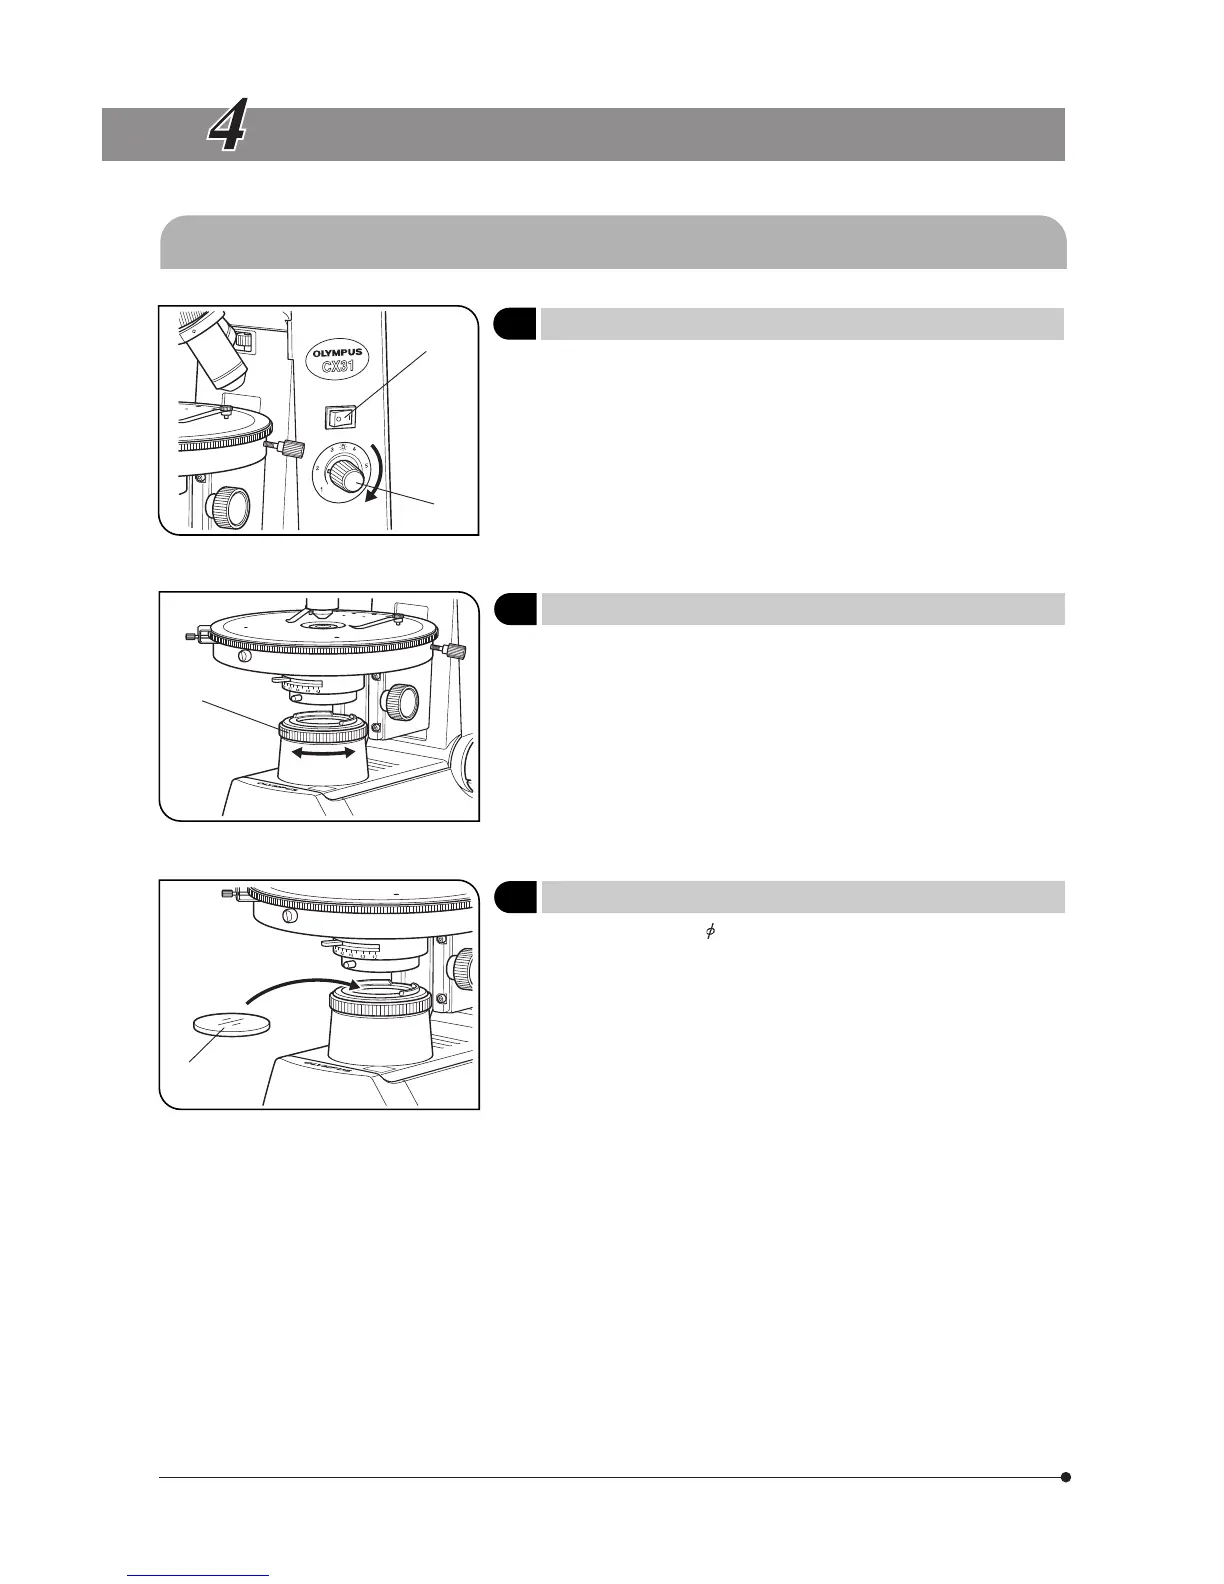
8
1
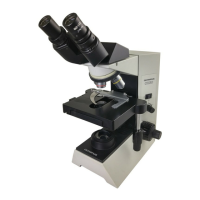
Fig. 3
2
OPERATION
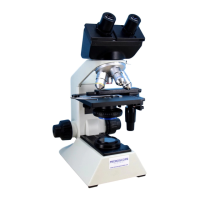
4-1 Microscope Frame
1
Turning the Lamp ON
(Fig. 3)
1. Set the main switch 1 to “ I ” (ON).
2. Rotating the light intensity adjustment knob 2 in the direction of the
arrow increases brightness and rotating it in the opposite direction
decreases brightness. The figures around the knob indicate the refer-
ence voltage values.
2
Field Iris Diaphragm
(Fig. 4)
Rotate the field iris diaphragm ring 1 according to the objective power
so that the image of the diaphragm circumscribes the field of view. This
restricts the diameter of the beam of light entering the objective and thus
excludes extraneous light, improving image contrast.
#When the 100X objective is used, the iris diaphragm is not visible in
the field. In this case, minimize the diaphragm diameter.
1
Fig. 4
3
Using the Filters
(Fig. 5)
· Drop one or stacked 45 mm filter(s) 1 into the window lens on the frame.
}For the filter models, consult the latest catalogues or Olympus.
Fig. 5
1