Preparation
1
19
EN
Setting the date/time
Date and time information is recorded on the card together with the images. The fi le
name is also included with the date and time information. Be sure to set the correct
date and time before using the camera. Some functions cannot be used if the date and
time have not been set.
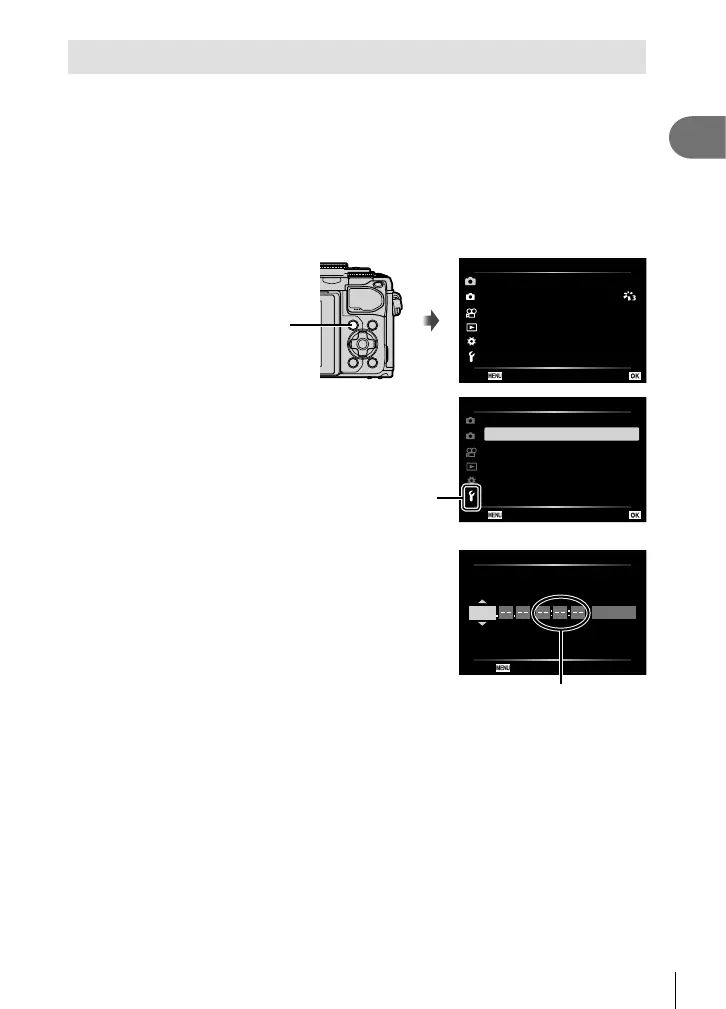
1
Display the menus.
• Press the MENU button to display the menus.
• A guide is displayed in 2 seconds after you select an option.
• Press the INFO button to view or hide guides.
MENU button
2
1
1
Shooting Menu 1
Picture Mode
Digital Tele-converter
Metering
Off
p
Reset
Back Set
2
Select
[X]
in the
[d] (setup) tab.
• Use FG on the arrow pad to select [d]
and press I.
• Select [X] and press I.
2
1
Setup Menu
X
English
s
Firmware
Wi-Fi Settings
Rec View
j±0 k±0
’--.--.-- --:--:--
Card Setup
Back Set
W
0.5 sec
[d] tab
3
Set the date, time, and date format.
• Use HI to select items.
• Use FG to change the selected item.
• Press the Q button to set the camera
clock.
4
Select [W] (changing the display
language) in the [d] (setup) tab.
• You can change the language used for
the on-screen display and error messages
from English to another language.
X
YMD Time
2017
Y/M/D
Cancel
The time is displayed using
a 24-hour clock.
• Use FGHI to highlight a language and press the Q button to select the
highlighted language.
5
Press the MENU button to exit the menus.
• If the battery is removed from the camera and the camera is left for a while, the date and
time may be reset to the factory default setting.

 Loading...