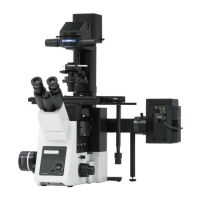
Fig. 14
Fig. 15
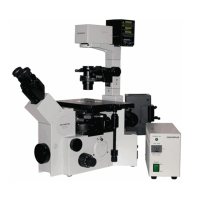
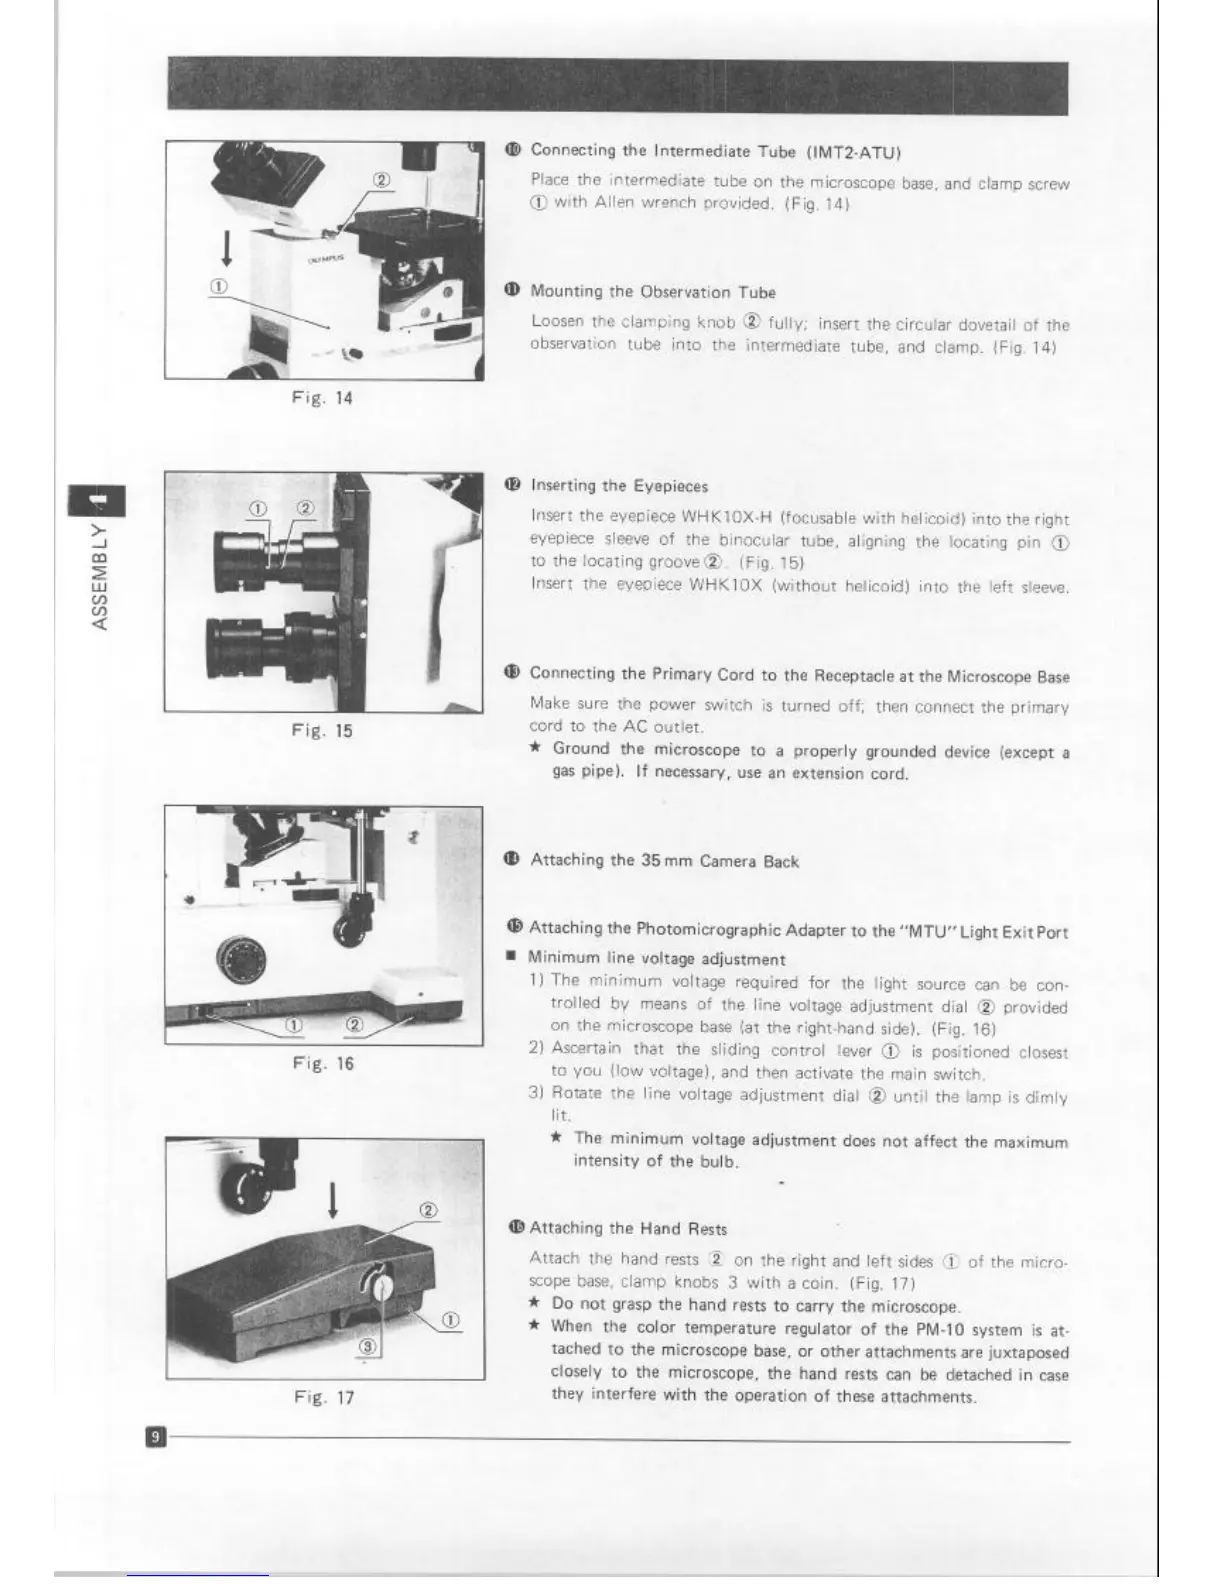
Fig. 16
I
I
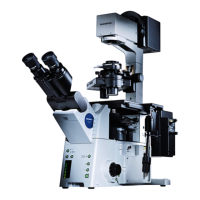
Fig. 17
Connecting the Intermediate Tube (lMT2-ATU)
Place
the intermediate tube on the microscope base, and clamp screw
@ with Allen wrench provided. (Fig. 14)
Mounting the Observation Tube
Loosen the clamping knob @ fully, insert the circular dovetail of the
observation tube into the intermediate tube, and clamp. (Fig. 14)
@ Inserting the Eyepieces
Insert the eyepiece WHKlOX-H (focusable with helicoid) into the right
eyepiece sleeve of the binocular tube, aligning the locating pin @
to the locating groove@. (Fig. 15)
Insert the eyepiece WHKlOX (without helicoid) into the left sleeve.
@ Connecting the Primary Cord to the Receptacle at the Microscope Base
Make sure the power switch is turned off; then connect the primary
cord to the AC outlet.
* Ground the microscope to a properly grounded device (except a
gas pipe). If necessary, use an extension cord.
Attaching the 35mm Camera Back
Attaching the Photomicrographic Adapter to the “MTU” Light Exit Port
Minimum line voltage adjustment
1) The minimum voltage required for the light source can be con-
trolled by means of the line voltage adjustment dial @ provided
on the microscope base (at the right-hand side). (Fig. 16)
2) Ascertain that the sliding control lever @ is positioned closest
to you (low voltage), and then activate the main switch.
3) Rotate the line voltage adjustment dial @ until the lamp is dimly
lit.
* The minimum voltage adjustment does not affect the maximum
intensity of the bulb.
a!) Attaching the Hand Rests
Attach the hand rests ,z on the right and left sides 0 of the micro-
scope base, clamp knobs 3 with a coin. (Fig. 17)
* Do not grasp the hand rests to carry the microscope.
* When the color temperature regulator of the PM-10 system is at-
tached to the microscope base, or other attachments are juxtaposed
closely to the microscope, the hand rests can be detached in case
they interfere with the operation of these attachments.
Artisan Technology Group - Quality Instrumentation ... Guaranteed | (888) 88-SOURCE | www.artisantg.com
 Loading...