44
6-1 Photomicrography
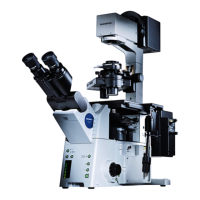
PHOTOMICROGRAPHY AND TV OBSERVATION
}Use the U-TR30H-2 trinocular observation tube or the side port for photomicrography.
Photomicrography can be performed using the PM-10, PM-20 or PM-30 photomicrographic system.
For how to use the photomicrographic system, refer to the instruction manual of the photomicrographic system in use.
The following descriptions are the procedures related to this microscope.
1
(Figs. 68 & 69)
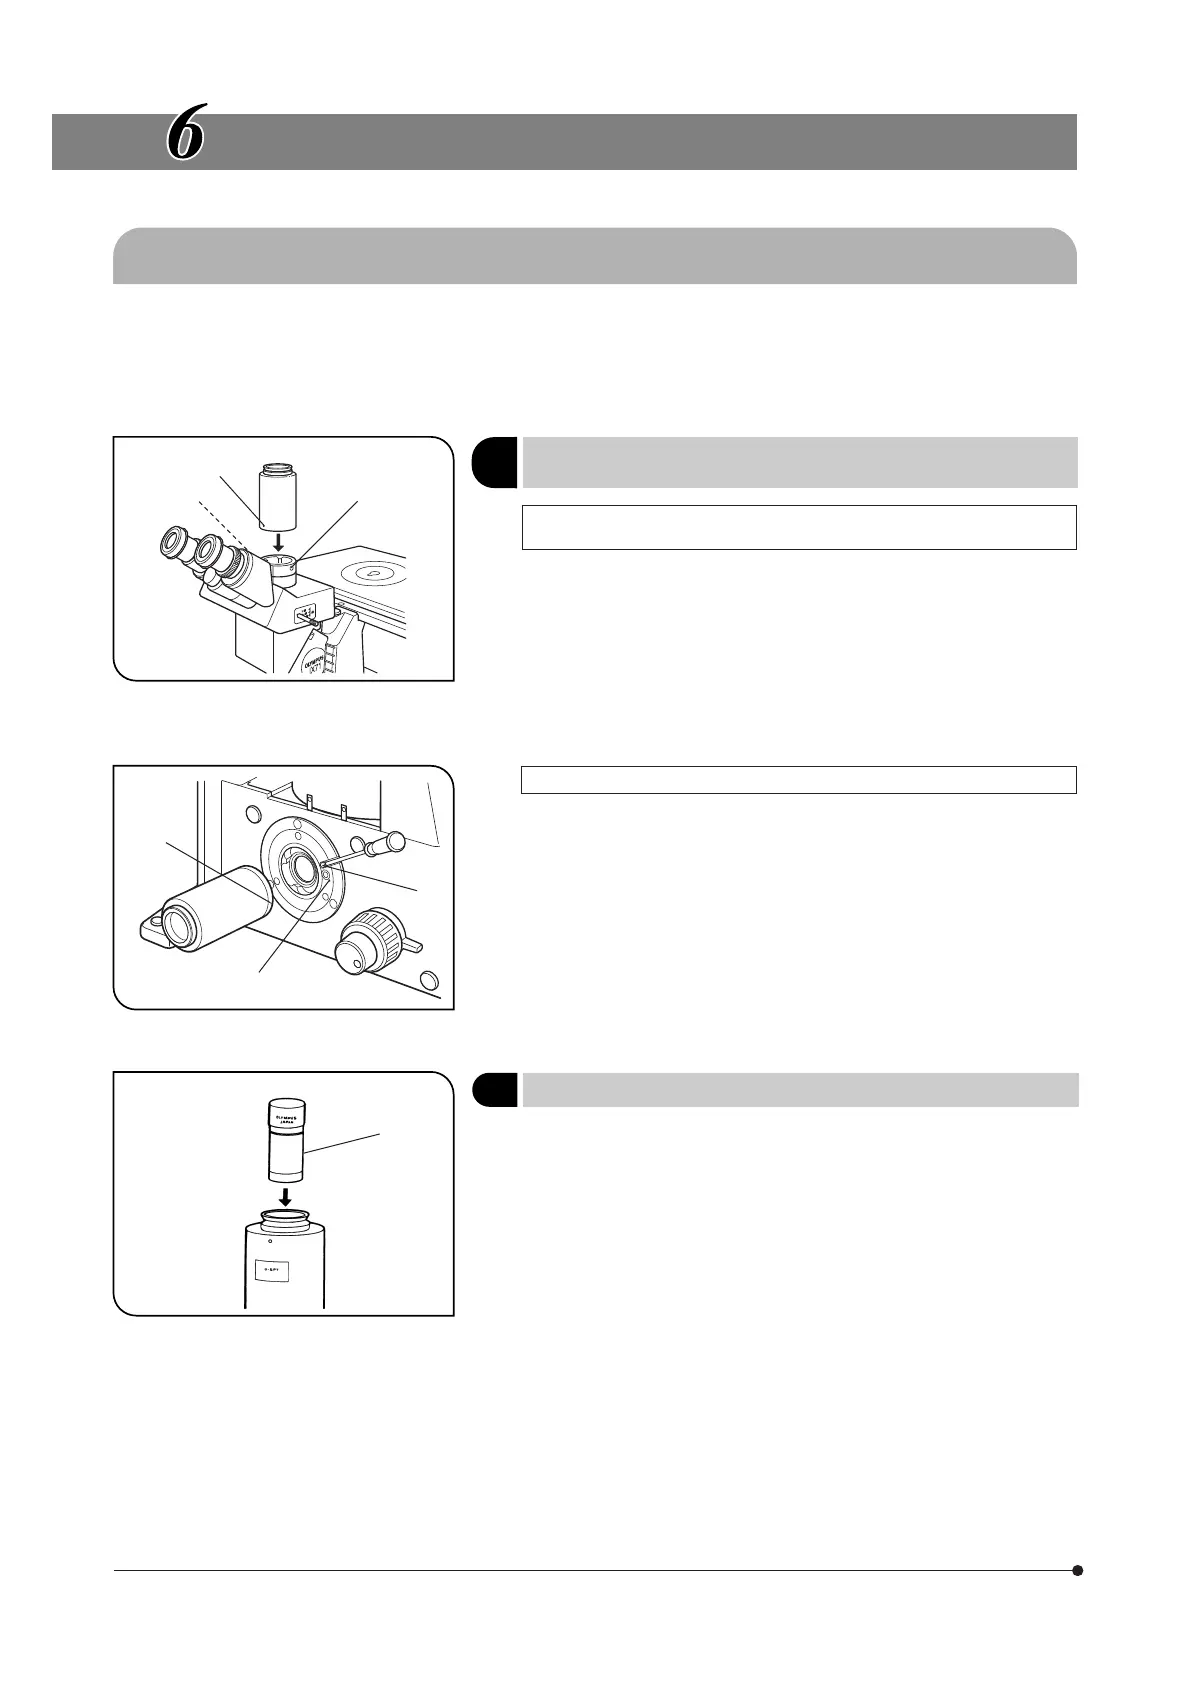
When the U-TR30H-2 Trinocular Observation Tube is Used
(In Combination with the IX-SPT)
(Fig. 68)
#The U-SPT straight photo tube cannot be mounted.
1. Using the Allen screwdriver, loosen the clamping screw @ on the photo
port of the trinocular observation tube and remove the cap.
2. Align red index ² on the front of the photo port of the trinocular observation
tube with red index ³ on the IX-SPT straight photo tube, then fit the
circular dovetail of the straight photo tube into the photo port of the
trinocular observation tube.
3. Tighten the clamping screw @ firmly.
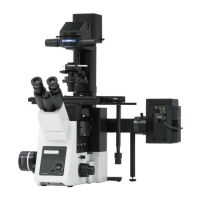
When the Side Port is Used (In Combination with the IX2-SPT)(Fig. 69)
1. Loosen the side port clamping screw @ of the microscope frame using
the Allen screwdriver, and remove the cap.
2. Align index ² on the IX2-SPT straight photo tube with the positioning
index ³ on the side port and fit the straight photo tube.
3. Tighten the clamping screw @ firmly.
#When the side port is not used, attach the cap for protecting it from
dust.
Use only a PE photo eyepiece for photomicrography.
Insert the PE photo eyepiece @ into the photomicrographic system mount
on the straight photo tube.
}The IX2-SPT or IX-SPT is equipped with a plunger for use in preventing
movement of the PE photo eyepiece. Be sure to push in the plunger.
Attaching the Straight Photo Tube
(IX2-SPT/IX-SPT)
Fig. 68
@
²
³
Fig. 69
@
²
³
Fig. 70
@
2
Attaching the Photo Eyepiece
(Fig. 70)