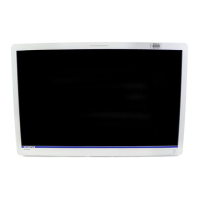
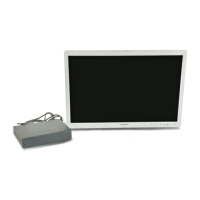
OEV262H
3. Installation and Connection
3.1 Installing the monitor / 3.2 Connecting the AC Power Cord
19
3.1 Installing the
monitor
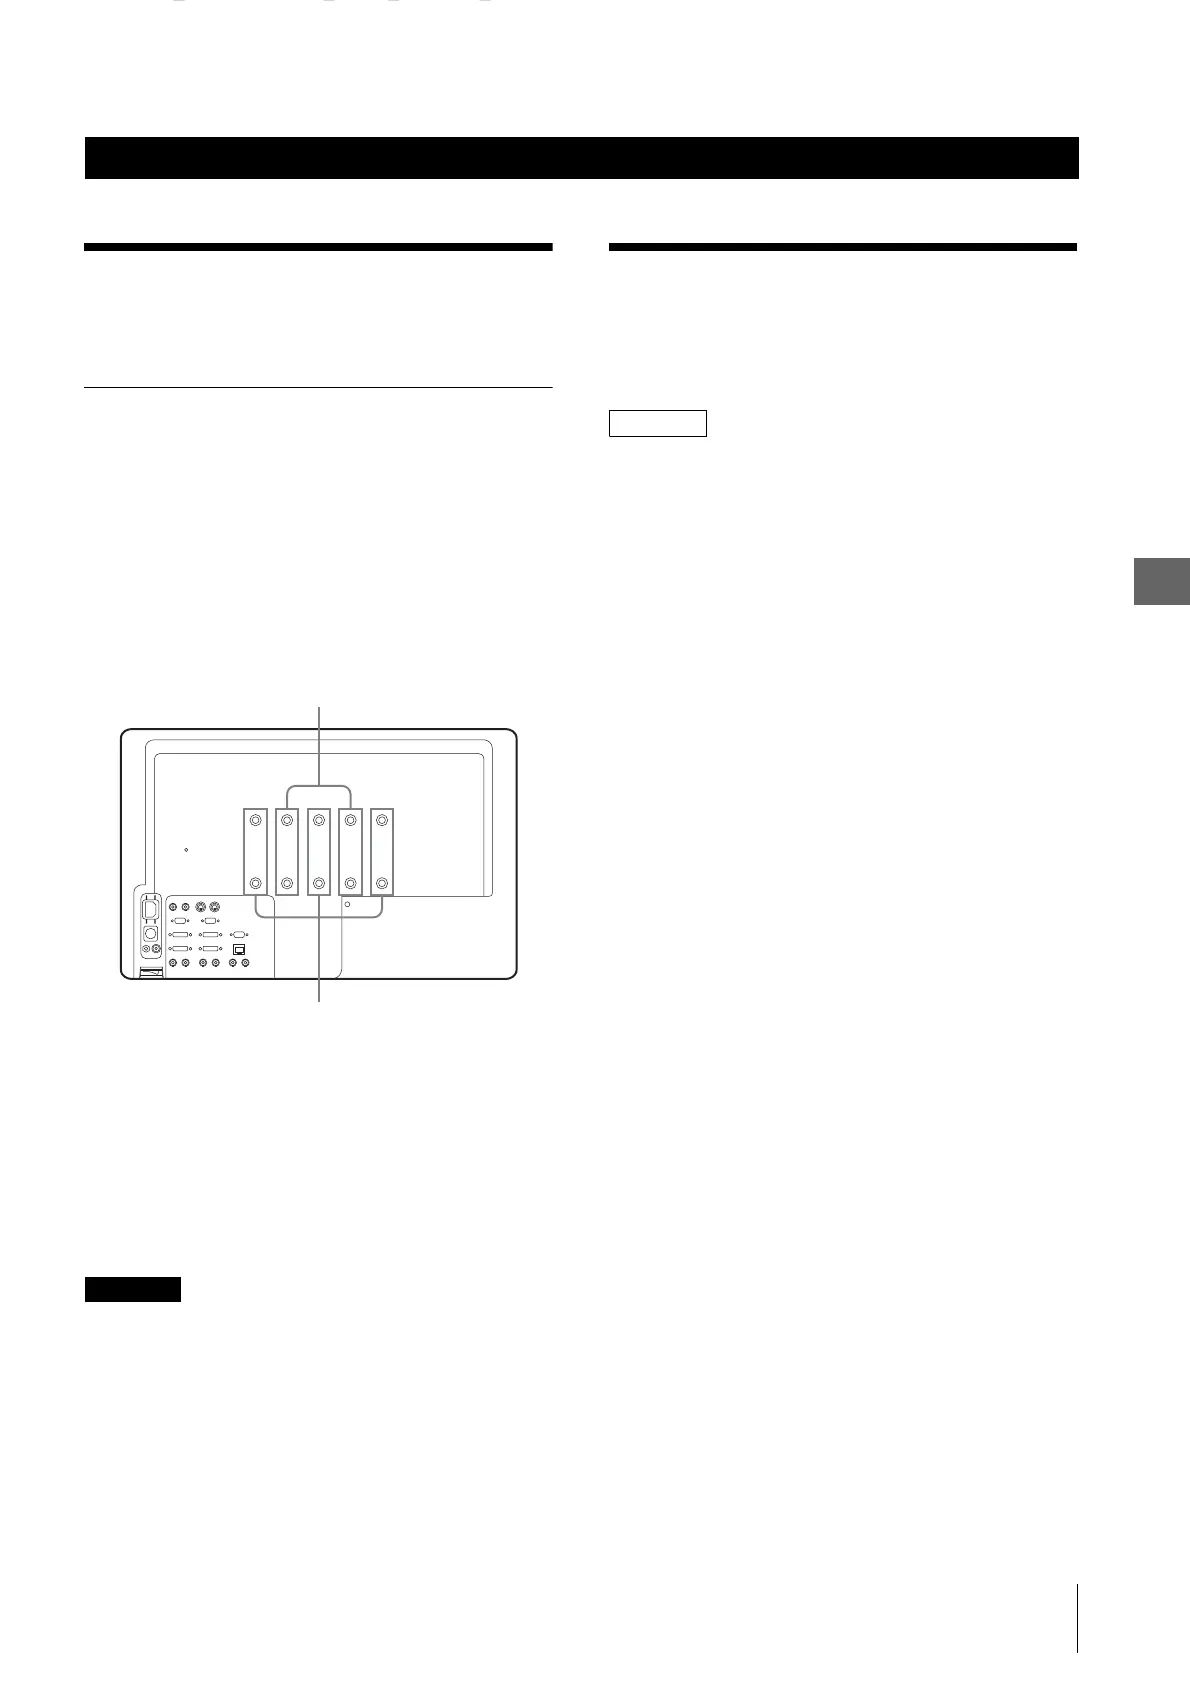
Installation on a mobile workstation
When using a LCD monitor mount, prepare a 100 × 200
mm or 100 × 100 mm monitor mount that complies with
VESA mount standards.
Fix the monitor onto a 100 × 200 mm monitor mount
using the six screws provided. Or fix the monitor onto a
100 × 100 mm monitor mount using the four screws
provided. For installation procedures, refer to the
instruction manual for the monitor mount.
1
Align the LCD monitor mounting screw holes on
the rear of the instrument with the mounting screw
holes on the LCD monitor mount (see upper
figure).
2
Fix the monitor onto the LCD monitor mount using
the six screws provided with the monitor.
CAUTION
• Use a 100 × 100 mm screw hole to fix this monitor to the
VESA mount. If using a 100
× 200 mm screw hole to fix
this monitor to the VESA mount, it may fall.
• If a trolley other than the mobile workstation (WM-NP2,
WM-DP2, WM-NP1, WM-WP1, or WM-DP1) is used,
confirm that the trolley can withstand the weight of the
equipment installed on it.
3.2 Connecting the AC
Power Cord
Connect the supplied AC power cord as illustrated.
NOTE
Avoid plugging the AC power cord into the AC IN
socket while connecting the optional Sony’s AC adapter
(AC-110MD) to the DC IN connector.
3. Installation and Connection
100 × 100 mm
Screw hole for attaching LCD arm
(for VESA)
100 × 200 mm
Screw hole for attaching LCD arm
(for WVESA)