5
Fig. 7
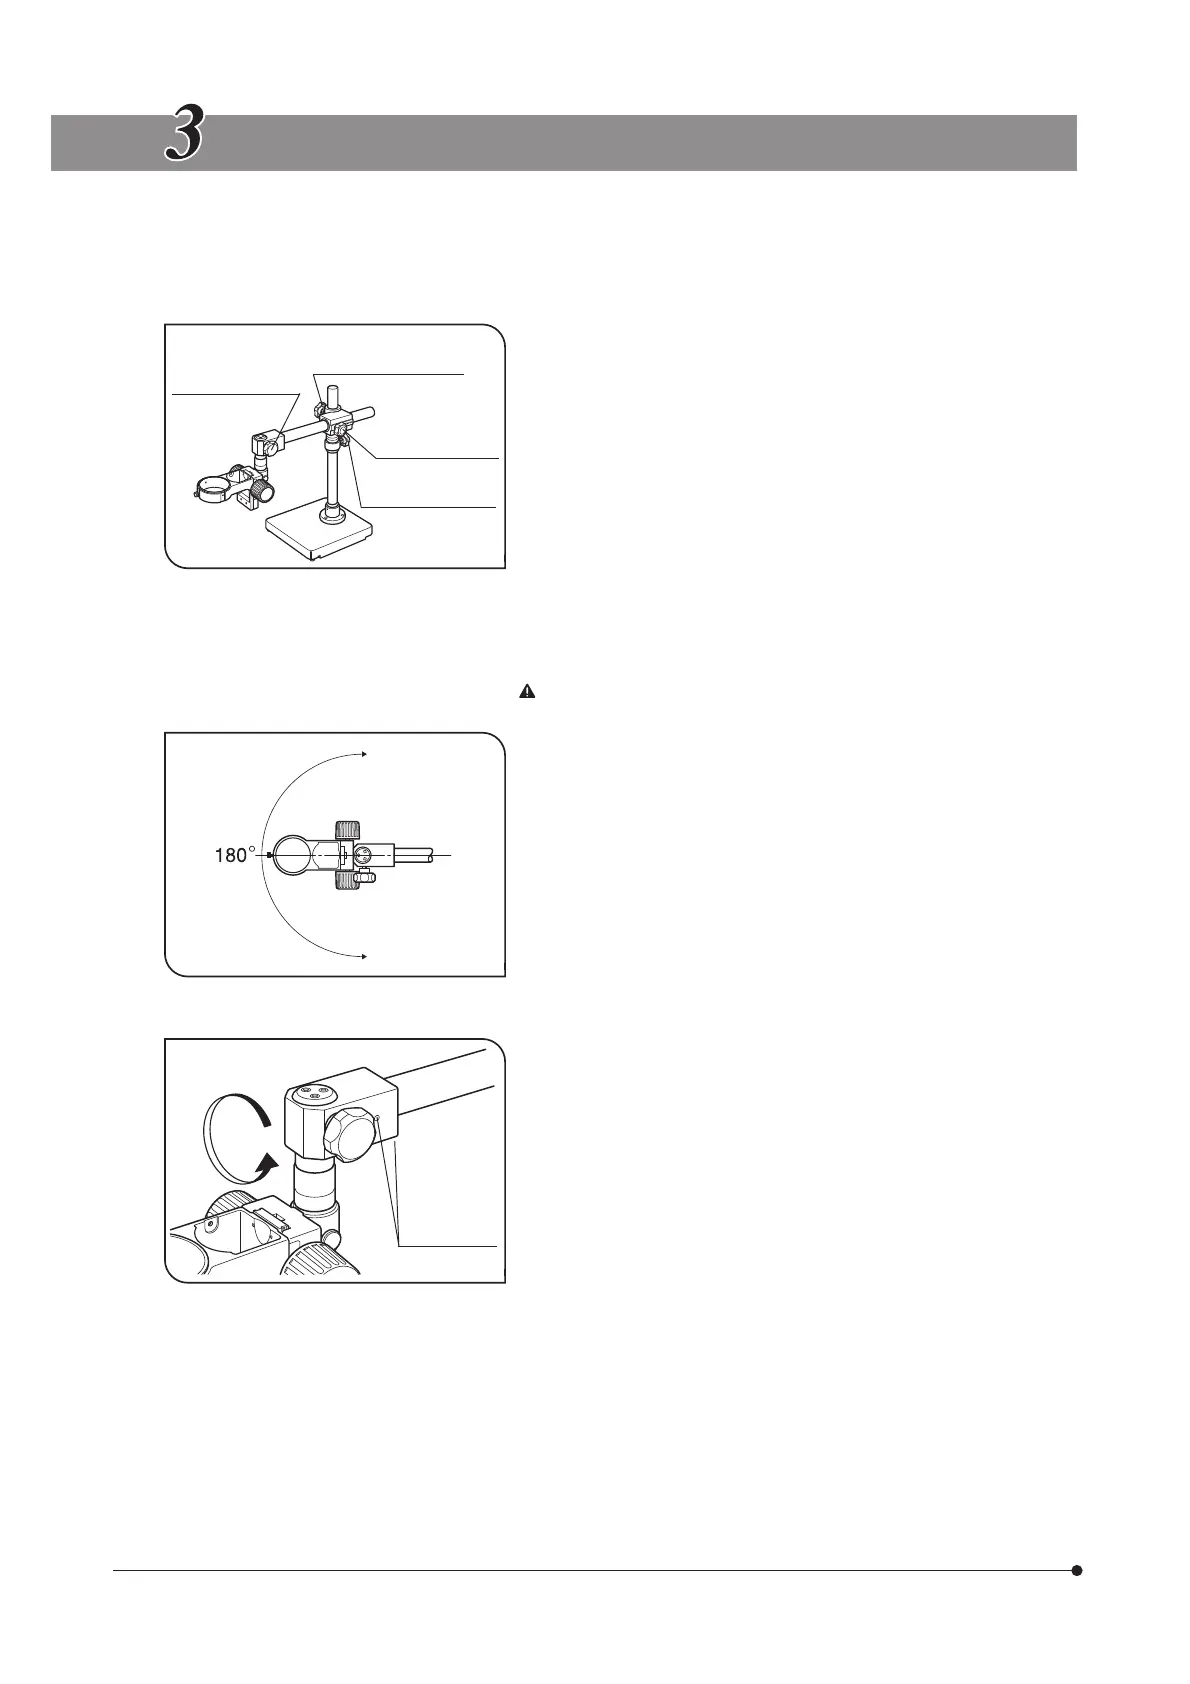
Fig. 9
Bonder arm rotation
clamping knob
Horizontal rotation/
vertical clamping knob
Horizontal movement
clamping knob
Drop prevention ring
clamping knob
Distal end
rotation screws
(x 2)
OPERATION
1. To move the horizontal arm horizontally along the arm shaft, loosen the
horizontal movement clamping knob. Lift the microscope slightly for
smooth movement.
2. To rotate the horizontal arm by 360° around the column, loosen the hori-
zontal rotation clamping knob.
When rotating the horizontal arm, confirm that that the drop prevention
ring clamping knob is tightened firmly and in close contact with the
horizontal arm section.
3. To move the horizontal arm upward, keep the drop prevention ring clamp-
ing knob tightened but loosen the vertical clamping knob. After lifting the
horizontal arm to the desired position, tighten the vertical clamping knob
again. And then move up the drop prevention ring till immediately be-
neath the horizontal arm section and clamp the ring again.
To move the horizontal arm downward, always move down and clamp
the drop prevention ring before moving the horizontal arm downward.
Never loosen two clamping knobs simultaneously, as this is extremely
dangerous.
4. To rotate the bonder arm horizontally, loosen the bonder arm rotation
clamping knob. (Fig. 8)
5. To rotate the distal end of the horizontal arm with respect to the arm,
loosen the two screws at the distal end using the provided Allen wrench.
(Fig. 9)
Fig. 8

 Loading...