
D
Daniel HarrisAug 13, 2025
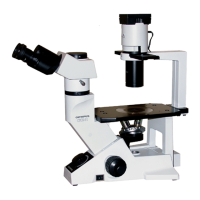
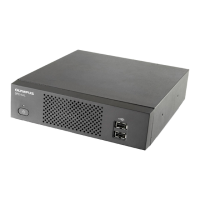
Why is nothing shown on the Olympus Laboratory Equipment display?
- CChad McclureAug 13, 2025
If nothing is showing on the display, first ensure that the display is turned on. Check that the display cable is properly connected. Also, verify that the display resolution is set correctly. Finally, if the system is in sleep mode, try operating the mouse or keyboard to wake it up.