16 17
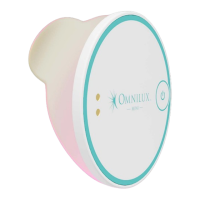
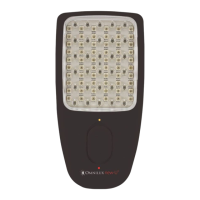
OMNILUX™ MINI BLEMISH ERASER
2. Remove one of the adhesive hydrocolloid patches from
its packaging.
3. See the “How to use the Hydrocolloids” section for a
step-to-step guide to using the hydrocolloids.
4. Unpeel the device side of the backing paper off the
adhesive hydrocolloid patch.
5. Place the sticky side of the adhesive hydrocolloid patch
onto the LED side (white) of the Blemish Eraser device.
Ensure the adhesive hydrocolloid patch aligns with the
shape of the Blemish Eraser device.
6. Press down across the entire surface of the adhesive
hydrocolloid patch.
7. Peel the face side of the backing paper from the
adhesive hydrocolloid patch.
8. Attach the Blemish Eraser device to the inside of your
left or right forearm and push down gently.
9. Switch ON the Blemish Eraser device and allow it to run
for a full treatment (10 minutes)
10. At any time if your skin feels HOT or uncomfortable
STOP using the device immediately.
11. After the treatment, carefully remove the
Blemish Eraser
device and adhesive hydrocolloid patch from the
treatment area. Discard the test adhesive hydrocolloid
patch in the general waste.
12. Wait at least 6 hours. If your skin on your inner arm is red
or itchy, then the treatment is unsuitable for you. Return
the device to the retailer within (30) days of purchase.