18 19
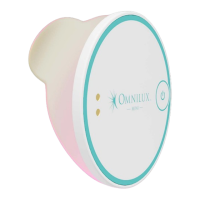
OMNILUX™ MINI BLEMISH ERASER
aligns with the shape of the Blemish Eraser device.
7. Press down across the entire surface of the adhesive
hydrocolloid patch.
8. Peel the face side of the backing paper from the
adhesive strip.
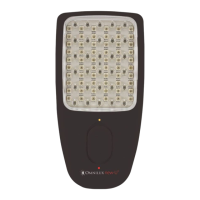
9. Using a mirror position the Blemish Eraser device
over the treatment area.
10. Switch ON the Blemish Eraser device. The device will
automatically switch OFF after 10 minutes. You may
stop the treatment at any time by pressing the
ON/OFF button.
11. After the treatment, carefully remove the Blemish
Eraser device and adhesive hydrocolloid patch from
the treatment area.
12. Remove the adhesive hydrocolloid patch from
the Blemish Eraser device and discard in general
household waste.
13. Clean the Blemish Eraser device by following the
instructions in “Cleaning the Blemish Eraser
device”. Ensure that the device is NOT being
charged when cleaning.
14. You may treat more than one treatment area in a
treatment session.
DO NOT repeat a treatment on the same treatment area
in the same treatment session