LVS-7500 External System Operations Manual
LVS-7500 External System Operations Manual Page 34 of 129
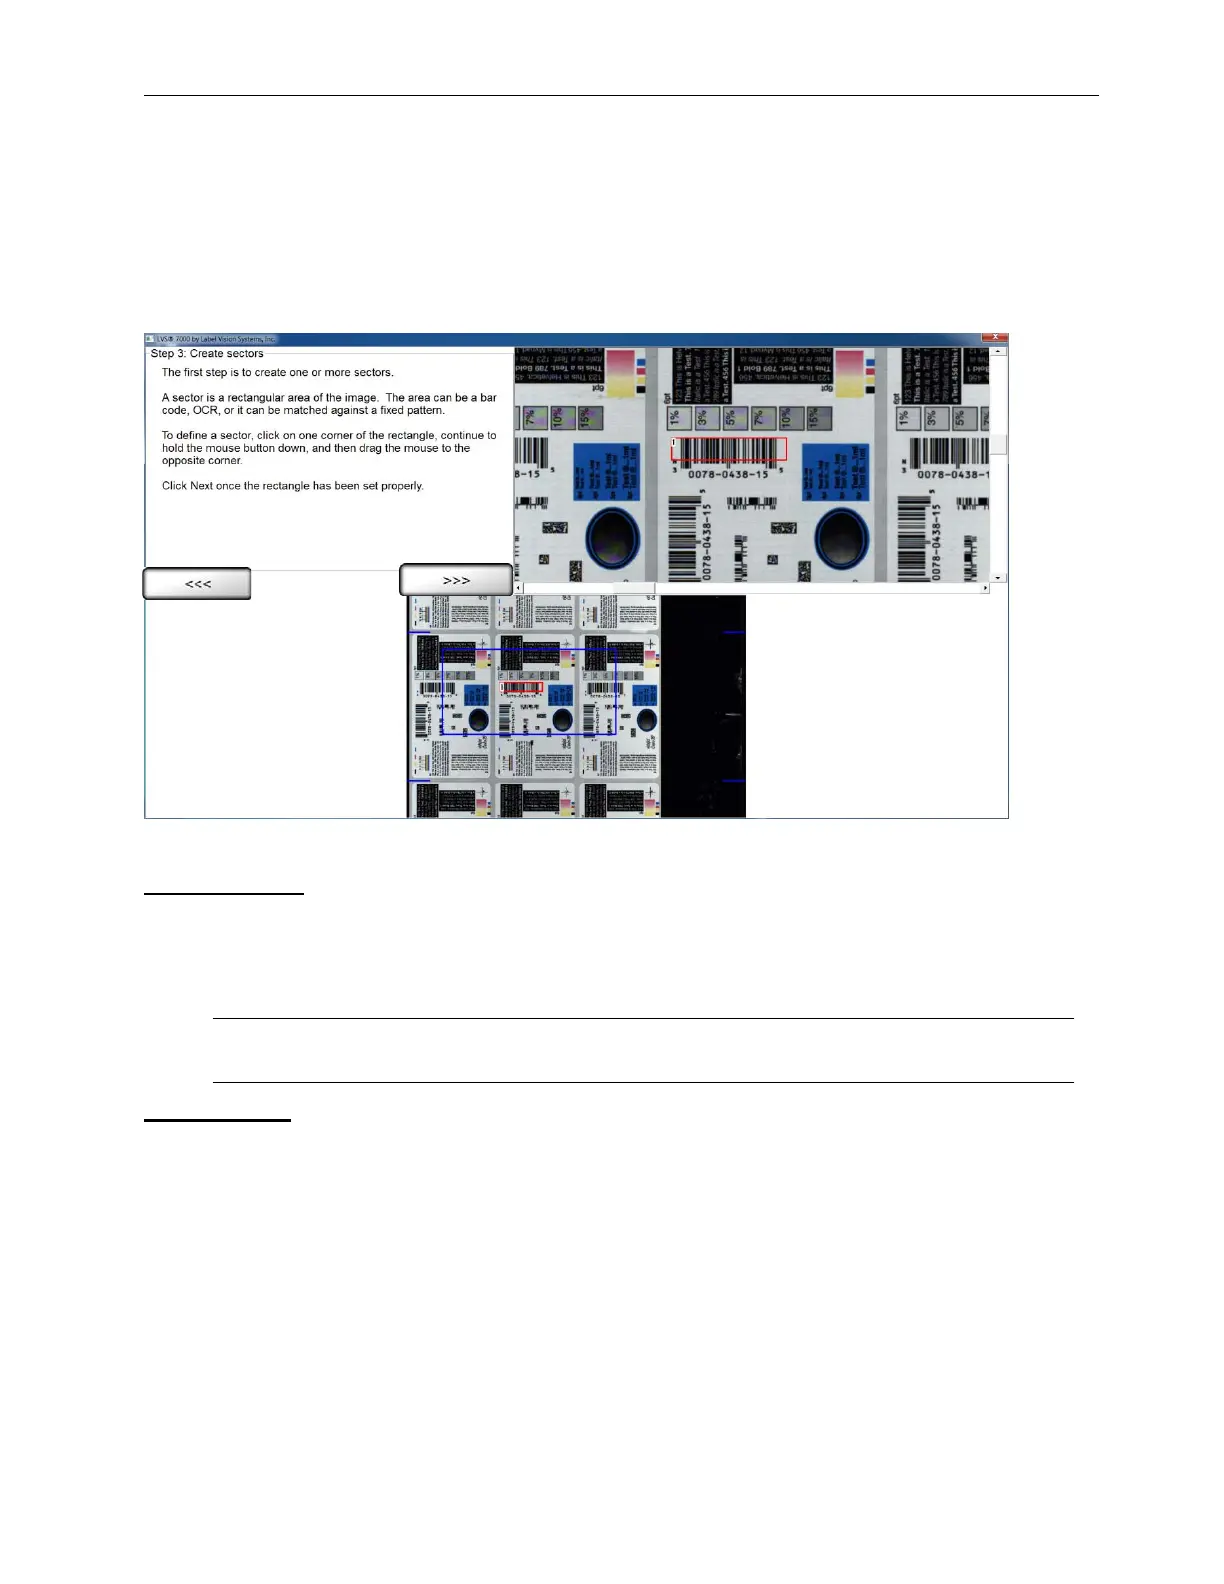
Step 3: Create Sectors
A sector is defined as an area of interest that is to be analyzed. This step prompts the operator to establish this
sector. The software will not process anything located outside the sector.
An image must be present to draw a sector. An image can only be created by the camera looking at a moving
roll. This is because a line scan camera cannot see a stationary image; it must be a moving image. Once a
correctly synchronized image is acquired, the operator may stop the roll and work with the still image.
The above image is an example of a sector being drawn around a barcode.
Draw a Sector
1. Click on one corner of the area you wish to inspect and drag the mouse while holding down the left-click
button. This action will cause the software to draw a “red” box.
2. After you are satisfied with the sector position and size, click the right arrow button. The box location will not
be stored until the right arrow button has been selected.
Note: The operator may draw a sector in either image.
Edit a Sector
1. Using your mouse, click within the desired sector that is located within a blue box; the sector bounding box
then turns red.
2. Click the right arrow button to edit the sector.
3. You will be directed to Step 3 where you define the sector type.
4. After you are satisfied with the sector, click the right arrow button. The box location will not be stored until
the right arrow button has been selected.
 Loading...