Click [Reg. Robot Image Pos.]
on the “Robot Image Pos.”
dialog to register the current
position of the robot.
After clicking [Close], check
that the “Robot Image Pos.” on
the “Robot Ref. Position” dialog
has been updated.
An operation of the dialog will automatically set values to Scene
and system variables previously set in the scenes loaded by the
environment copy feature in Chapter 5.1. Do not directly set the
values by TDM editor or setting screens for processing items.
If application operations are performed without registering the
“Robot Image Pos.”, the robot would produce unexpected
motion. Please be sure to register the position.
Place a workpiece for
Pick/Place into the field of view.
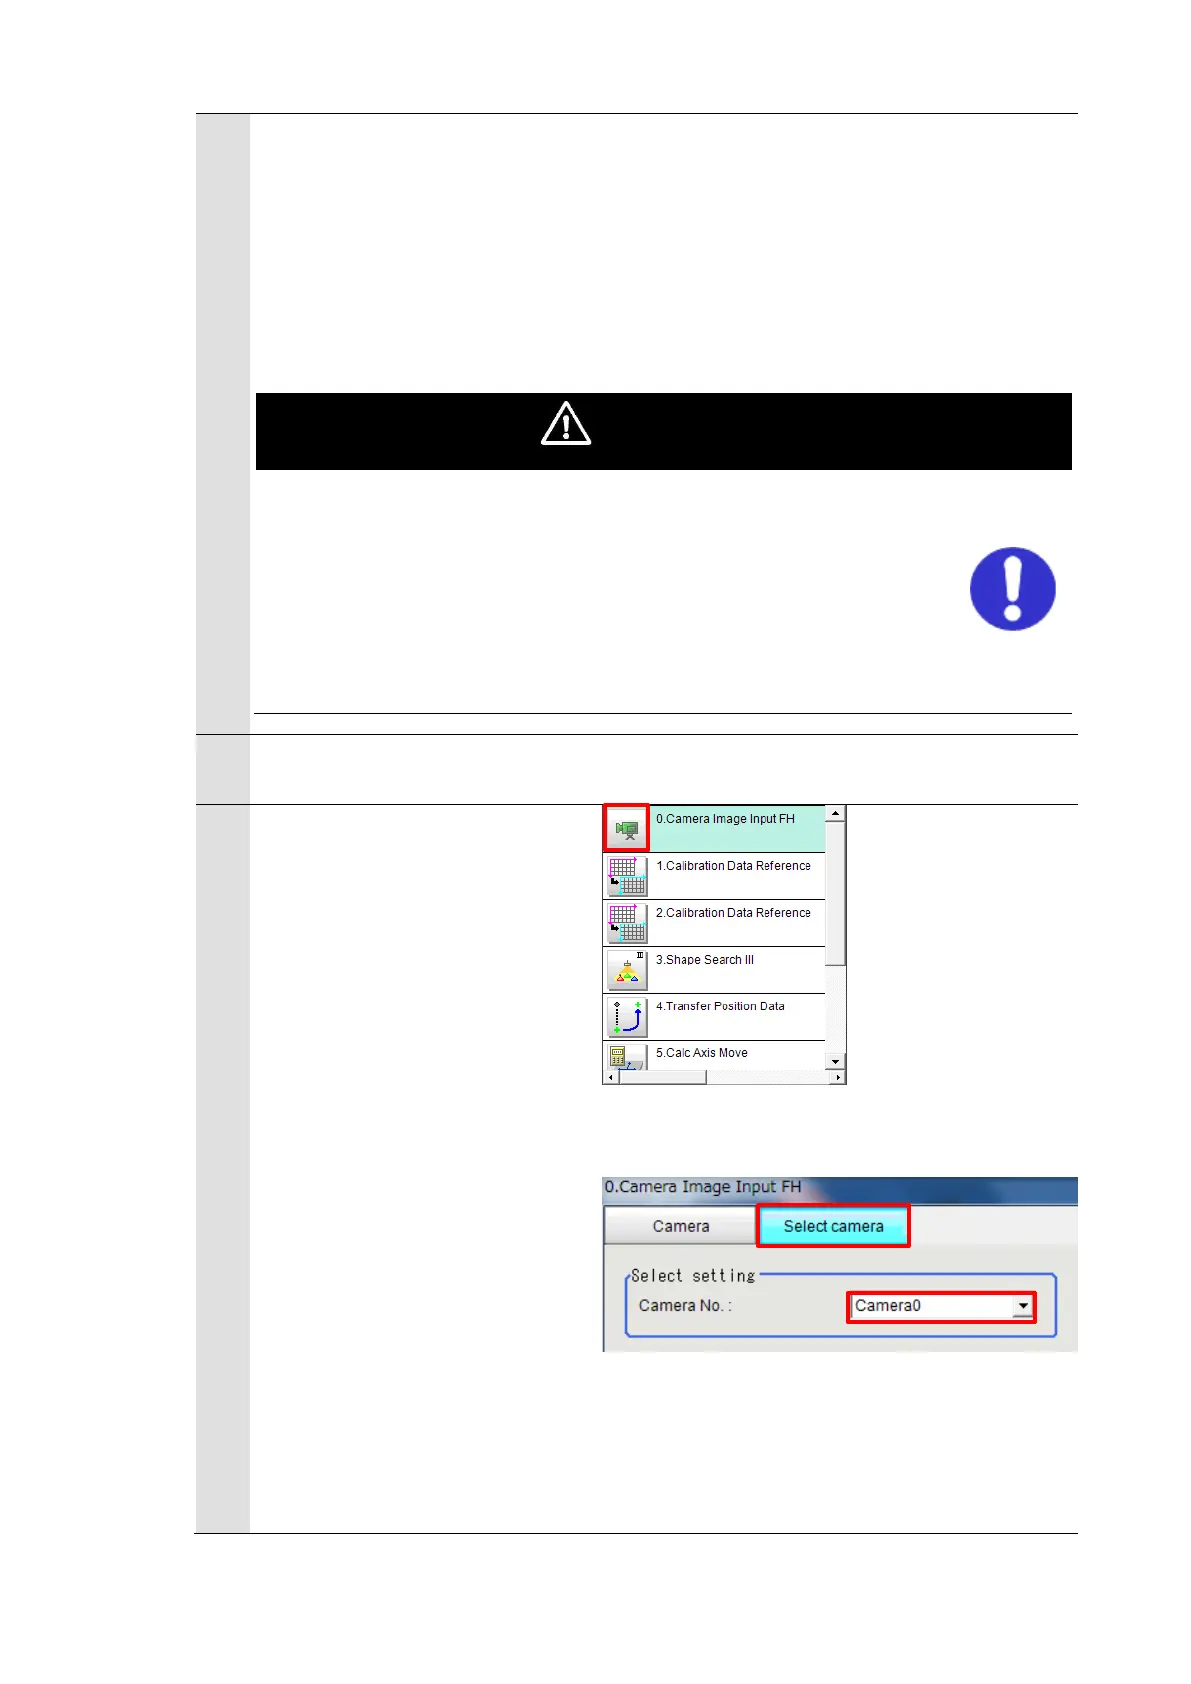
Click the “0. Camera image
input FH” icon on the Main
Window of the Vision Sensor to
open the setting screen.
* When using the FHV Series
Smart Camera Vision Sensor,
delete the "0. Camera Image
Input FH" unit and in its place
set "Camera Image Input FHV"
as Unit 0.
Check the set “Camera No.” by
clicking [Select camera] tab.
* Change the camera number
based on the actual
environment.
 Loading...