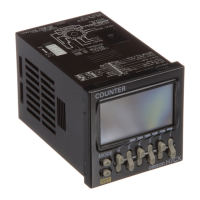
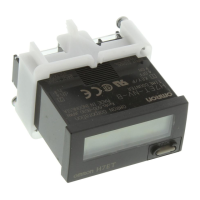
H7ET
H7ET
5
Dimensions
Unit: mm (inch)
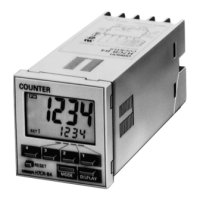
J H7ET-N
Dimensions with Panel -Mounting Bracket
•
When mounting, insert the Counter
into the cutout. Insert the adapter
from the back and push in the
Counter while making the gap
between the front panel and the
cutout panel as small as possible.
Use screws to secure the Counter. If
waterproofing is desired, insert the
waterproof gasket.
•
When several Counters are installed,
ensure that the ambient temperature
will not exceed specifications.
•
The appropriate thickness of the panel
is1to5mm.
Panel Cutout
Separate mounting
Joint mounting
Waterproofing is not possible
for joint mounting
60 mi n.
22.2
+0.5
0
45
+0.5
0
60 mi n.
22.2
+0.5
0
(48 ¢Units - 2.5)
+10
0
44.8
(1.76)
48
(1.89)
24
(0.94)
48.5
(1.91)
22
(0.87)
35
(1.38)
37
(1.46)
44.8
24
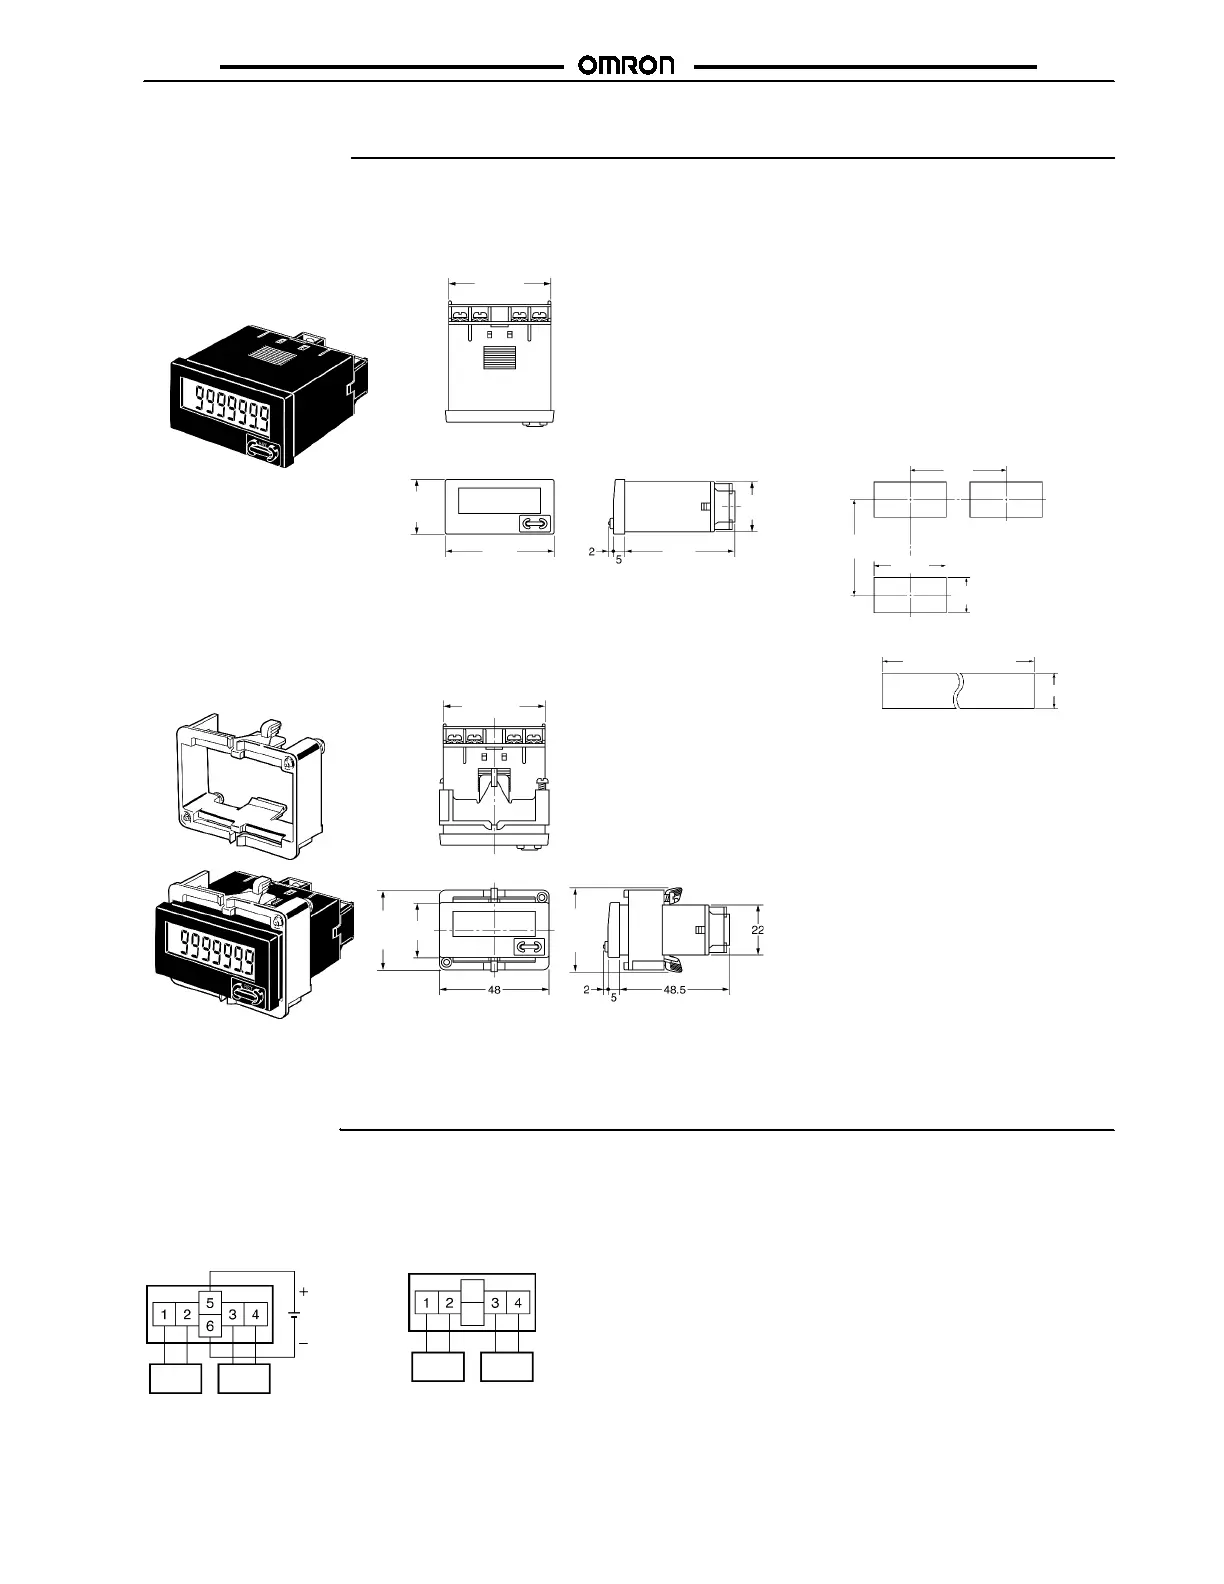
Installation
J TERMINAL ARRANGEMENT
Bottom view: View of the Time Counter rotated horizontally 180°
Backlight Model Non-ba cklight Model
Reset
input
Timer
input
Backlight
24 V DC
Reset
input
Timer
input
 Loading...