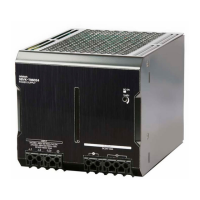
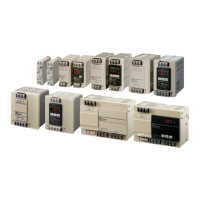
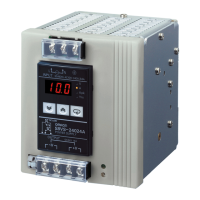
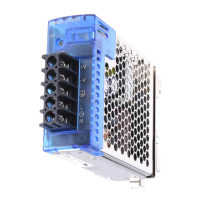
S8VS
7
Engineering Data
Derating Curve
S8VS-01524
S8VS-03024
Note: 1.
Internal parts may occasionally deteriorate or be damaged.
Do not use the Power Supply in areas outside the derating
curve (i.e., the area shown by shading
A
in the above graph).
2. If there is a derating problem, use forced air-cooling.
3. Provide a space of at least 20 mm when using standard
mounting and horizontal mounting. If 20 mm is not available,
make sure that the space is at least 10 mm. In this case,
reduce the corresponding derating curve by 5°C.
S8VS-06024/12024/24024/48024
Note: 1. Using side mounting bracket for right-side mounting
(excluding 240-W models).
2.
Internal parts may occasionally deteriorate or be damaged.
Do not use the Power Supply in areas outside the derating
curve (i.e., the area shown by shading
A
in the above graph).
3. If there is a derating problem, use forced air-cooling.
4. When using a 480 W model at an input voltage of 95 VAC or
less, derate the load by at least 80%.
Mounting
Note: 1. Improper mounting will interfere with heat dissipation and
may occasionally result in deterioration or damage of
internal parts. Use the Product within the derating curve for
the mounting direction that is used. Do not use the Power
Supply mounted in any way not shown above.
2. Use a mounting bracket (S82Y-VS30P, sold separately)
when the Product is mounted horizontally.
3. Heat dissipation will be adversely affected. When the
Product is mounted facing horizontally, always place the
side with the label facing horizontally.
4. Use PFP-M End Plates on the top and bottom of the Power
Supply when mounting horizontally on a DIN rail.
Note: Improper mounting will interfere with heat dissipation and may
occasionally result in deterioration or damage of internal parts.
Use the standard mounting method only.
1
−20 −10 0 10 20 30 40 50 60 70 80
120
100
80
60
40
20
0
*1
*2
*3
*1 Standard mounting
*2 Face-up mounting
*3 Horizontal mounting
Ambient temperature (°C)
Load ratio (%)
1
−20 −10 0 10 20 30 40 50 60 70 80
120
100
80
60
40
20
0
*1
*2
*1 Standard mounting
*2 Face-up mounting/Horizontal mounting
Ambient temperature (°C)
Load ratio (%)
−20 −10 0 10 20 30 40 50 60 70 80
120
100
80
60
40
20
0
Load (%)
Ambient temperature (°C)
See note 1.
1
Face-up mounting with DIN rail
S82Y-VS30P
Side with label
Horizontal mounting with S82Y-VS30P*
Standard mounting with DIN rail
Face-up mounting with S82Y-VS30P
Standard mounting with S82Y-VS30P
Note: The Side-mounting Bracket can be mounted from either side.
Upper
Upper
Standard mounting Face-up mounting
Correct Incorrect
T01E-EN-02+S8VS+Datasheet.fm Seite 7 Dienstag, 4. November 2008 6:58 18