15oneida-air.com
Assembly Instructions (Continued)
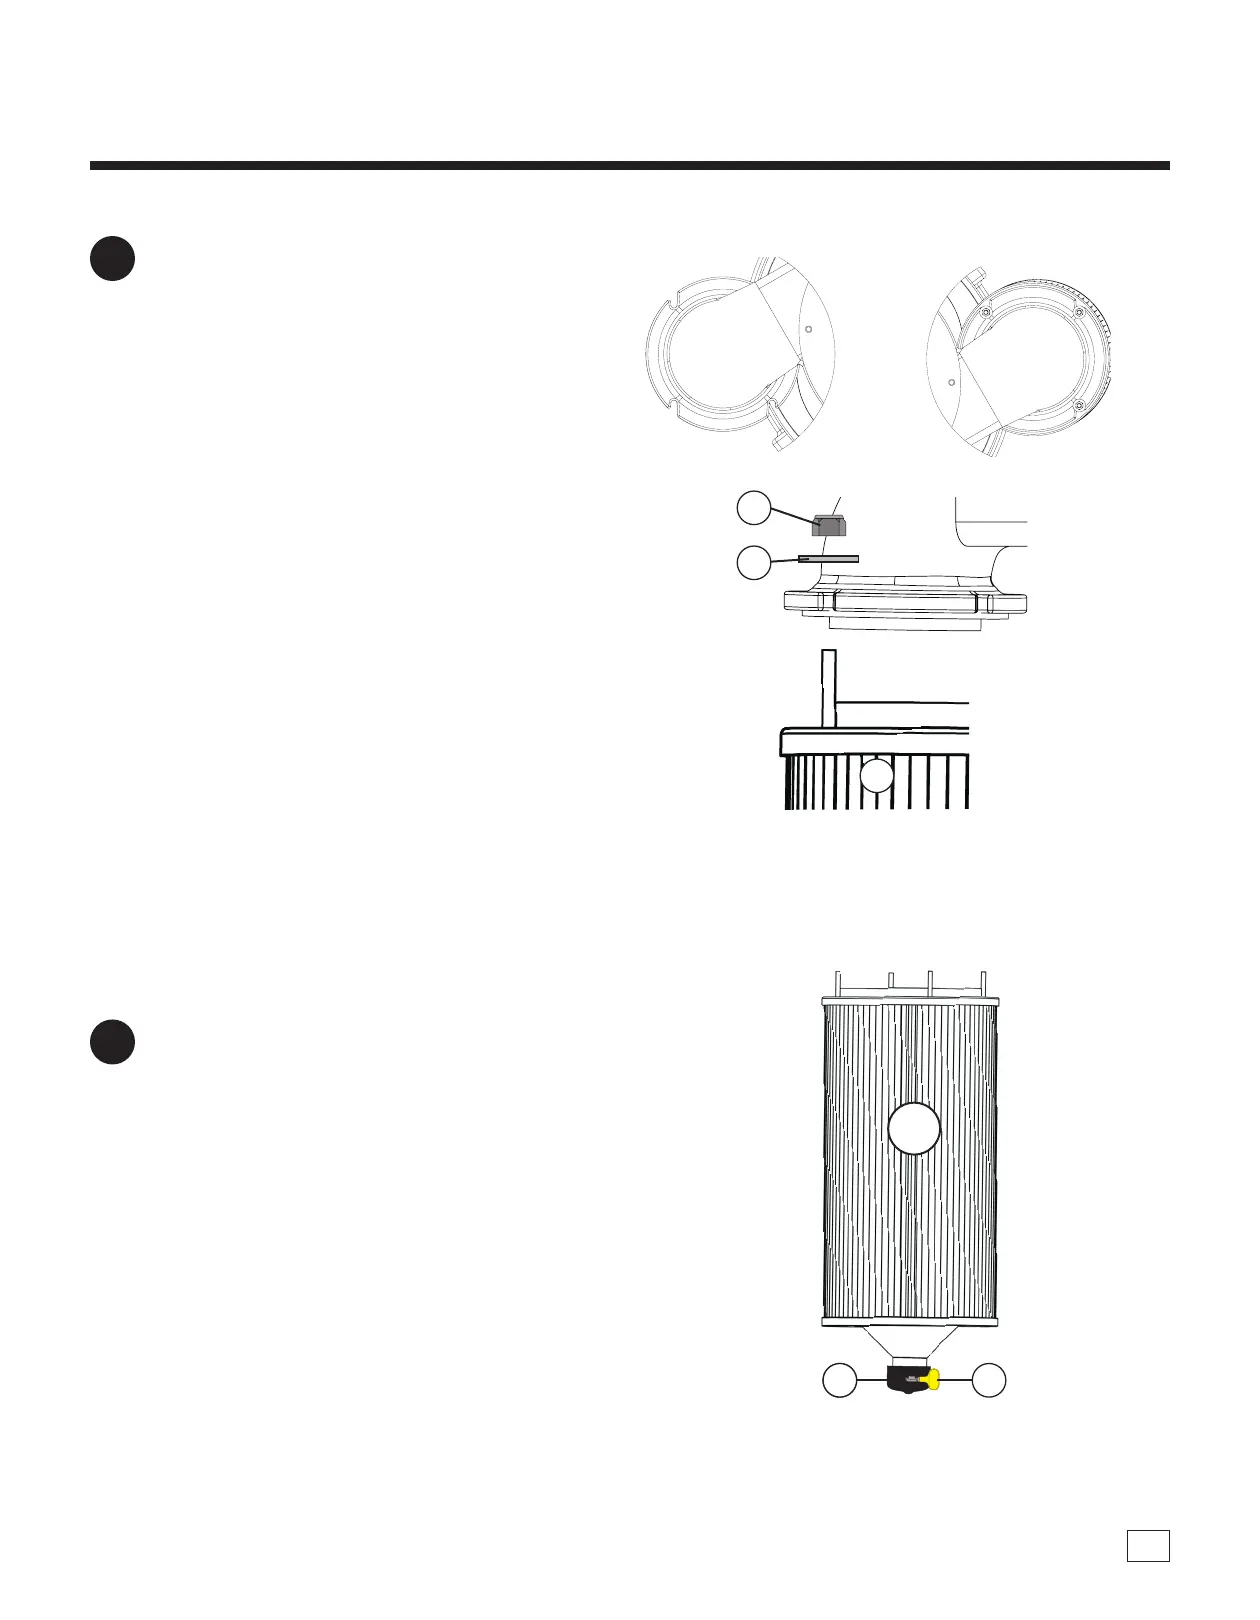
FIG. 11a
FIG. 12
Li the Filter (B) up to the plenum elbow,
slotting the lter’s bolts into the four grooves.
shown in [FIG. 11a]. Secure in place with four
5/16" Flat Washers (C9W) and four Nylock Nuts
(C9X) [FIG. 11b] [FIG. 11c].
Note: DO NOT overtighten.
11
Place Filter Cap (C9V) onto the bottom port
of the Filter (B) and secure in place using Band
Clamp (C9U) [FIG. 12].
12
FIG. 11b
B
C9V C9UC9V
C9W
C9X
B
 Loading...