OPERATION CHECK-1
DC VOLTAGE DETECTION PROTECTORS
CURRENT DETECTION PROTECTORS
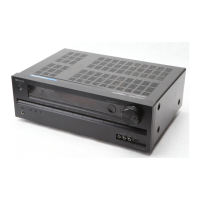
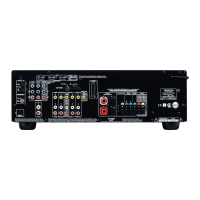
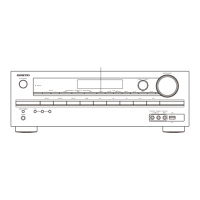
HT-R320
Test - _
Test - 1-00
FL display
Clear
Disappears
0.5 sec.
FL display
Test - _
Test - 4-00
Test - 4-29
Clear
Disappears
1. Set the unit to test mode " Test-1-00 " .
1-1. Press and the hold down the CD button , then press the STANDBY/ON button when the unit is Power ON.
1-2. Press the DVD button, while the " Test - _ " is shown.
Unit will be in the state of " Test-1-00 ".
2. Apply DC voltage (+1.5 to +3V) to MULTI CHANNEL (FL, FR, SL, SR, C) terminal, each channel.
3. Check that " Protect " is shown.
4. Apply DC voltage (-1.5 to -3V) to MULTI CHANNEL (FL, FR, SL, SR, C) terminal, each channel.
5. Check that " Protect " is shown.
6. Press the STANDBY/ON button.
[NOTE1]
Limit time to apply voltage is 0.5 to 1.0 seconds each channel.
When protection operation does not occur at once, try several times.
[NOTE2]
Don't connect speakers or any load.
Don't short speaker terminals.
[NOTE]
In the state of test mode" Test-4-29 ", the pulse waveform output for checking from speaker terminal automatically.
Therefore, oscillator is unnecessary.
1. Set the unit to test mode " Test-4-29 "
1-1. Press and the hold down the CD button , then press the STANDBY/ON button when the unit is Power ON.
1-2. Press the VIDEO 3 button, while the" Test - _ " is shown.
Unit will be in the state of " Test-4-00 ".
1-3. Repeat and press SPEAKERS B button to the " Test-4-29 " is shown.
2. Connect the lord resister (3 ohms) to the speaker terminals.
3. Check that the" Protect " is not shown, and speaker relays not turn OFF.
4. Check the each speaker terminals.
5. Connect the lord resister (1.5 ohms) to the speaker terminals.
6. Check that the " Protect " is shown, and speaker relays turn OFF immediately.
7. Check the each speaker terminals.
8. Press the STANDBY/ON button.
 Loading...