Do you have a question about the Onkyo TA-6510 and is the answer not in the manual?
Warns against using the appliance near water to prevent damage.
Ensures proper placement to prevent overheating.
Directs users to connect only to the specified power supply type.
Explains the polarized plug feature for electrical safety.
Lists conditions that necessitate servicing by qualified personnel.
Provides guidance on ideal placement, avoiding heat, humidity, and magnetic fields.
Details voltage requirements and voltage selector usage for different regions.
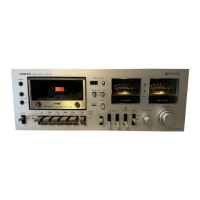
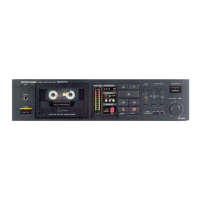
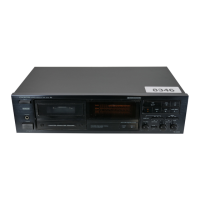
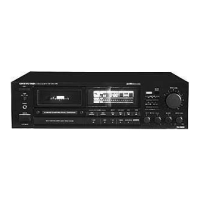
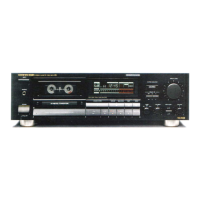
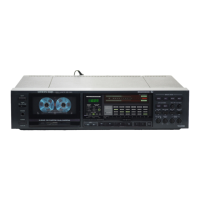
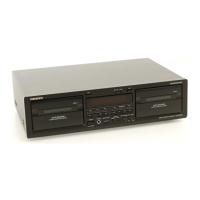
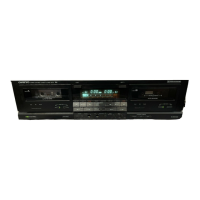
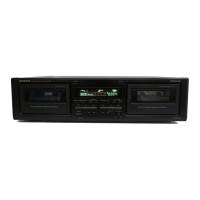
Identifies and describes all buttons, knobs, and indicators on the front panel.
Details how to connect the tape deck to an amplifier using LINE IN/OUT jacks.
Outlines the procedure for plugging in and turning on the unit.
Step-by-step guide on how to insert a cassette and start playback.
Guides on adjusting recording levels to prevent distortion and ensure clarity.
Addresses issues related to the unit not receiving power.
Troubleshoots problems with sound during tape playback.
Diagnoses issues when the tape mechanism fails to operate.
Resolves problems with the recording function not starting.
Troubleshoots general operational failures of the deck.
Provides instructions for cleaning critical tape path components.
| power supply rating (UK and Australian models) | AC 240 V 50 Hz |
|---|---|
| power supply rating (European models except UK) | AC 230 V, 50Hz |
| power supply rating (Worldwide models) | AC 120 and 220 V, Switchable 50/60 Hz |
| power consumption | 13 watts |
| frequency response (normal) | 20–18, 000 Hz |
|---|---|
| frequency response (high) | 20–19, 000 Hz |
| frequency response (metal) | 20–20, 000 Hz |
| signal-to-noise ratio | 60 dB (metal tape, Dolby NR off) |
| input sensitivity | 80 mV |
|---|---|
| input impedance | 50 kohms |
| standard output level | 500 mV |
| optimum load impedance (output) | over 50 kohms |
| optimum load impedance (headphone jack) | 8 to 200 ohms |
| weight | 5.0 kg |
|---|---|
| dimensions | 455(W) x 120(H) x 310(D) mm |