PULSAR Minimal Stress Installation and operating Manual
OPTIKON 2000
Cod. 111001EN 2012-02-16 Rev.J
6-2
NOTE:
It is the responsibility of the user to clean and sterilize the handpieces, tips, I/A tubing and other
microsurgical reusable instruments.
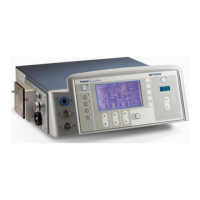
4. Check that the mains voltage corresponds to the one indicated on the rear
panel.
5. Connect the linear footswitch cable to the "FOOTSWITCH" socket (fig. 3-5).
Turn the retaining ring clockwise to secure the plug.
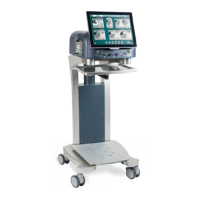
6. If the cart with automatic I.V. Pole is available, connect it to the I.V. Pole
connector (fig. 3-6). The PULSAR tests if the automatic I.V. pole is present
when the unit is switched on; therefore be sure that the pole is connected and
powered.
7. Check that the available A.C. supply voltage corresponds to the one selected on
the rear panel.
8. If the 181004 cart is used, leave the PULSAR mains switch into the on position
and utilise the cart mains switch to power on/off the system.
9. Connect the remote control to the REMOTE CONTROL socket (Fig. 3-3) on the
control panel's rear panel.
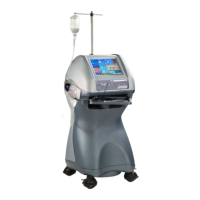
6.4 IRRIGATION/ASPIRATION SYSTEM SET-UP
For proper I/A lines setup, follow the procedure outlined below (refer to Fig. 2)
1) Carefully open the peristaltic pump’s protection cover by pulling on the upper
edge; the tubes' presser will open automatically, thus allowing the aspiration
line to be installed.