OGi Modem - Hardware Guide
© ORBCOMM Proprietary 39 T401, Version .15
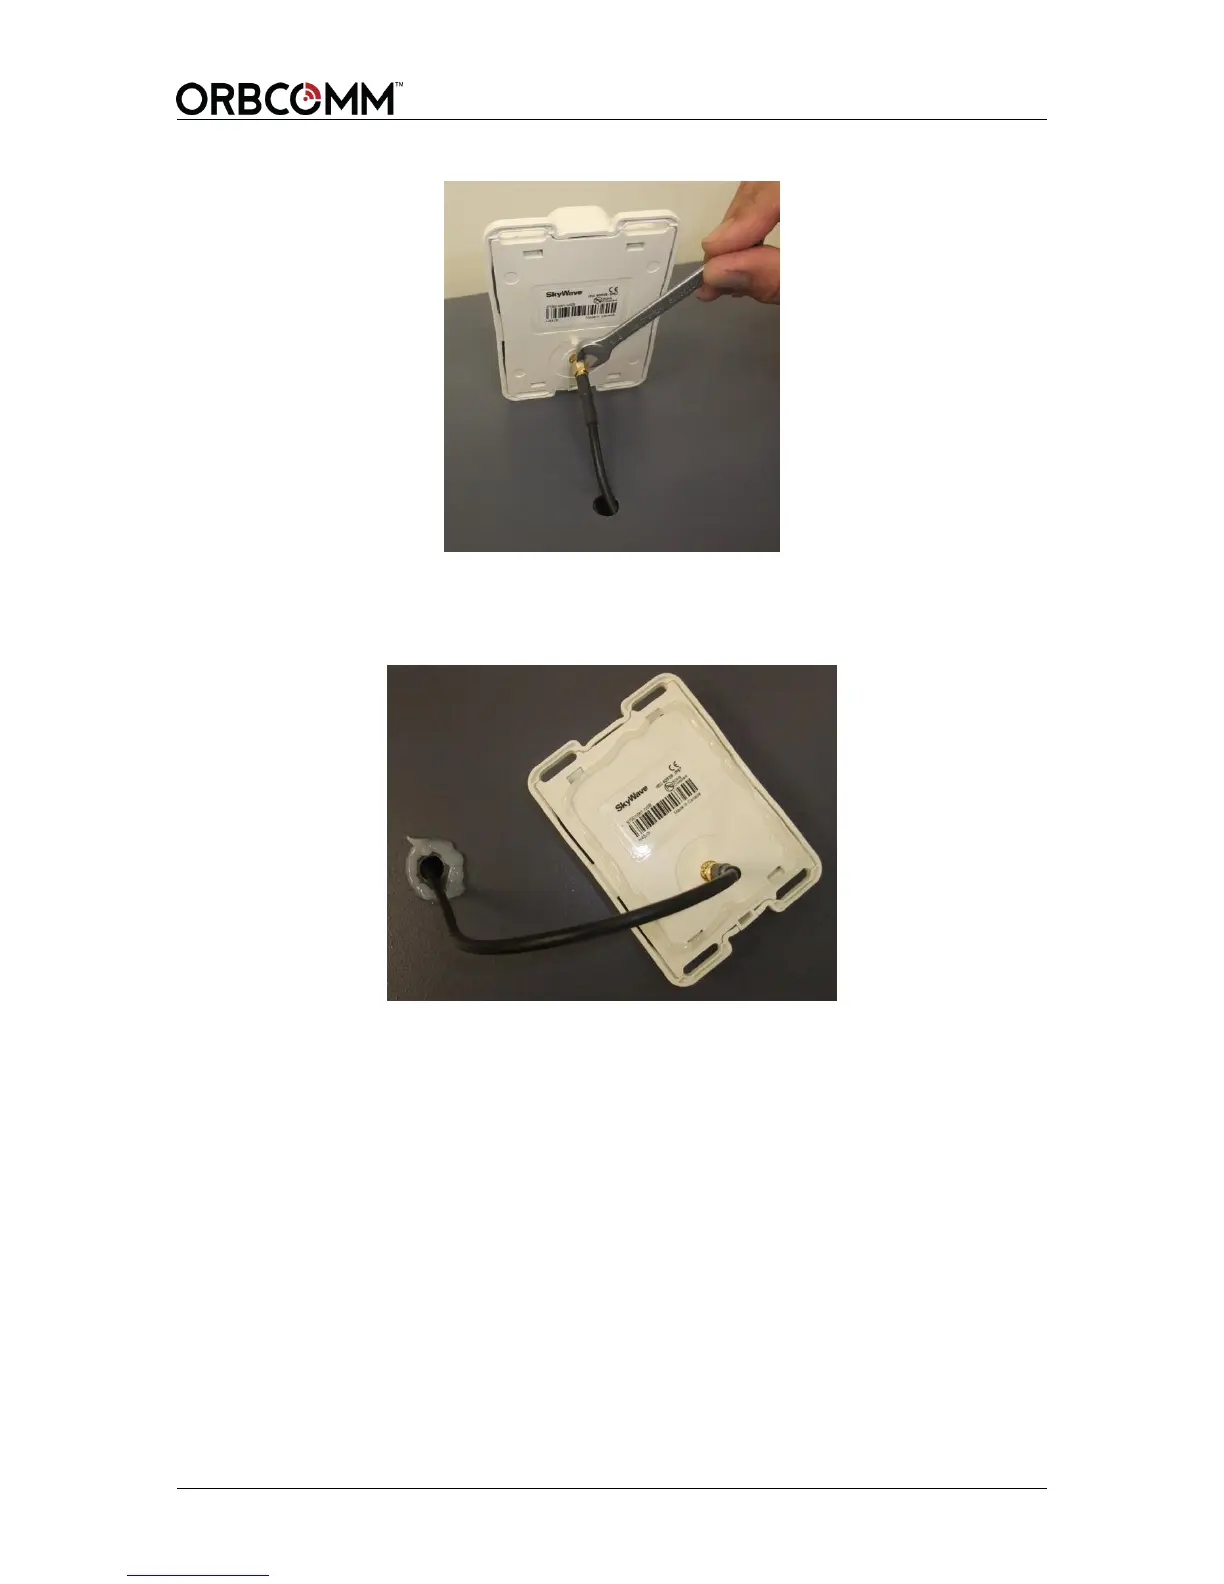
Figure 28 Attach Cable to Antenna
5. Apply silicone around the hole in the asset and to the bottom surface of the
remote antenna.
Figure 29 Apply Silicone to Hole in Asset
6. Lower the remote antenna onto the mounting surface.
The straight SMA cable connector can be lowered straight down onto the
mounting surface.
The right angle SMA cable connector, not shown, must be pivoted down onto the
mounting surface to fit the right angle cable and connector through a larger
clearance hole. Additional care is required with this installation to ensure the
right angle cable and connector does not smear the silicone around the clearance
hole when attempting to pivot the antenna into position.
7. Apply a generous bead of silicone around the entire perimeter of the remote
antenna enclosure. The two vertical slots shown in Figure 26 are vent features
and must not be filled with silicone.
Note: If the large clearance hole required for the right angle SMA cable
connector is considered too large, you have the option to use a smaller
clearance hole in the mounting surface and install the cable from
inside the asset after the antenna has been adhered with silicone.