24
Step 28:
1. After the weld has finished you will notice how both the 1st and 3rd spaces of the “I/O-1 IN” now have a
“1.” is indicated that the welder is ready again and the previous weld was good.
2. e 1st space of the “I/O-1 OUT” line is now displaying a “1.”
3. While still highlighting the 1st space of the “I/O-1 OUT,” press the “ENTR” button again to dismiss the “1”
and stop triggering the welder.
4. If the previous weld is not registering as ‘good,’ make sure the weld length is set between 30-40ms.
4. Once completed and the system is functioning as desired, press the “ESC” button until the words
“Program 1” is displayed in the top left of the screen.
Step 29:
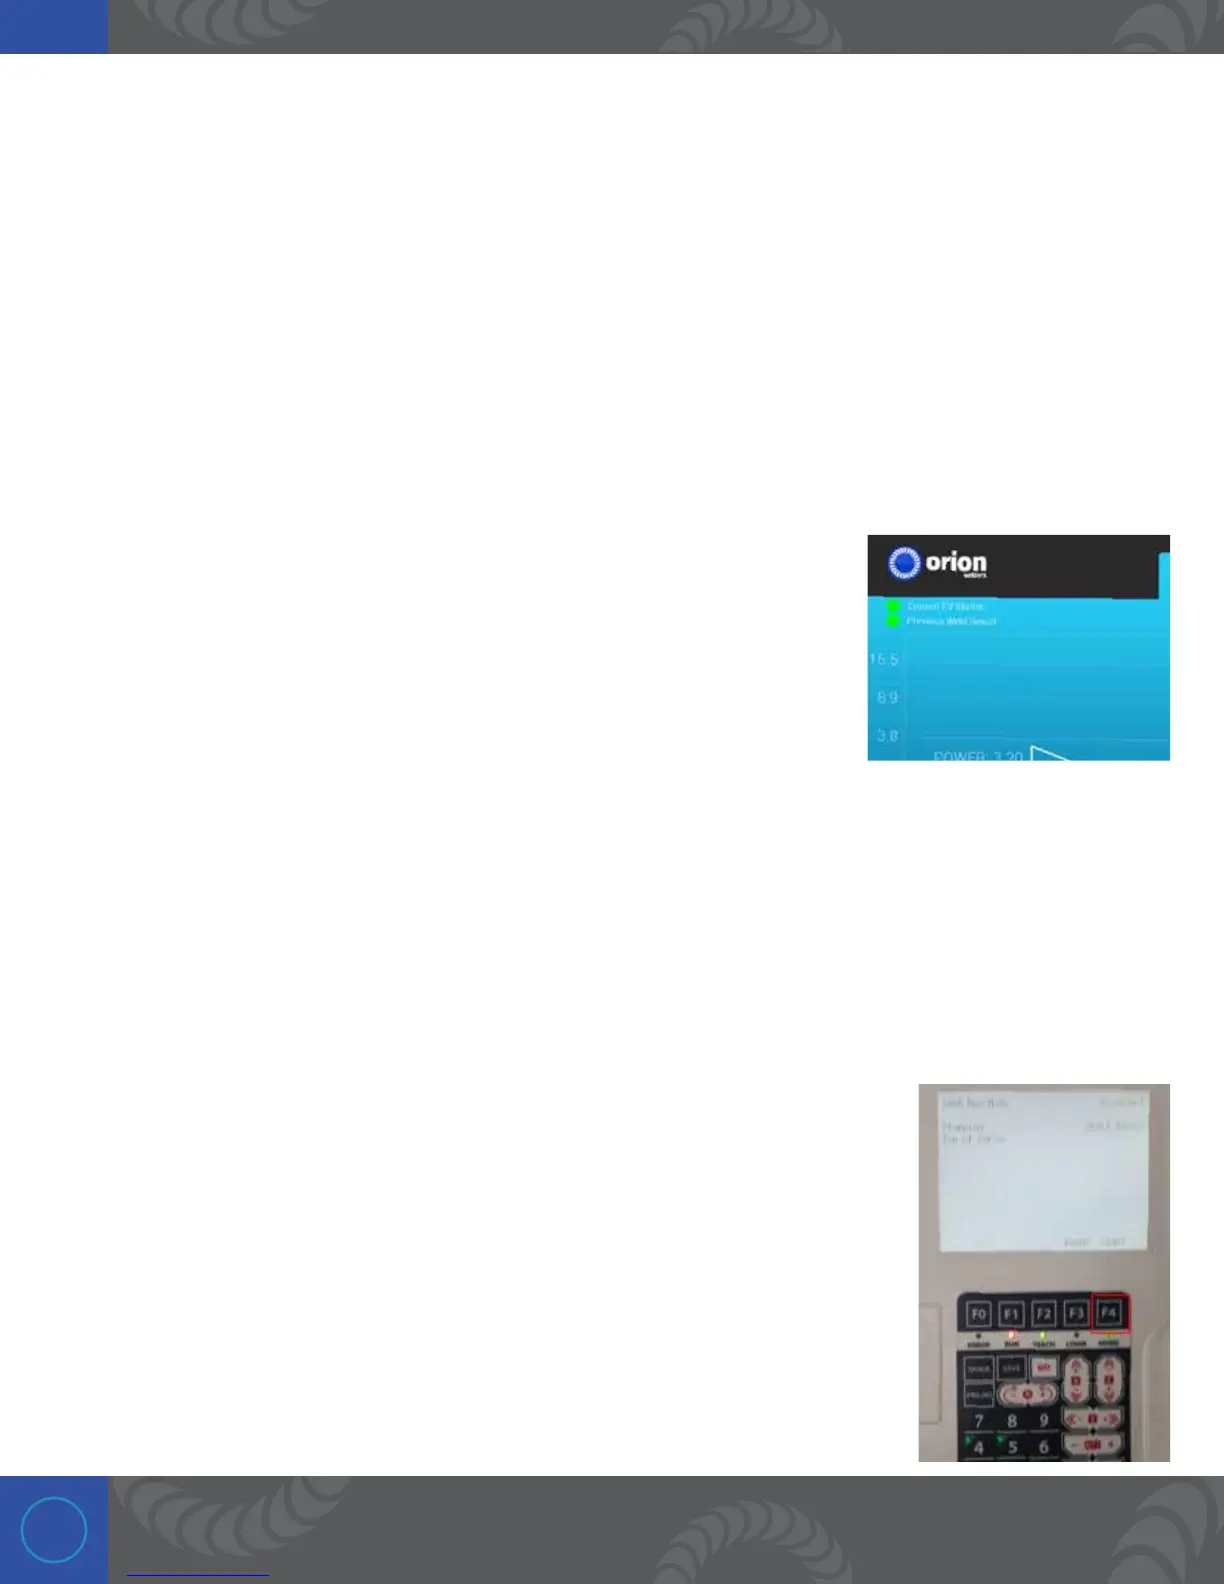
In the top left of the Orion 250i2 screen, the PLC weld ready and weld good
signals are displayed for your convenience. ese two dots will display the
same information we just looked at on the I/O Test screen on the pendant.
Step 30:
To run the entire program and make welds at all the weld points we previously programmed, press the
“Utility” button. Next, highlight “Test Menu” and press “ENTR.”
Next, highlight “Test Run” and press “ENTR.” is will put the CNC robot into a test run cycle.
Step 31:
To being the test run, press the “F4” button. is will go to each weld point and
make a weld. If everything functioned as expected you can now go back by
pressing the “ESC” button a few times and program the rest of your weld points.
(Press the right cursor button and use the XYZ buttons to position the weld head).
If something isn’t working please refer to the FAQ section of the user manual or
contact customer support.

 Loading...


