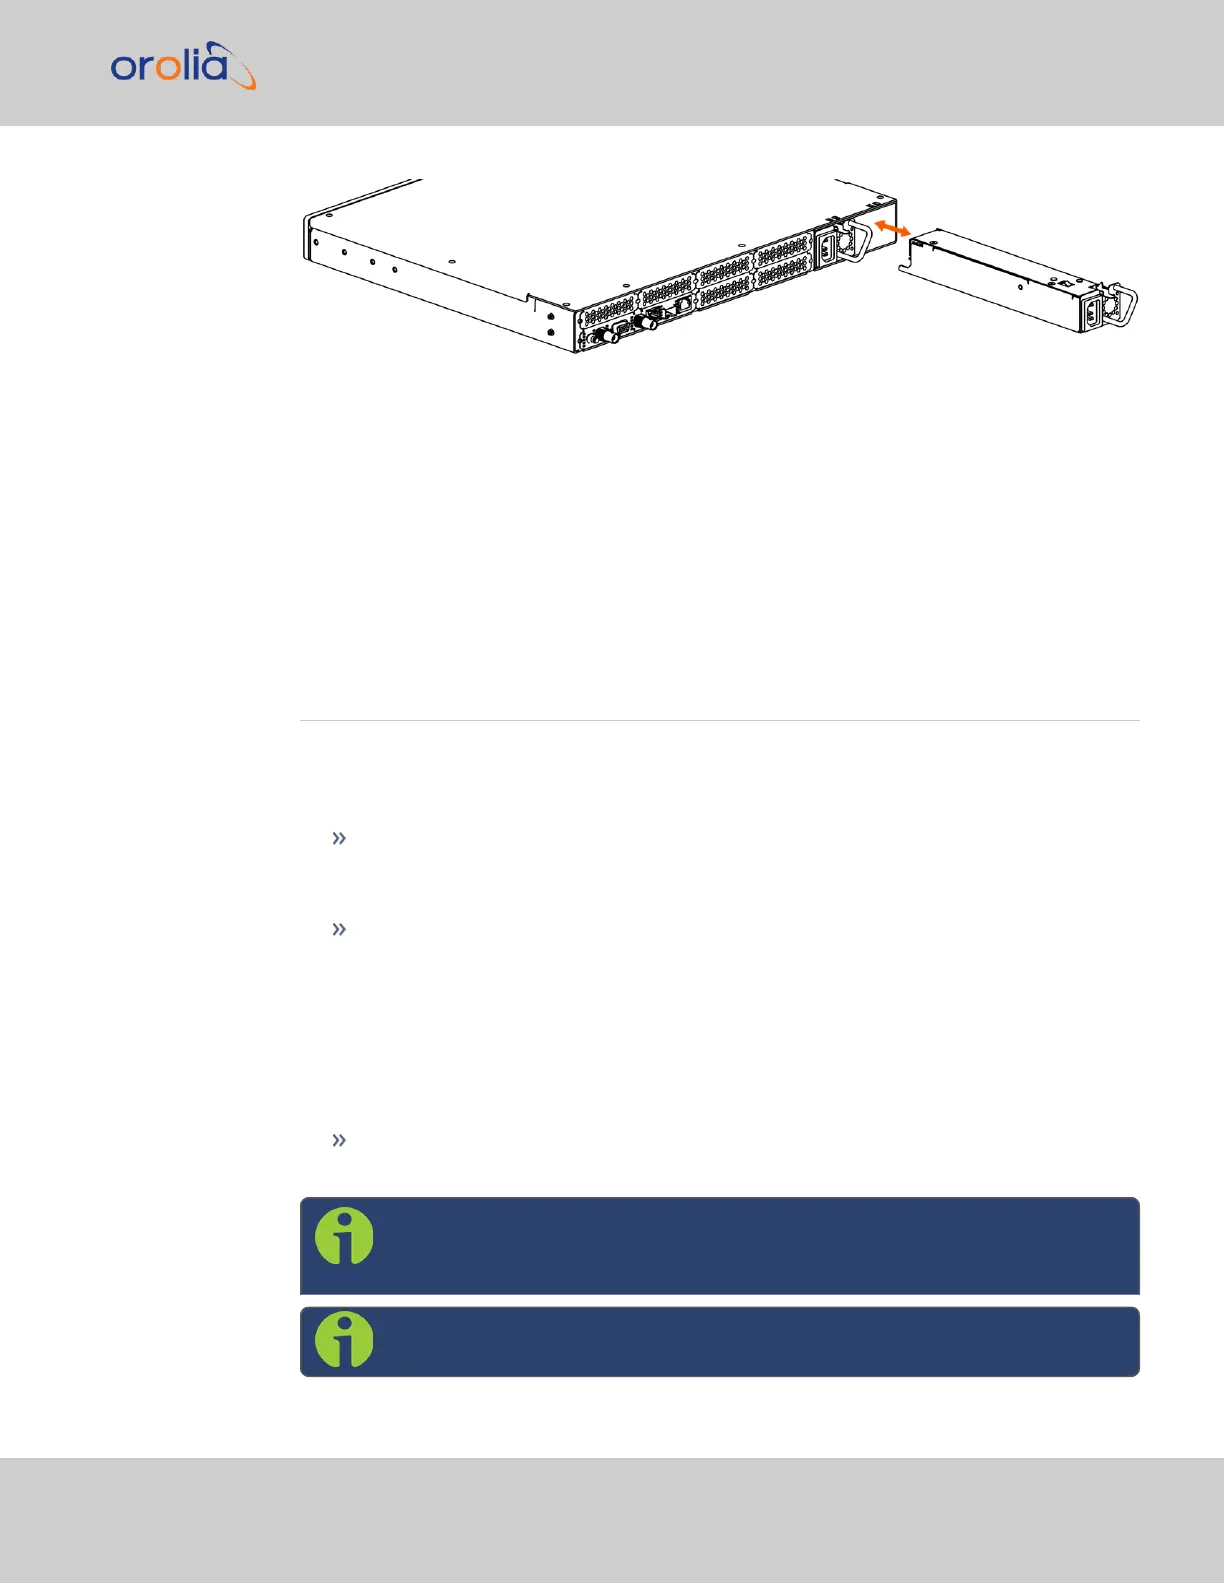
Figure 2-2: Hot Swap Power Supply installation (rear view)
To remove a power supply sled, first unplug the power input to be removed. Then, press
the lever fully down and pull on the handle.
To install a power supply, insert the sled until the latch clicks and the rear panel of the
supply is aligned with the rear panel of the SecureSync.
After installing power supplies, functionality can be confirmed through the Web UI or by
using the CLI command HS_GetStatus 0
2.9 Network Setup
There are three methods that can be used to communicate with your SecureSync in order
to set up an IPv4 address and configure inputs and outputs; the best method will depend
on your specific setup and connections.
The web user interface ("Web UI") is the most complete way to configure and
monitor the unit. The Web UI is available through one of the Ethernet ports via a net-
work connection. Using the Web UIrequires a web browser.
The Command Line Interpreter ("CLI") is available through the USB serial port
(front panel), or the RJ45 serial port (rear panel). The CLI can be either a means to
configure the unit to allow access to the Web UI, or the principal means of com-
munication with your SecureSync. Using the CLI requires a terminal emulator pro-
gram.
The command helpcli provides a list of helpful commands (press q or ctrl c to exit)
as does the main user manual.
The front panel display menu also allows monitoring and settings adjustments.
Using the front panel display requires physical access to the unit.
Note: The default credentials for both the Web UI and the CLI are:
username: spadmin
password: admin123
Note: SecureSync's network settings have DHCP enabled by default.
2.9 Network Setup
SecureSync 2400 Getting Started Guide Rev. 2 23
 Loading...
