14 of 25 15 of 25
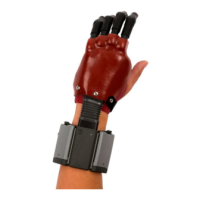
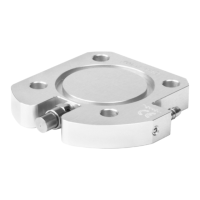
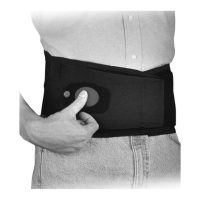
Fig. 28:
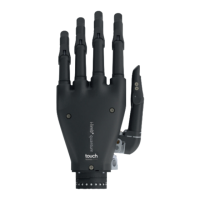
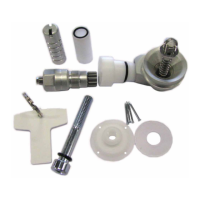
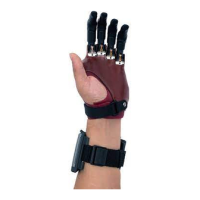
Fig. 29:
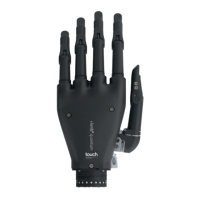
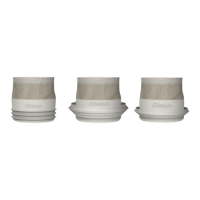
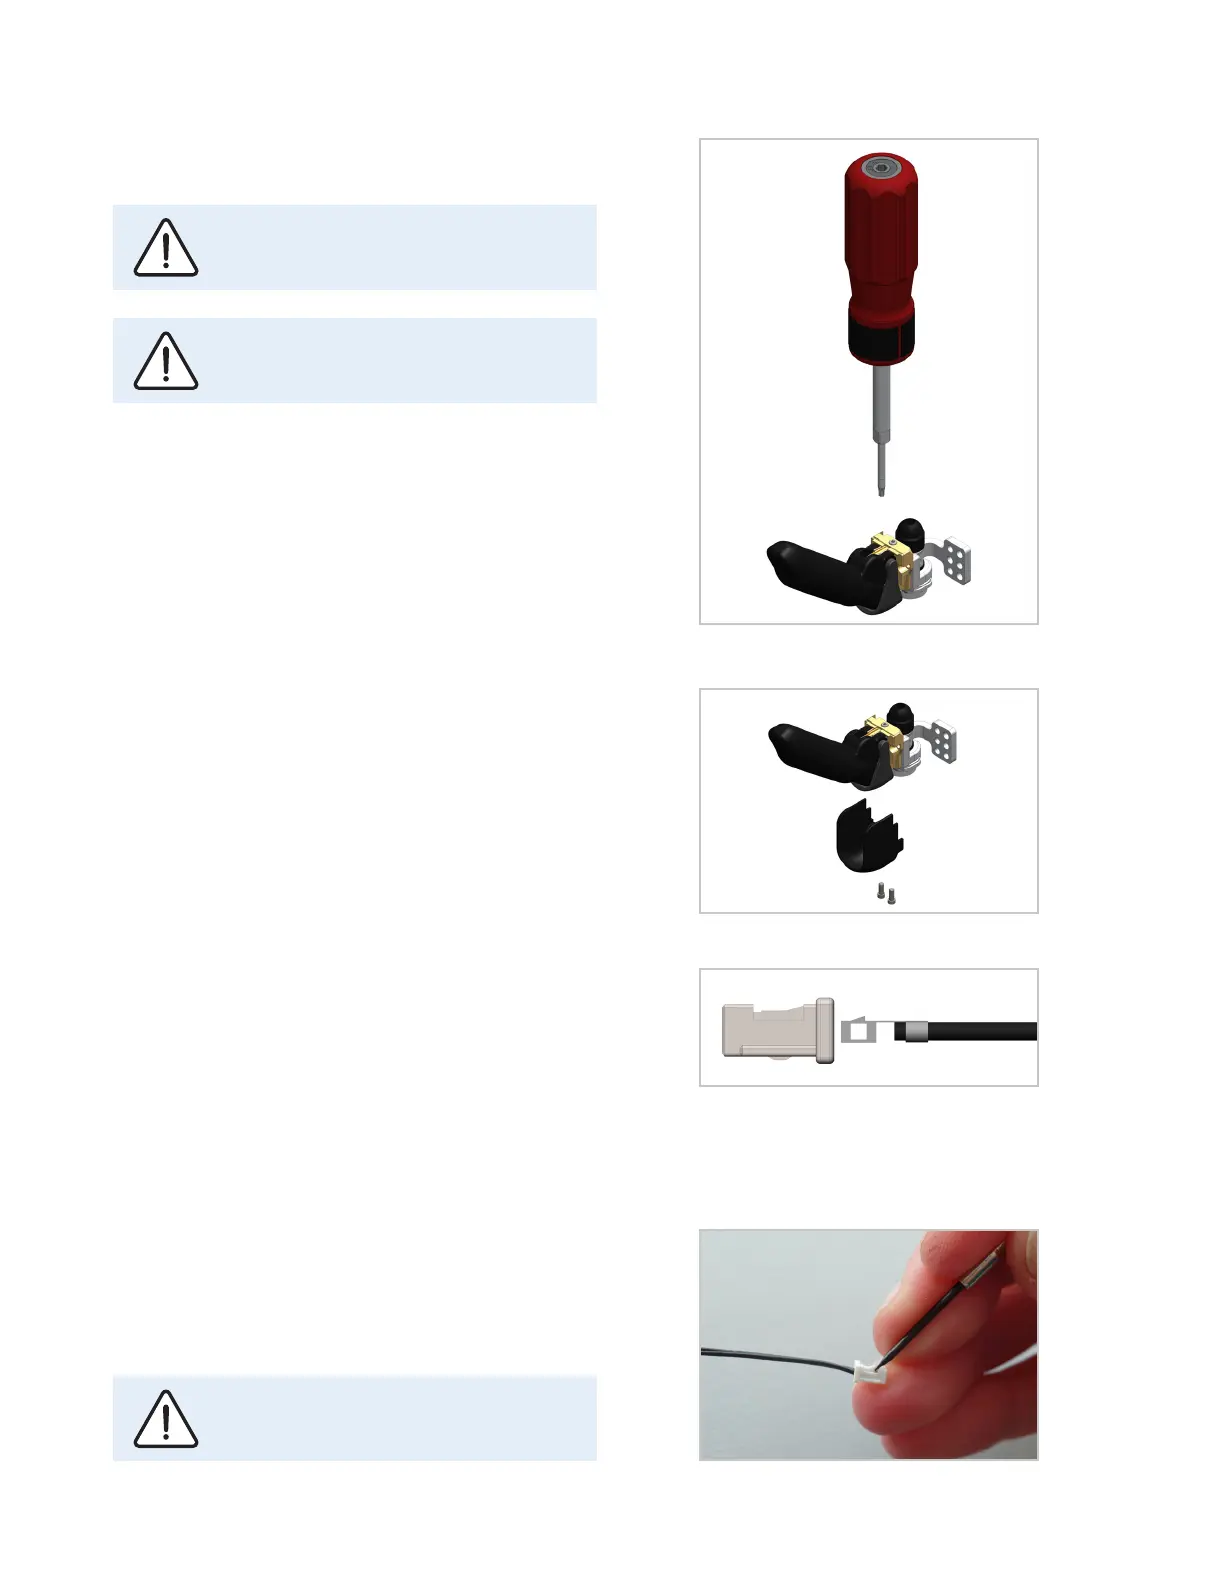
Fig. 30:
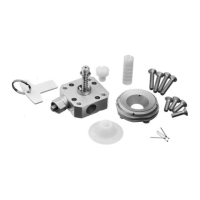
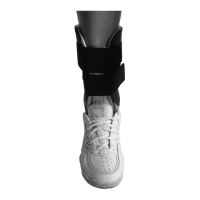
Fig. 31:
Using a torque driver set to 1 Nm, re-attach the thumb to
the single knuckle assembly (fig. 28).
Slide the knuckle fairing over the back of the thumb and
attach using two M2x5 mm Screws (fig. 29).
Thumb digit wire should be fed through the central hole
in the thumb assembly exiting at the base cap end.
Re-attach the base cap, using the screws previously re-
moved (fig. 24).
Add connector onto each of the thumb digit wires as
shown. Ensuring ‘tooth’ is fully secured into connector
(fig. 30)
After diagnostic fitting thumb wire connector should be
removed to enable fabrication of definitive prosthesis.
To remove connector from thumb wire; place small flat
screwdriver under tab of connector and lift up. Gently pull
on digit wire to release from connector.
When inserting the M3 grub Screw into
the single knuckle a T6 torque driver, set to
1.0 Nm, must be used (fig. 28).
Screws supplied are recommended for
single use only. Always use new screws for
final assembly.
After each time of removal of a connector,
a new connector should be used on the
thumb wires.
 Loading...