18 of 25
Create slack in the digit wires, so that the bellow assembly
flexes without tension in the digit wires (fig. 39).
Fig. 39:
If there is not enough slack, flexing of the
bellows may lead to failure of the digit wire
connection.
4.5 Removing the Digit Wires
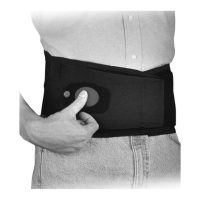
To remove a digit wire, pull on connector piece to remove
the digit wires of the required digit.
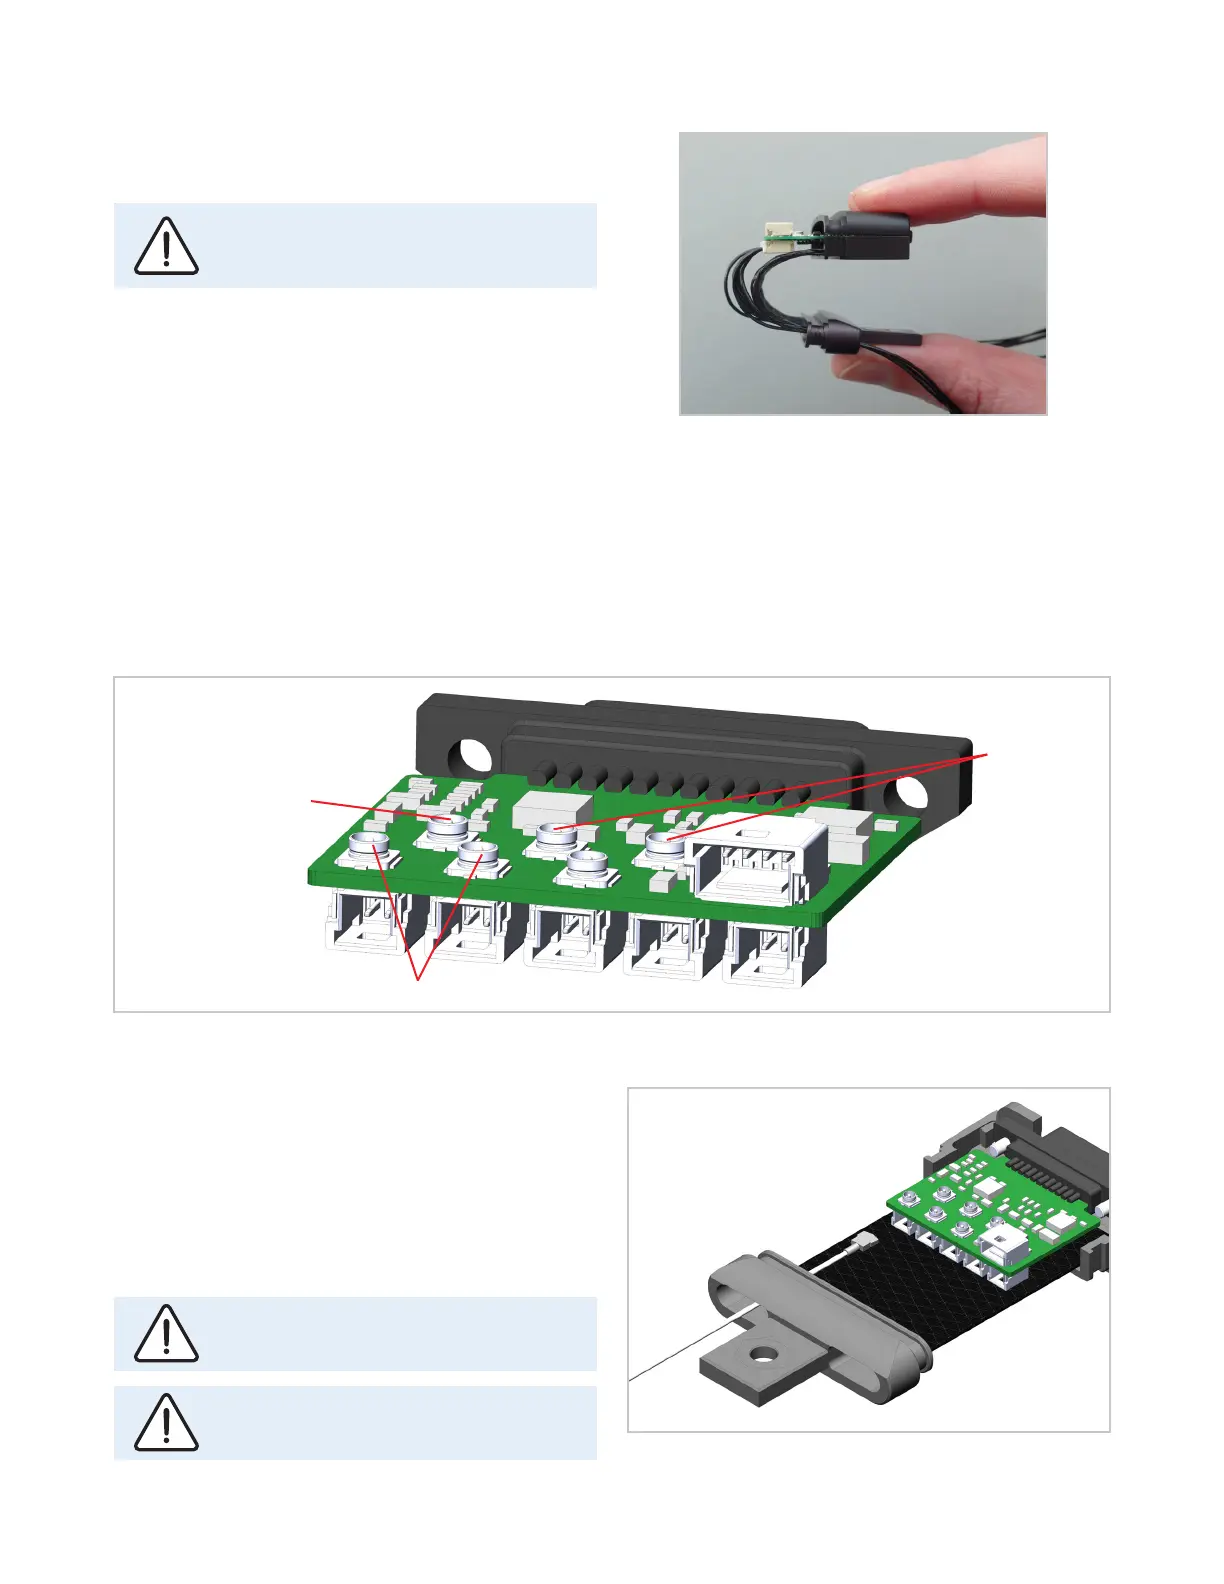
Once the digit wires are connected, slide the electrode ca-
bles through aperture shown in figure 41.
Connect the cables following the mapping shown in figure
40.
To mate the connectors, the mating axes of both con-
nectors must be aligned aand then pushed together. The
“click” will confirm fully mated connection.
Do not attempt to insert on an extreme
angle or the connector will break.
Take care not to damage the PCB.
Signal 1
Ground
Signal 2
4.6 Connecting the Electrodes to the Wristband
Fig. 40:
Fig. 41:
 Loading...