14 of 27 15 of 27
Charging the battery
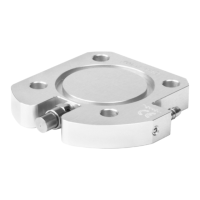
Plug the mains charger into the mains socket. Attach the
magnetic charger to the charger port on the prosthesis.
When in standby, the charger unit will display a faint
green light.
When charging is in progress, a red light is displayed.
When fully charged a green light is displayed.
Charging time: 90 minutes to 3 hours
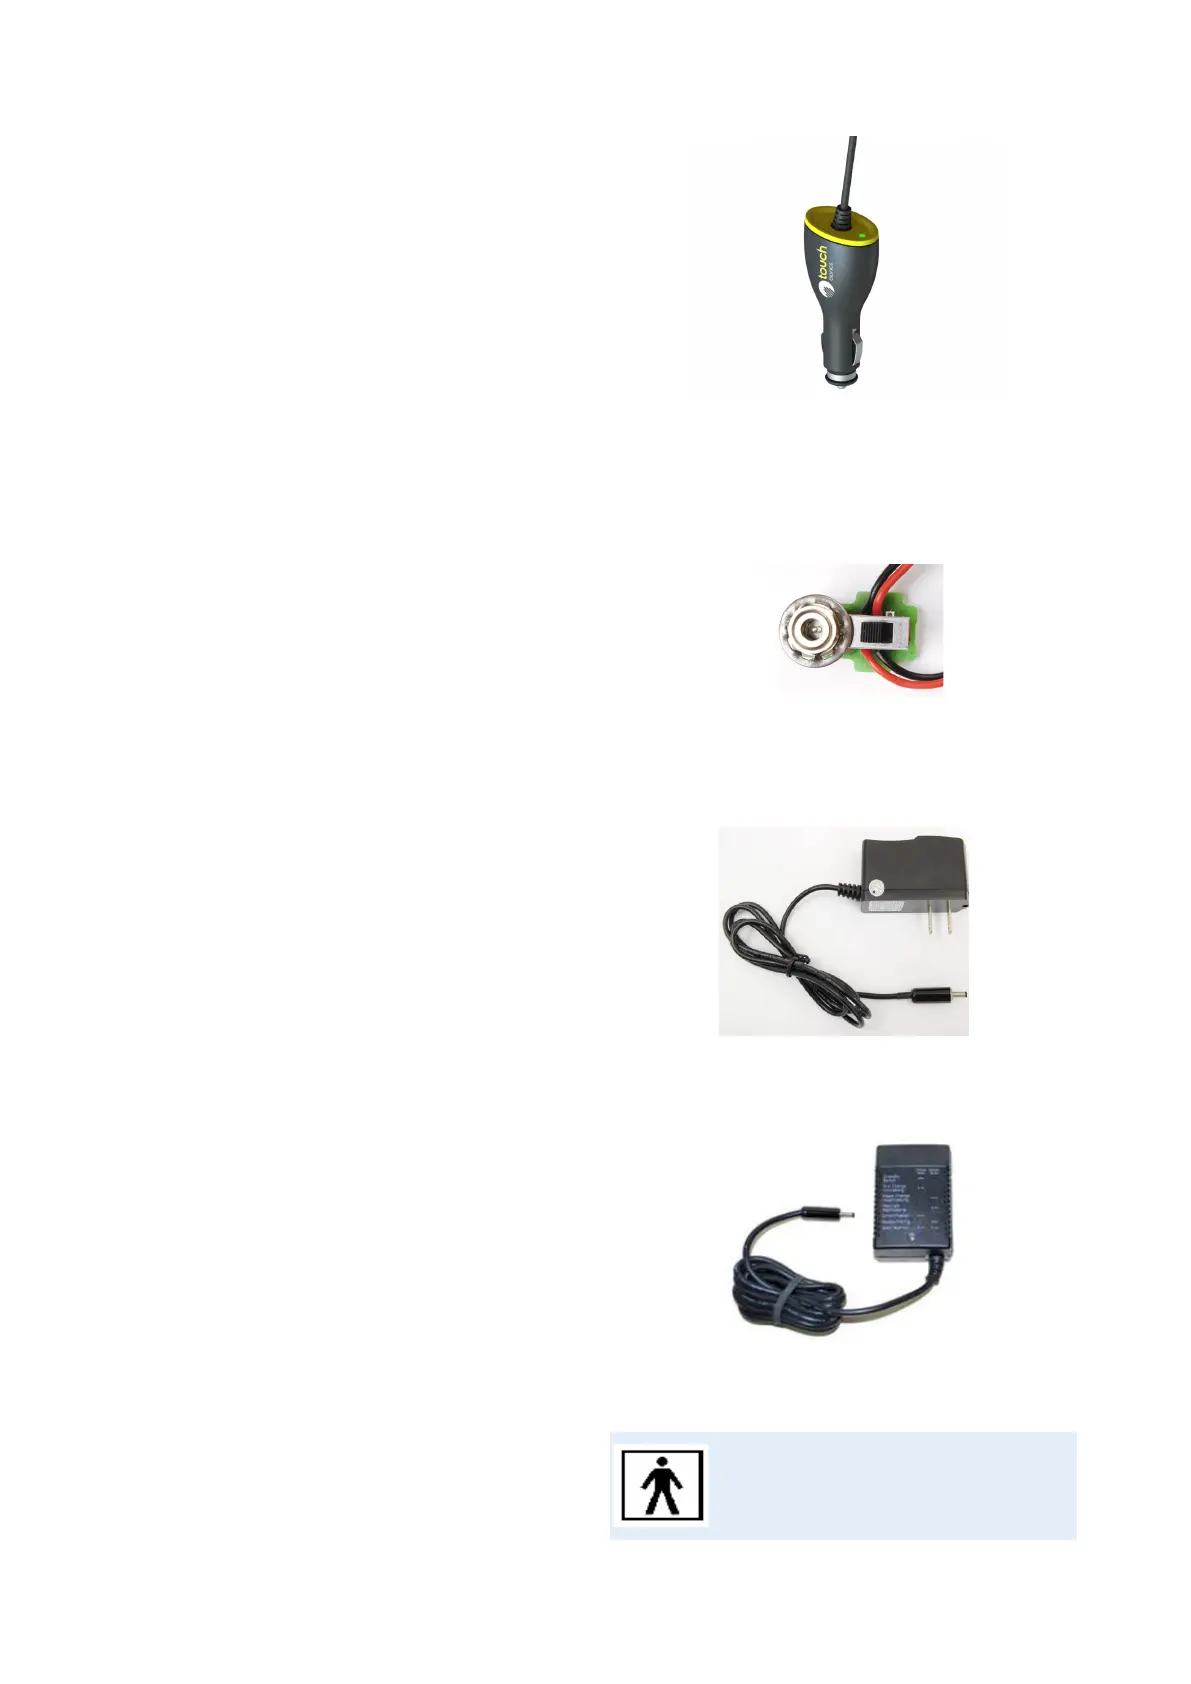
A car charger is also available.
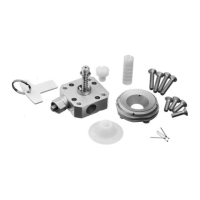
4.2 Switch block or DC charge port
If using an internal battery within the prosthesis and us-
ing a switch block or DC charge port:
To turn the power on/o
If using a switch block the power to the prosthesis can
be turned on by pushing the switch away from the charge
port. It is turned o by pushing the switch towards the
charge port.
Charging the battery
Insert the charger into the power outlet. Insert the char-
ger lead connector into the charge port. A “click” should
be heard on connection.
The light display for the charger option 1 is:
• Solid Red: charging
• Solid Green: fully charged or idle
• Continuous flashing red: fault condition
• Rapid flashing amber: Threshold state between
charging and fully charged ( should only last for 1-2
seconds)
• Continuous flashing red or green: Connection
Error. Remove charger lead connector from the
charge port. Ensure charger is plugged in and
switched on at the mains. Re-insert the charger
lead connector into the charge port.
The light display for the charger option 2 is:
• Solid Amber: on standby
• Slow flashing amber: pre-charge mode
• Rapid flashing amber: Error
• Slow flashing green: maintenance charge
• Rapid flashing green: rapid charge
• Solid green: fully charged
Charging time: 90 minutes to 3 hours
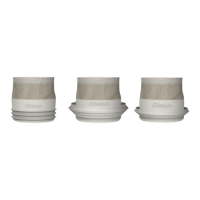
Fig. 16: Switch block
Fig. 17: Charger option 1
Fig. 18: Charger option 2
The magnetic charger, DC port and switch
block are an applied part.
 Loading...