Welding GB
39
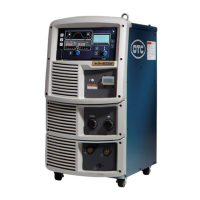
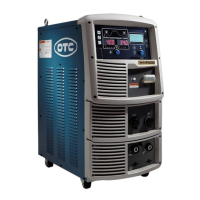
CPTX 270/CPTX 330
8. Welding
Set up the device in the workplace. Pay attention primarily to the fact that the air can
circulate well and the cooling is ensured. Clip the ground wire with the clamp on the clean,
non-oxidized work part. Congenial to the material and the thickness of the work piece, the
corresponding wire diameter (0.6 – 1.2 mm, see technical data) has to be selected. After
turning the switch the welding machine is on and welding supply. With the potentiometer you
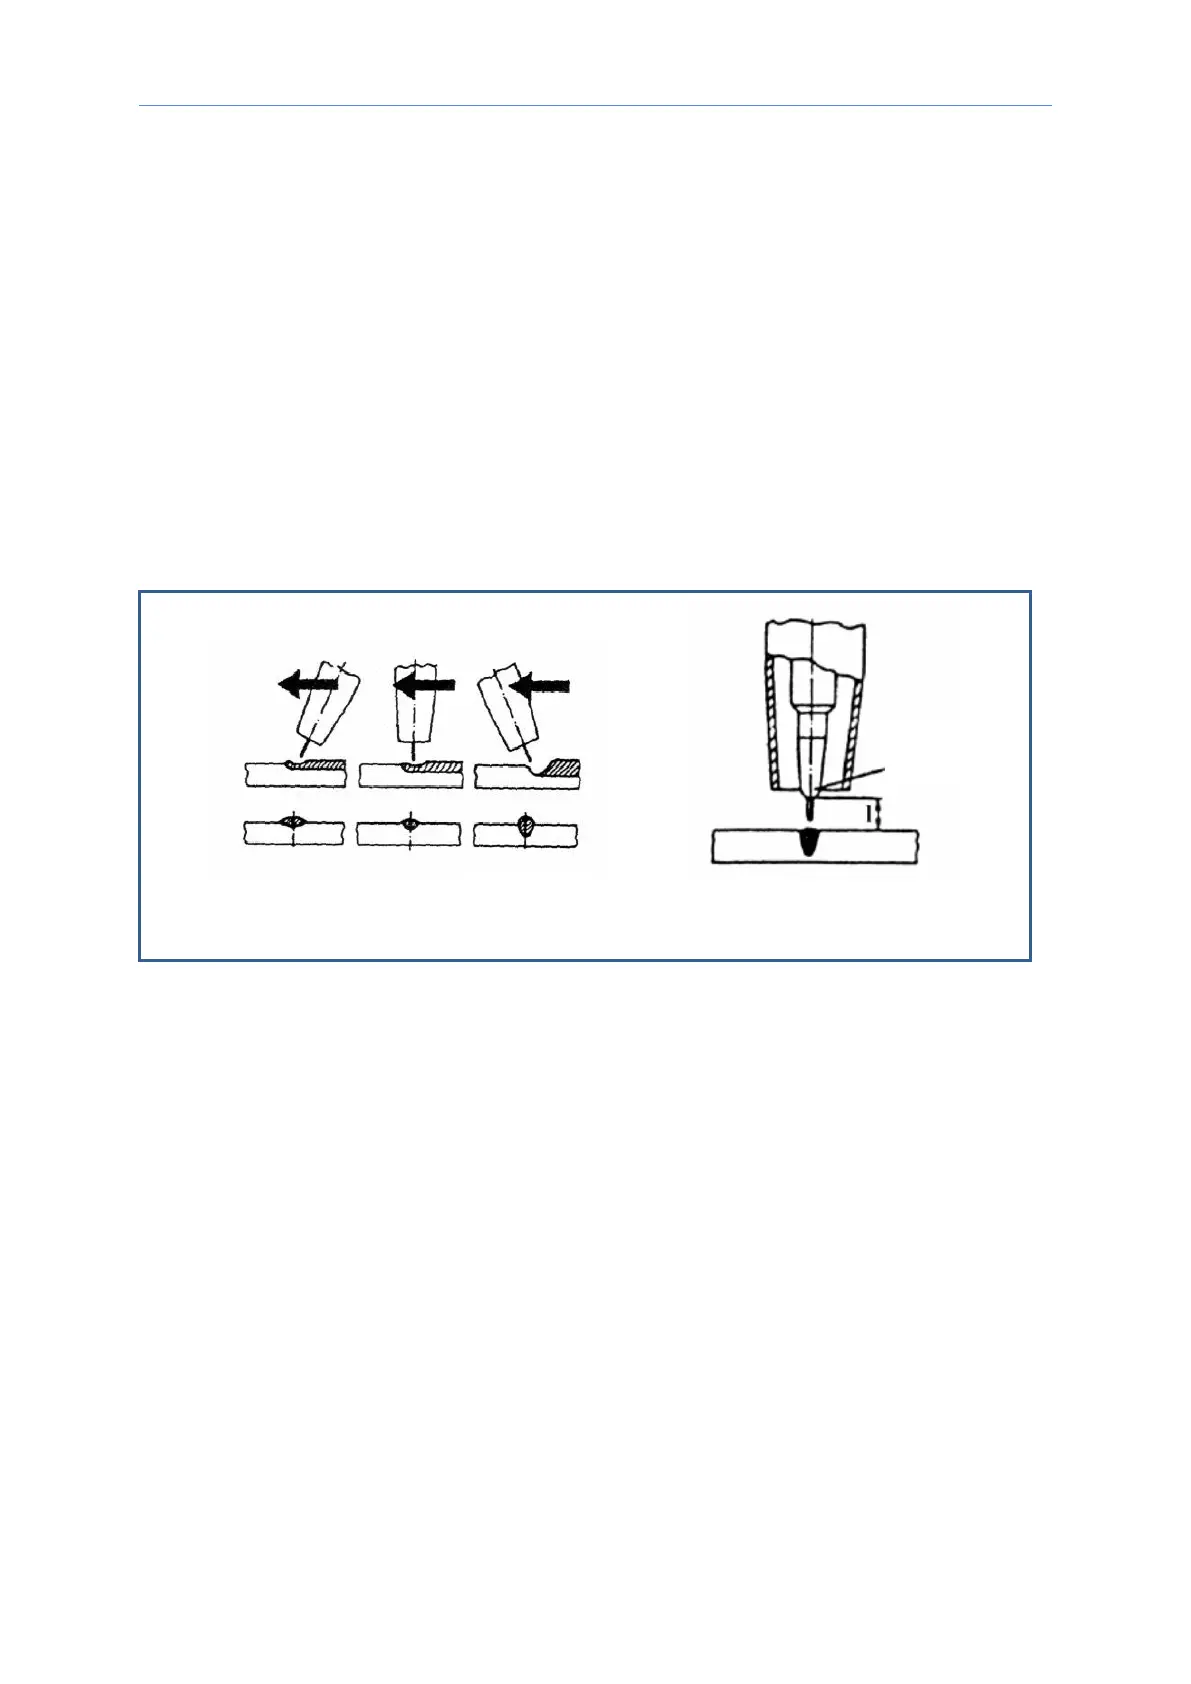
can select the needed wire speed. Note that the handling of the torch greatly affects the
welding quality (see following figures).
The distance between the wire and the work piece must be kept constant, whereat the
recommended distance for steel plates is about 5-10 mm.
Pressing the torch switch the unit starts to weld. The torch is handled by one of the three
methods shown above.
8.1 Setting of welding current
The welding current is adjusted by turning the tap changer as follows:
Turn right = increase of welding current
Turn left = decrease of welding current