Note • White noise can be selected for masking of pure tones. The white noise signal is calibrated for pure tone effect-
ive masking, i.e. the white noise sound pressure level varies with the pure tone frequency. If you wish to obtain a cer-
tain white noise level measured in dB SPL, you should use Conversion Table 2 to determine the appropriate
attenuator setting. See AURICAL Aud ► 20
14 Performing speech audiometry
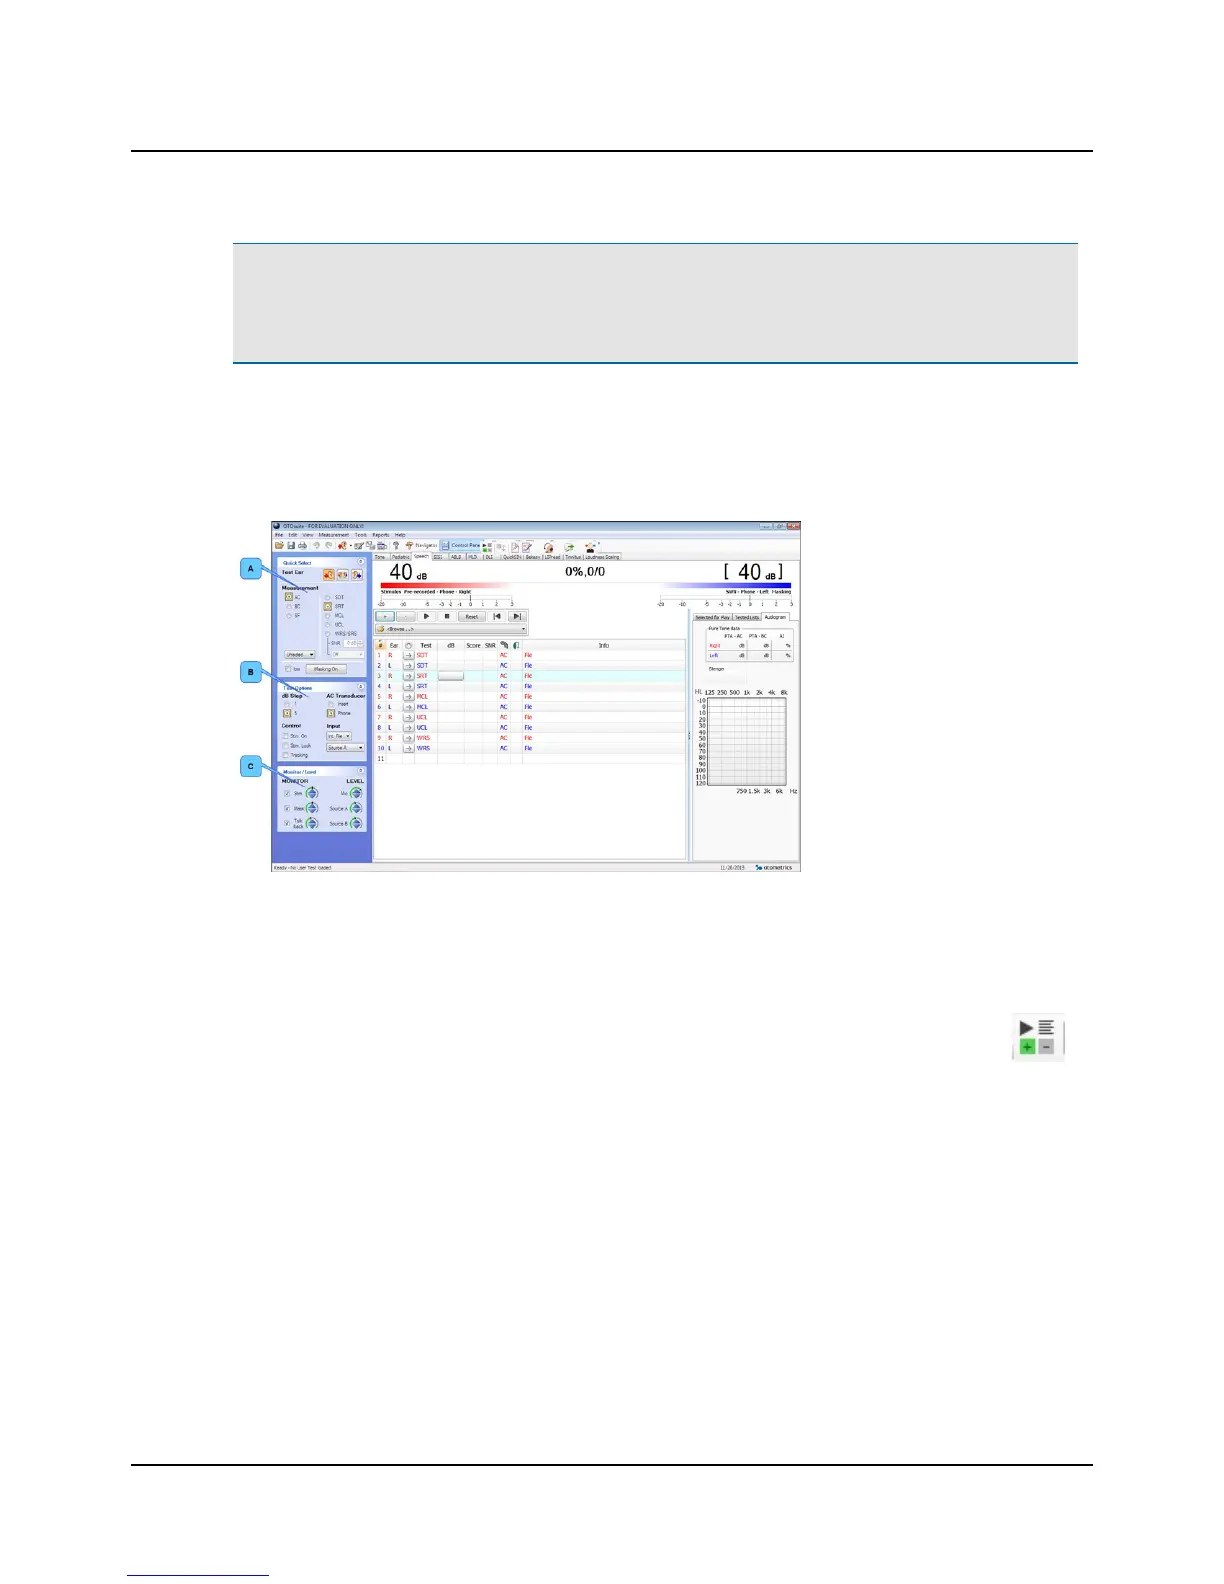
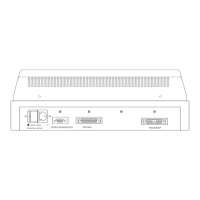
A. Quick Select panel
B. Test Options panel
C. Monitor/Level panel
Whenever the test buttons and other functions are used, you can use the corresponding keys on the keyboard, or the on-
screen controls located at the top of the screen or in the Control Panel to the left.
For detailed examples of audiometric testing, see the AURICAL Aud Reference Manual.
1. Select the Speech screen in the OTOsuite Audiometry module.
2. If needed, click the Scoring and Playing icon to set up word or phoneme scoring.
3. Prepare the patient. If you wish to instruct the patient after you have placed the transducers on the head of the
patient, you can use the Talk Forward button. You can talk to the patient to adjust the patient communication levels
when Talk Forward is active.
4. In the Control Panel, select test conditions for ear, transducer, unmasked/masked, and test type.
5. Select the stimulus level with the Up/Down arrow buttons (or on keypad).
6. Select speech input signals.
You can choose from either microphone input or recorded input source. Combining recorded Source A and Source B
as Input sources in the Test Options section of the Control Panel will replace the audiometer speech masking with a
recorded input.
7. Select your speech input from the right-click menu in the control panel (or for Source A or Source B from the drop-
down lists in the Test Options section of the Control Panel).
– Int.CD (CD material in CD/DVD drive)
Otometrics - AURICAL Aud
17
14 Performing speech audiometry