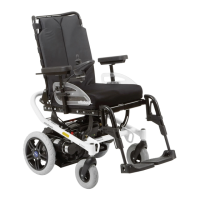
31
This results in the following information regarding "correct" use of the battery indicator:
• Batteries are charged
• Charge the batteries if possible
• Battery charging is urgently required
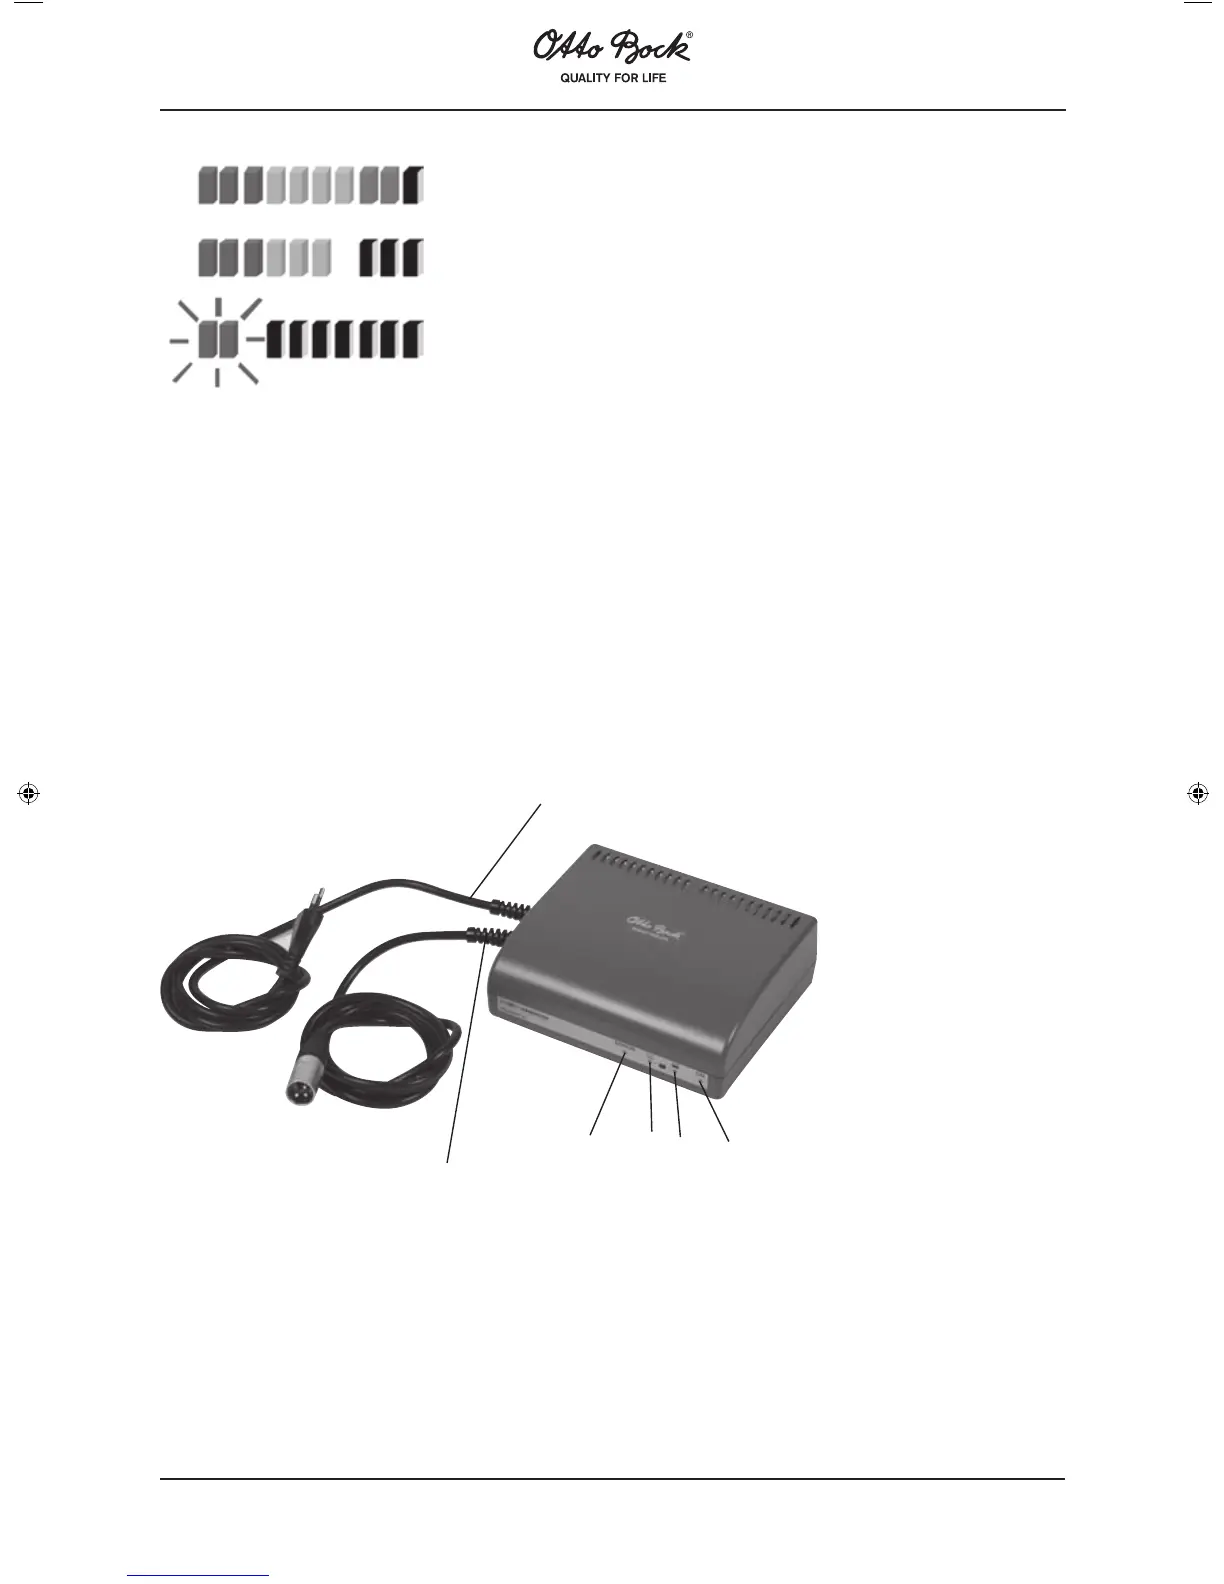
Figure: Battery indicator
Immediately after switching on, the LEDs show the battery capacity status saved before the wheelchair was
switched off the last time. The exact state of the remaining capacity will be displayed after driving for a short
moment.
10.7 Charging
The remaining battery capacity determines the distance range of the A200, and many factors have an influence
on the batteries‘ capacity. Besides the temperature, the age of the batteries and the time and extent of driving,
the way you charge the batteries has considerable effects on the capacity and thus on the distance range. Driv-
ing over a longer period of time with only the red LEDs of the battery indicator lit will result in battery discharge
and thus battery damage. In addition, there is the risk that the A200 may stop due to zero battery capacity and
thus bring the user into a dangerous situation. When the wheelchair is used on a daily basis, it is sufficient to
charge the batteries when the orange and red LEDs are lit. If the A200 is not used for a longer period of time, a
charging cycle should be carried out once a week to maintain the batteries’ capacity.
Connect the charging plug to the A200 control panel. Then plug the charger into the mains and switch on the
charger. First charging indicator 1 is lit to confirm that the charging process is active. Next, charging indicator 2
lights up to indicate that the battery is charged to approx. 80 %. Finally, both charging indicators, 1 and 2, are
lit to indicate that the battery is fully charged. Switch of the charger at the mains, then remove the charger plug
from the control panel.
1. Mains cable
2. Battery cable
3. Error indicator lamp
4. Charging indicator 1
5. Charging indicator 2
6. On / Off lamp
1
2
3
4
5
6
 Loading...