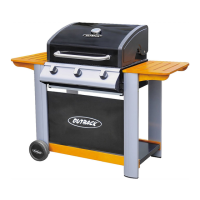
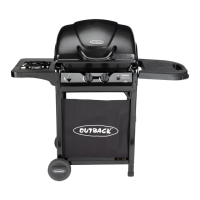
5
2
D7
C2
C1
C3
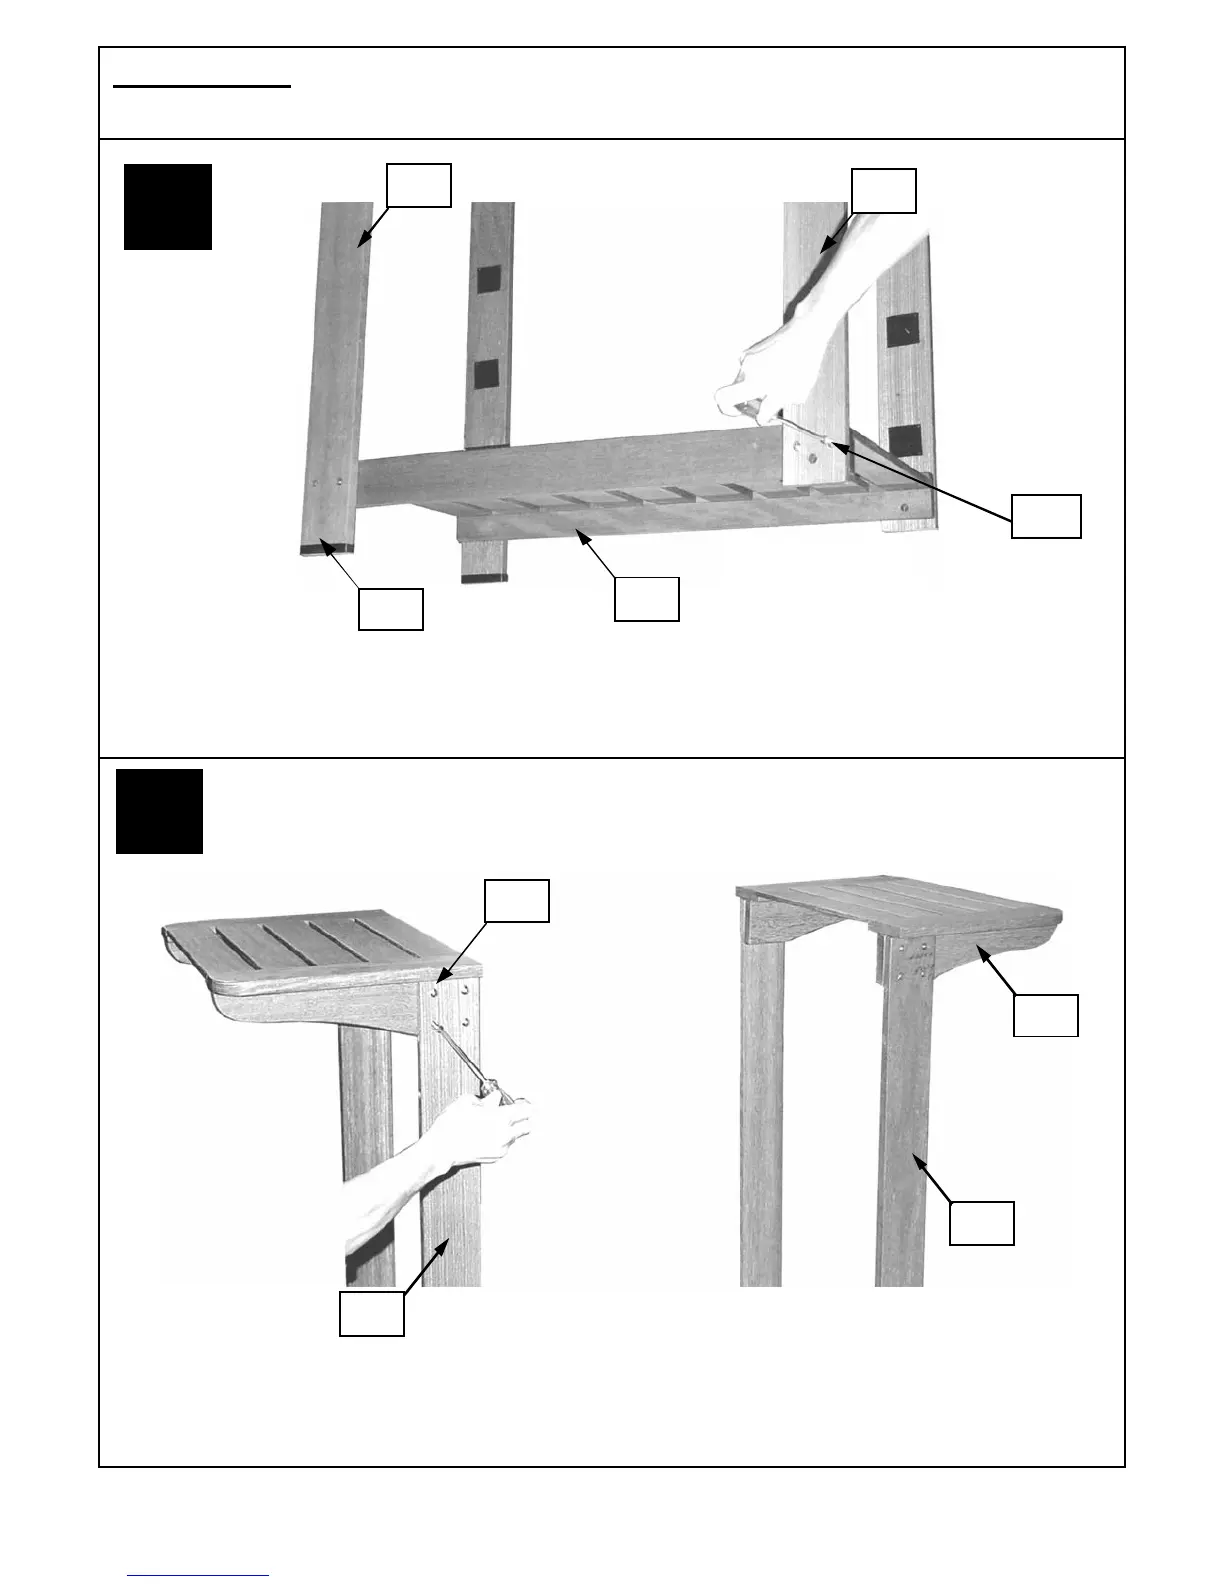
Attach the short (C2) and long legs (C3) to the trolley base (C5) using the trolley bolts (D7). Take care to fix
the legs with Velcro attached as shown in the illustration.
Attach the side shelves (C1) to the short (C2) and long (C3) legs using the trolley bolts (D7).
D. Assembly
TOOLS NEEDED FOR ASSEMBLY:
Medium size flat blade or Phillips/crosspoint screwdriver, adjustable spanner or metric spanner set
1
C3
C6
D7
C2
C5
(Photo depicts trolley
from the reverse side)