10
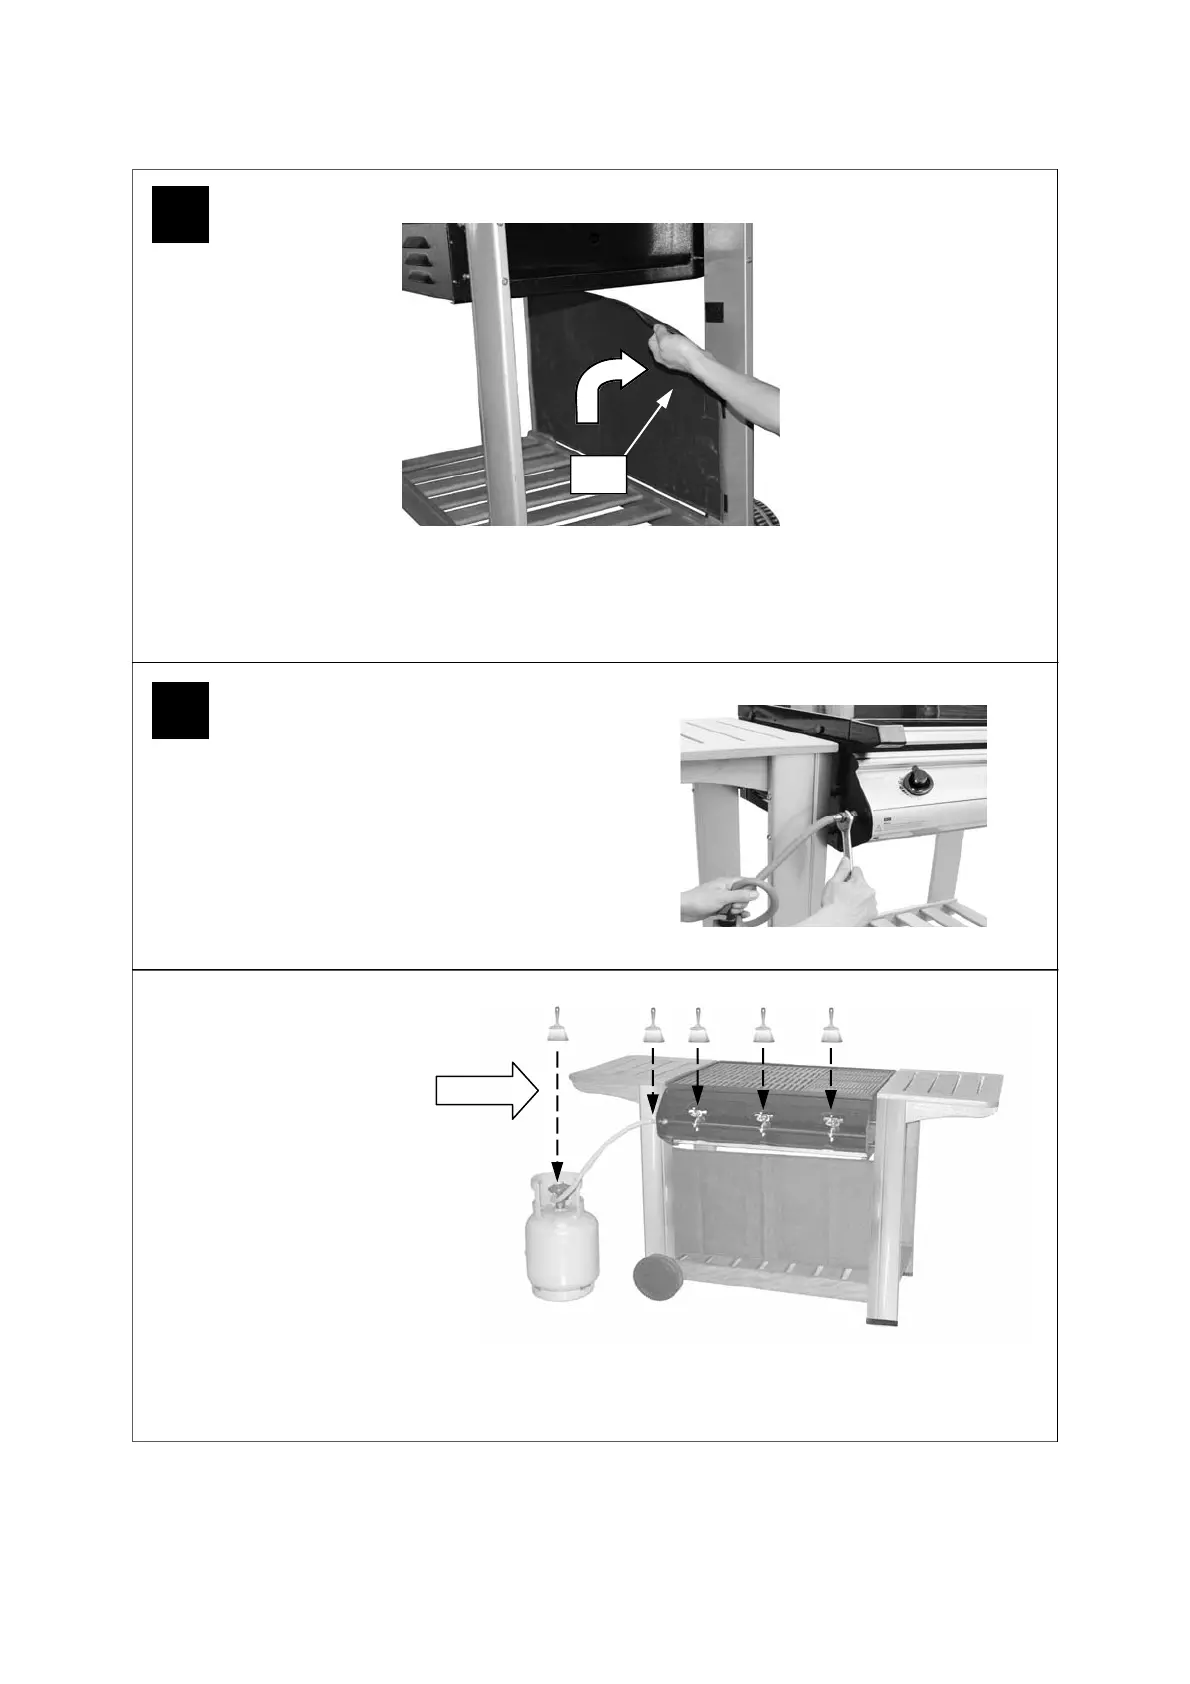
Leak Test Diagram
ASSEMBLY IS NOW COMPLETE.
PROCEED TO THE NEXT PAGE FOR INSTRUCTIONS ON OPERATION AND MAINTENANCE.
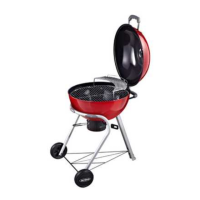
Connect the gas hose and regulator (B13) to the
BBQ. Ensure the mating faces of the connection
are clean and not damaged. Do not use any
sealing tape, paste or liquid on the joint. The nut
must be tightened with a spanner. Do not use
force which may damage the assembly.
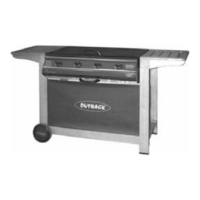
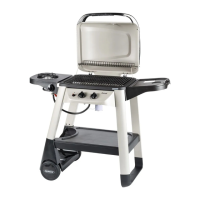
Attach the screen (C6) to the front left/right legs as shown.
12
11
(Rear view of the barbecue trolley.)
C6
ALL JOINTS AND CONNECTIONS
MUST NOW BE LEAK TESTED BE-
FORE USING THE BBQ. FOR DE-
TAILS OF LEAK TESTING, PLEASE
REFER TO INSTRUCTIONS ON
PAGE 11.