OWC Data Doubler Installation
10
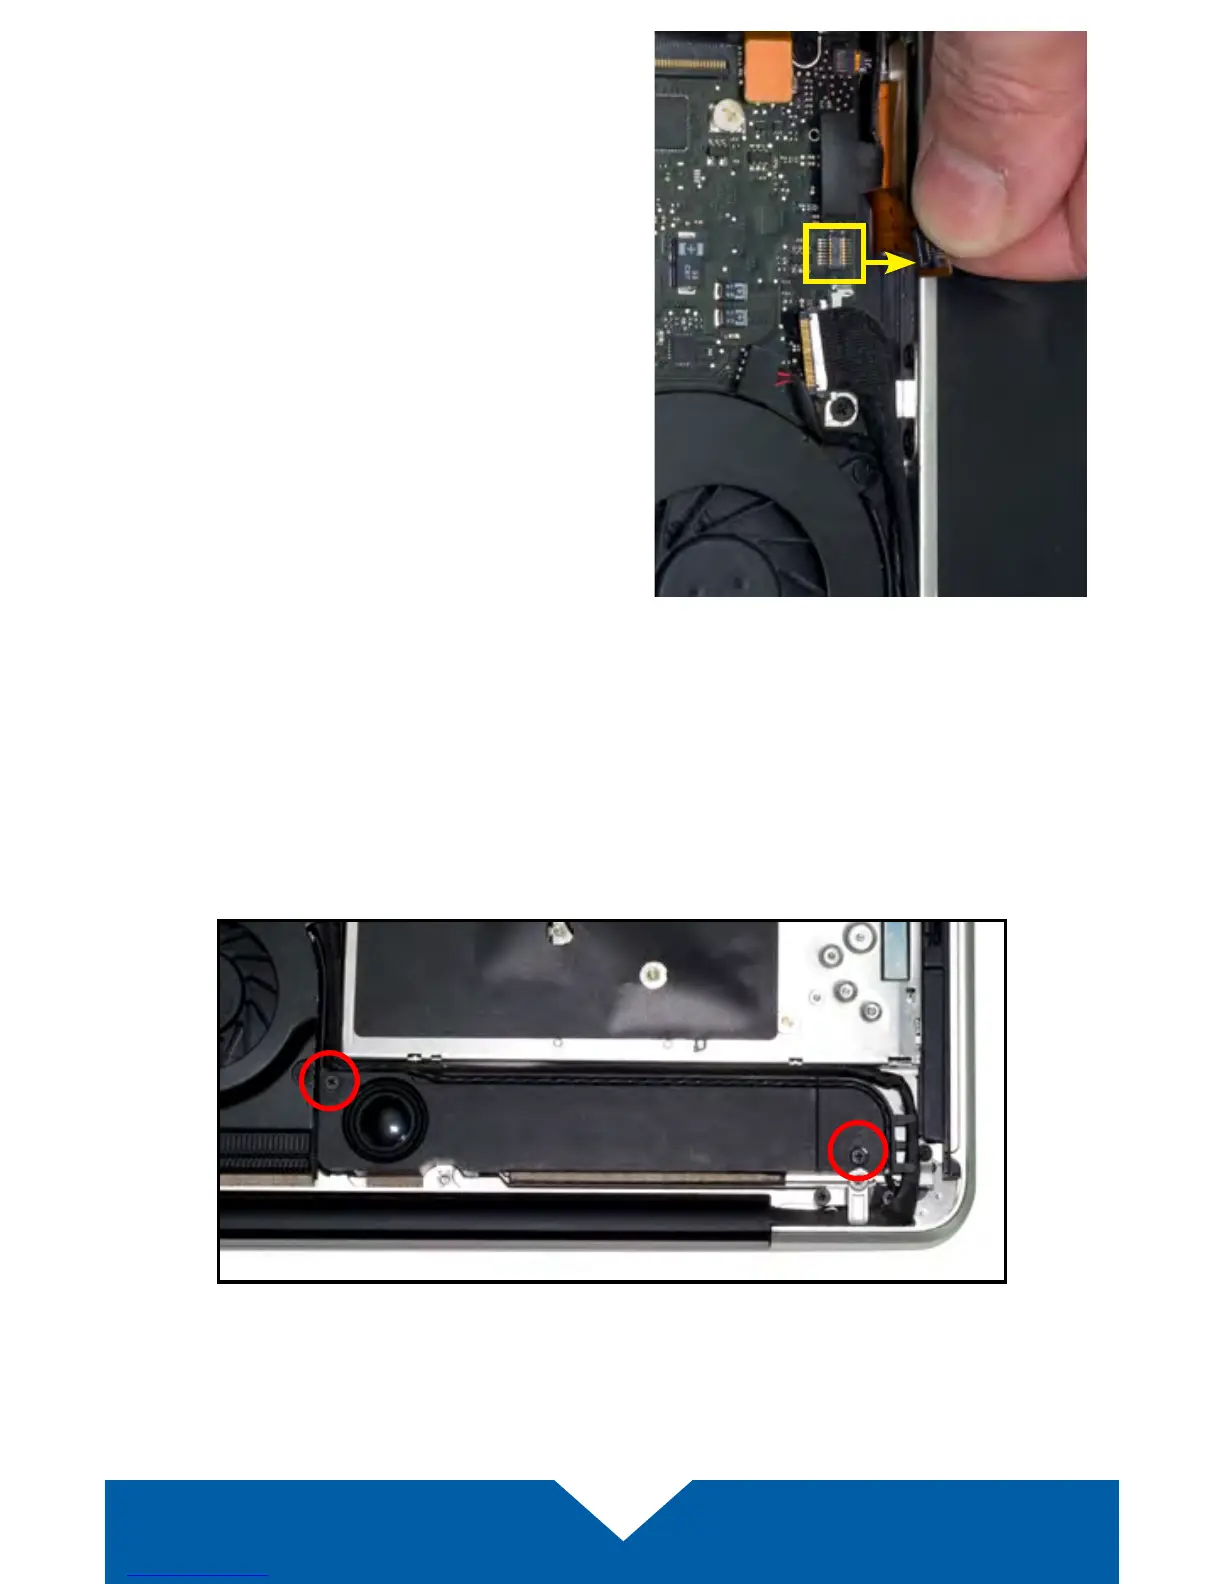
11. Just above the cable that you
disconnected in Step 9, there is a
ribbon cable — it will be orange
or black. This cable is connected
to the optical drive. Gently apply
upward pressure on the underside
of the cable using the included
nylon pry tool and disconnect the
cable from the logic board.
Caution: this cable is easily damaged.
12. There is a speaker housing with an attached wire that is located beneath
the optical drive; this housing must be detached from the chassis and set
aside before the drive can be removed. Loosen the two Phillips screws
that secure the housing (shown below in red) then gently lift it out of the
chassis and set it aside. The screws are used during the reassembly
process.