EasyManuals Logo
Home>OWC>Computer Accessories>data doubler

OWC data doubler Installation Guide

OWC data doubler
80 pages
To Next Page IconTo Next Page
To Previous Page IconTo Previous Page
Page #17 background imageLoading...
Page #17 background image
OWC Data Doubler Installation
15
2.2.2 Late 2009 13” MacBook (6,1) and Mid-2010 13" MacBook (7,1)
IMPORTANT: be sure that your laptop is fully shut down and disconnected
from all cables, including the power cable.
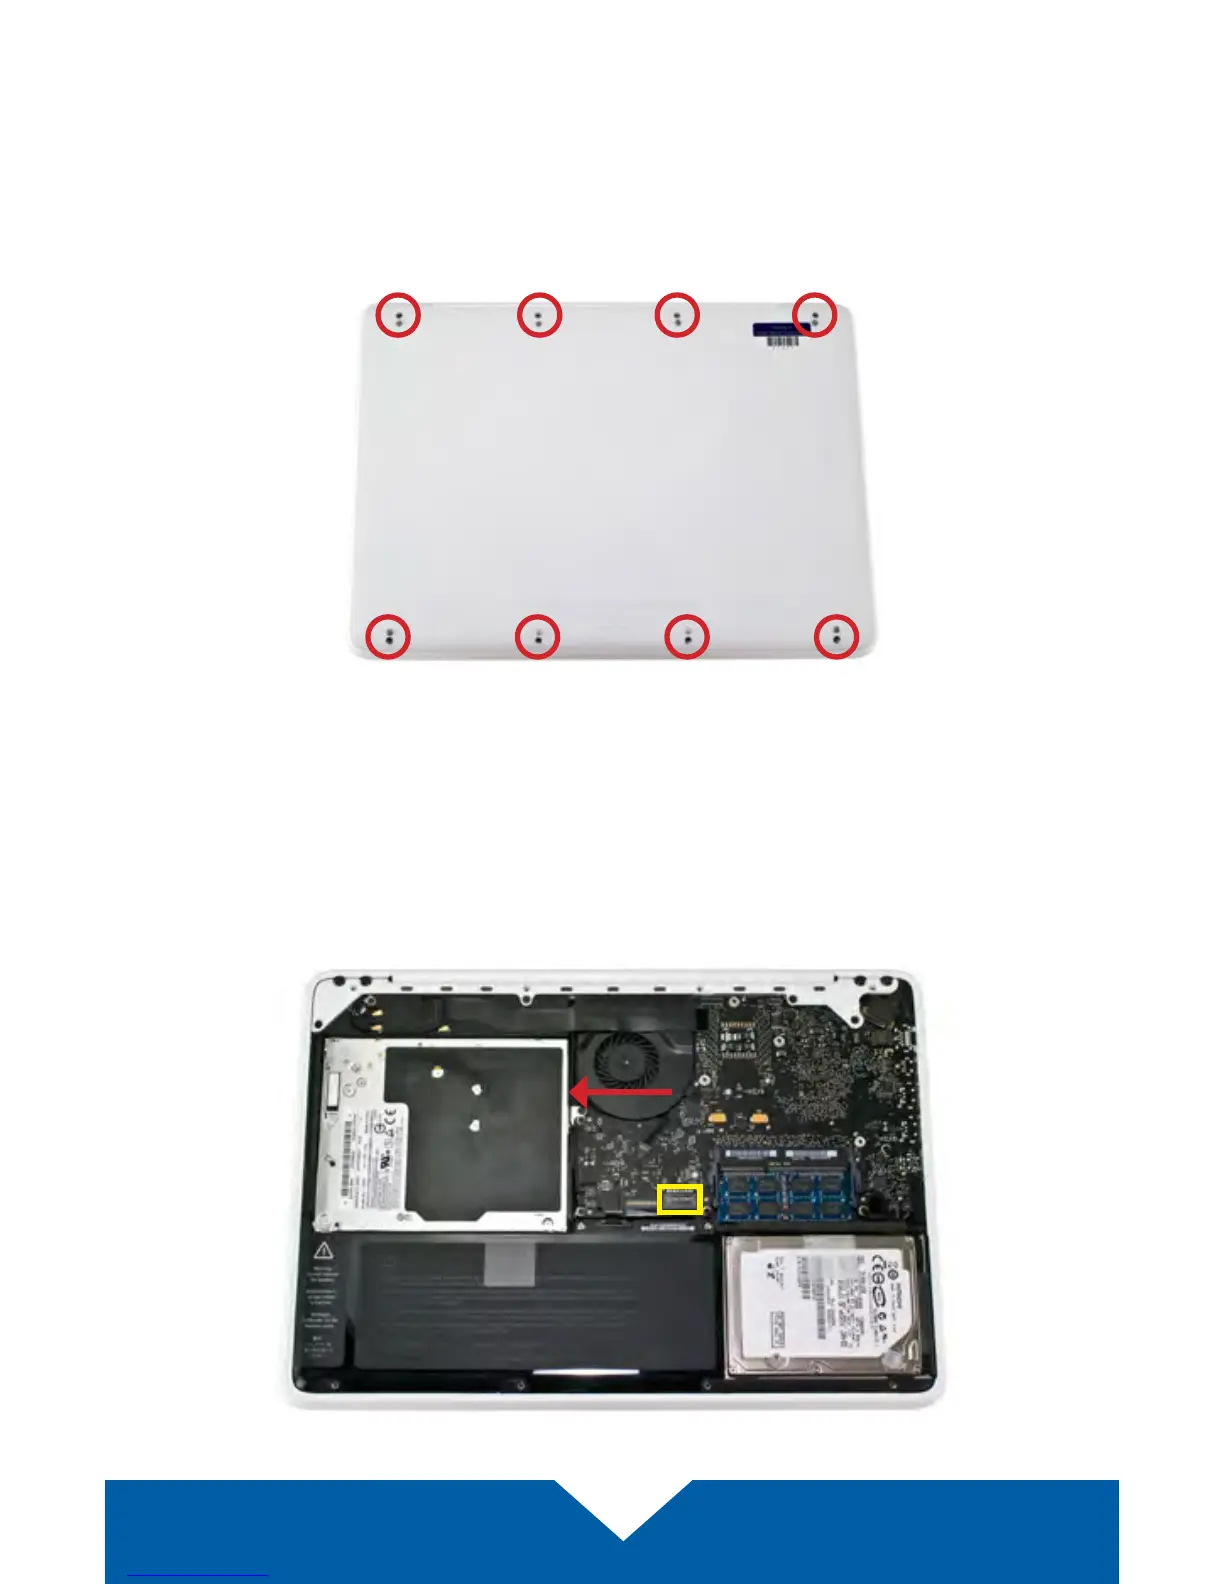
1. Remove the eight Phillips screws securing the bottom cover to the chassis.
2. Lift the bottom cover from the back of the laptop until the internal clips
release the bottom cover. Set the cover and screws aside. The optical drive
(indicated by the red arrow) needs to be removed. Recommended: before
moving to the next step, use the nylon pry tool to gently lift the battery
connector (highlighted in yellow) from the logic board.

Other manuals for OWC data doubler

Questions and Answers:

Question and Answer IconNeed help?

Do you have a question about the OWC data doubler and is the answer not in the manual?

OWC data doubler Specifications

General IconGeneral
BrandOWC
Modeldata doubler
CategoryComputer Accessories
LanguageEnglish

Related product manuals