OWC Data Doubler Installation
16
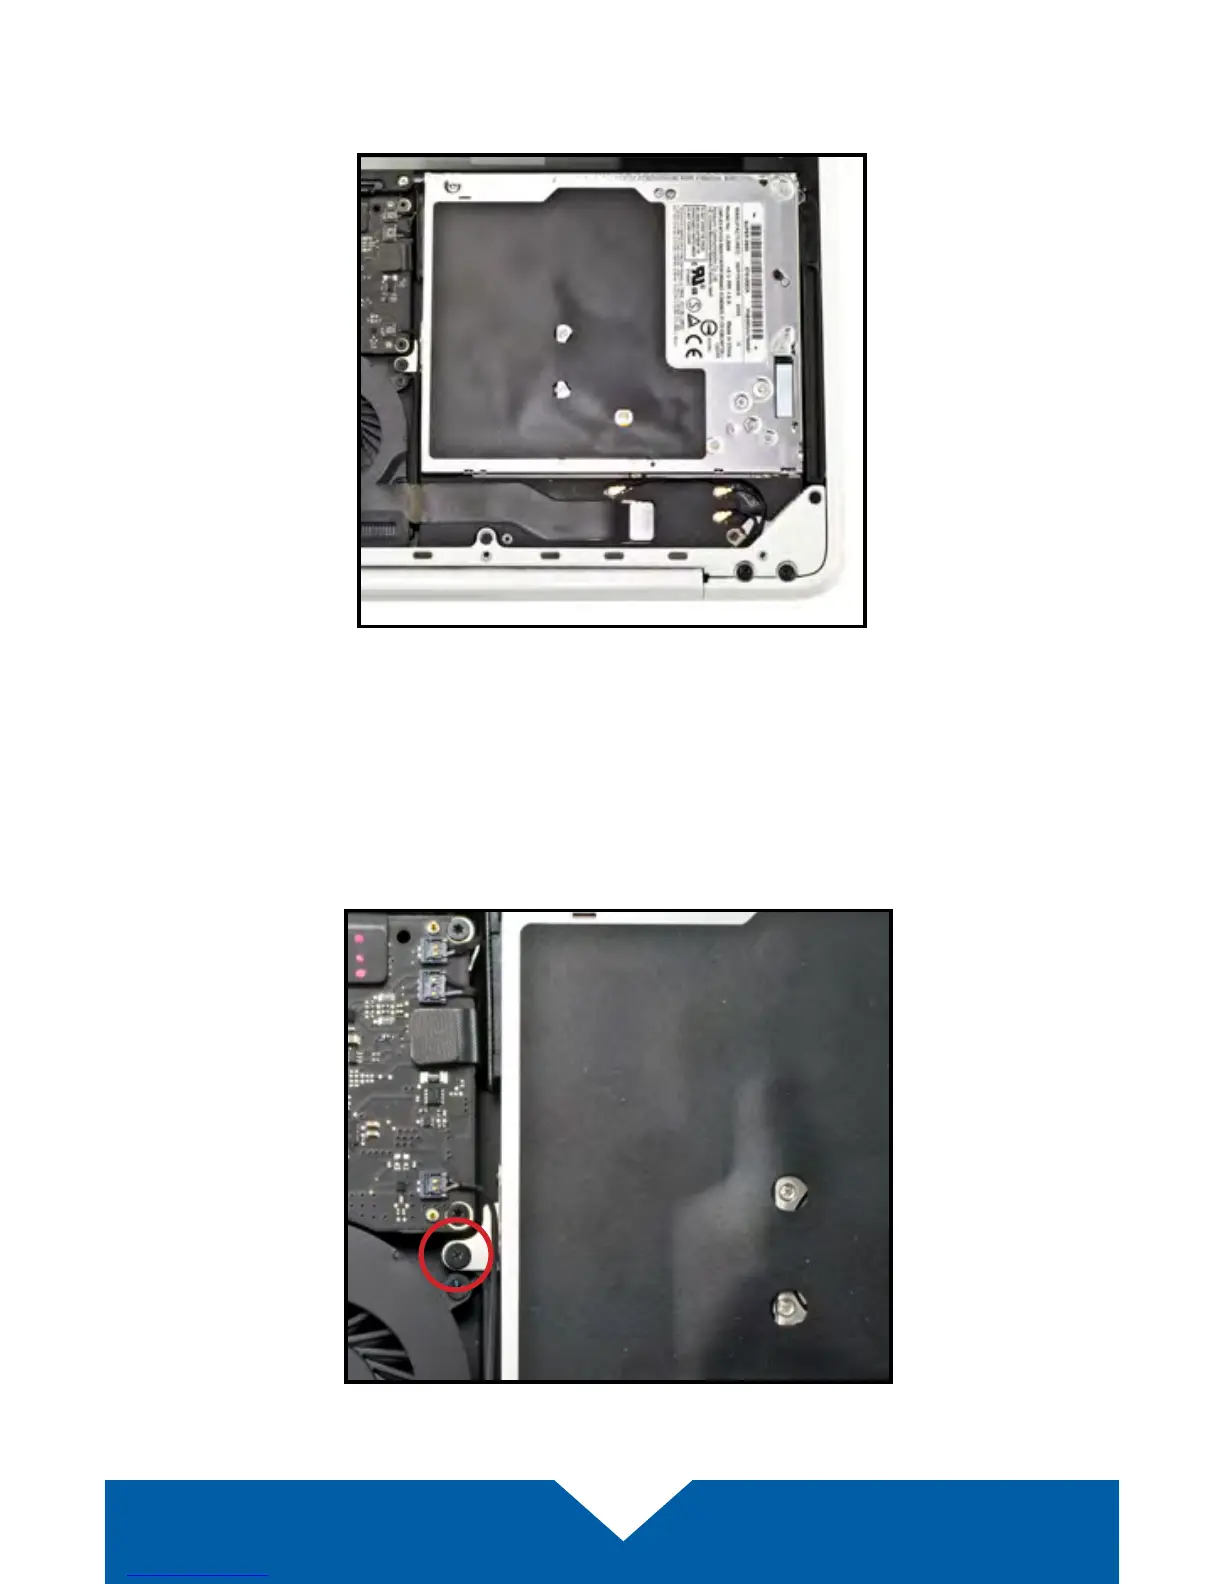
3. Rotate the MacBook around so that the optical drive is oriented as shown
below. The rest of the steps in this section assume the same orientation.
4. Along the left edge of the optical drive, remove the black screw that is used
to secure the optical drive bracket to the chassis (shown below in red). This
screw will be used during the reassembly process.