OWC Data Doubler Installation
17
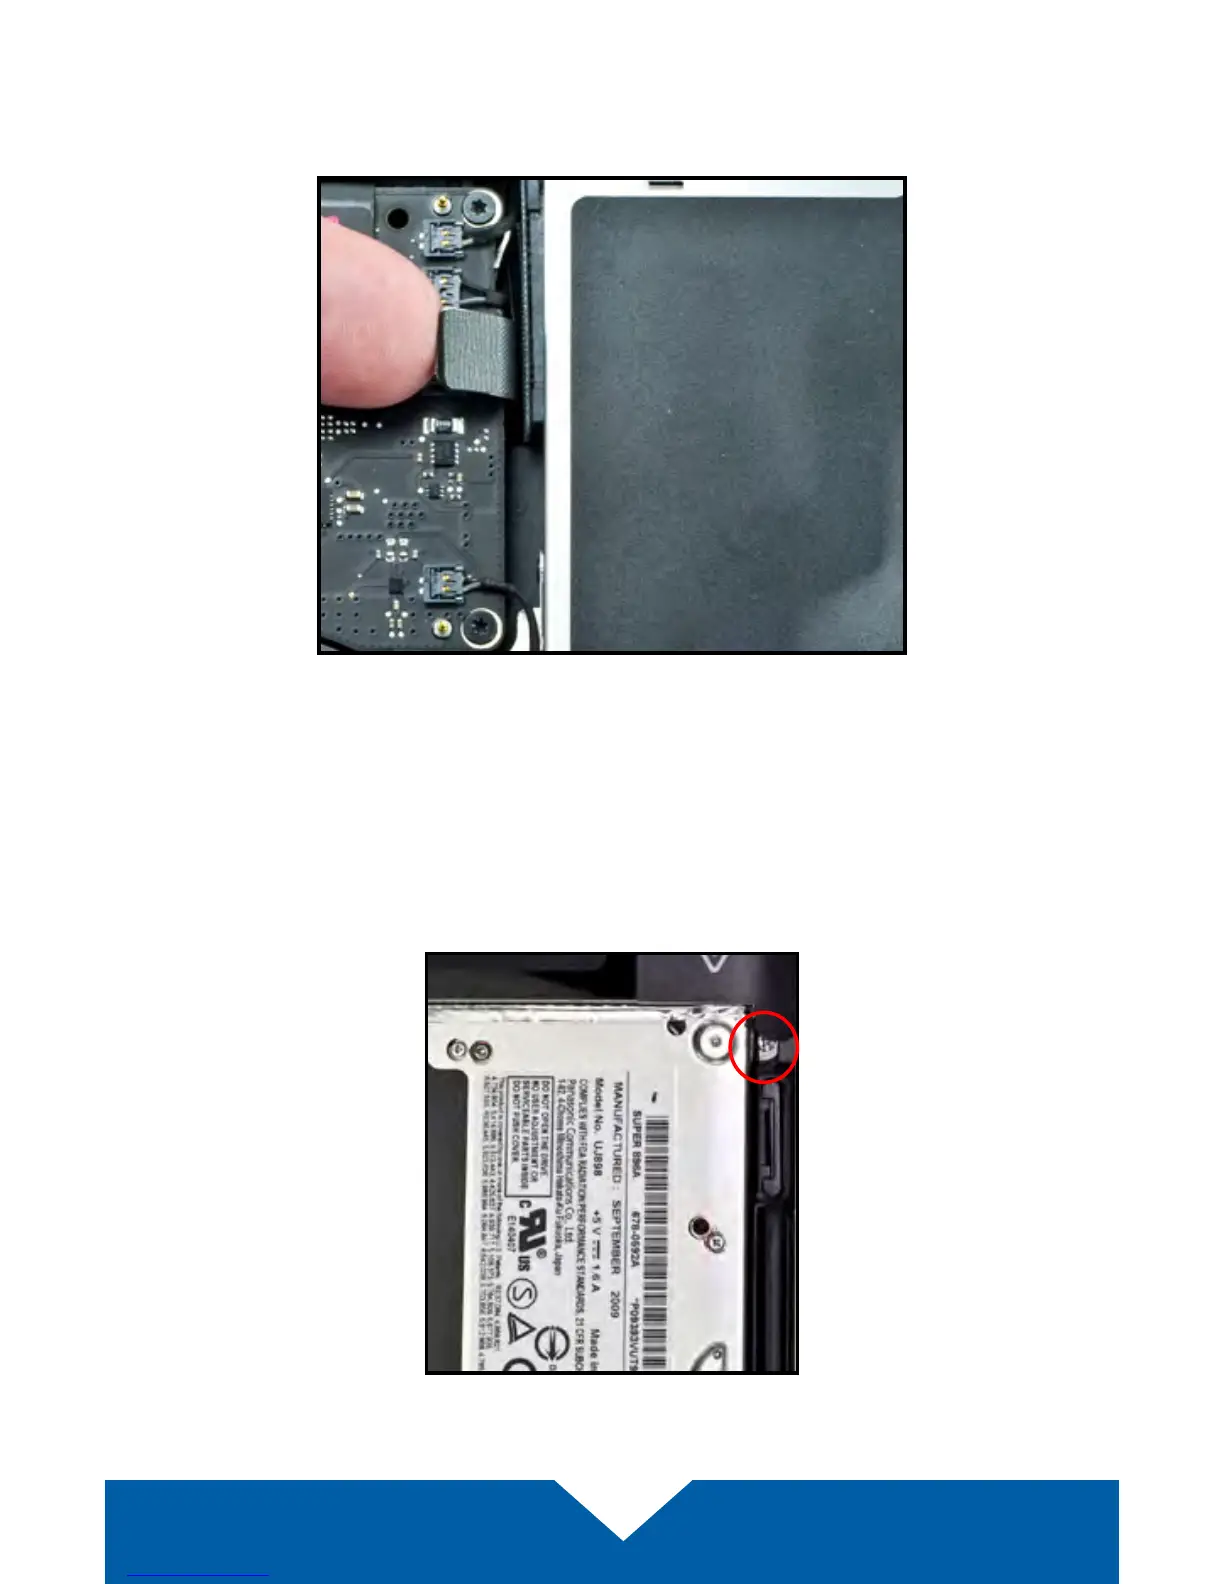
5. Above the screw you removed in Step 4, there is a ribbon cable that
connects to the optical drive. It will be either orange or black. Use the nylon
pry tool to gently lift the cable's connector, releasing it from the logic board.
6. Remove the silver screw (highlighted in red) that is located near the top-
right corner of the optical drive. It is partially concealed by a black plastic
tab that is part of the battery. Note: This screw will not be used during the
reassembly process; store it in a safe place in case you need it later.