OWC Data Doubler Installation
33
2.2.4 Early / Late 2011 13” MacBook Pro (8,1) and
Mid-2012 13” MacBook Pro (9,2)
IMPORTANT: be sure that your laptop is fully shut down and disconnected
from all cables, including the power cable.
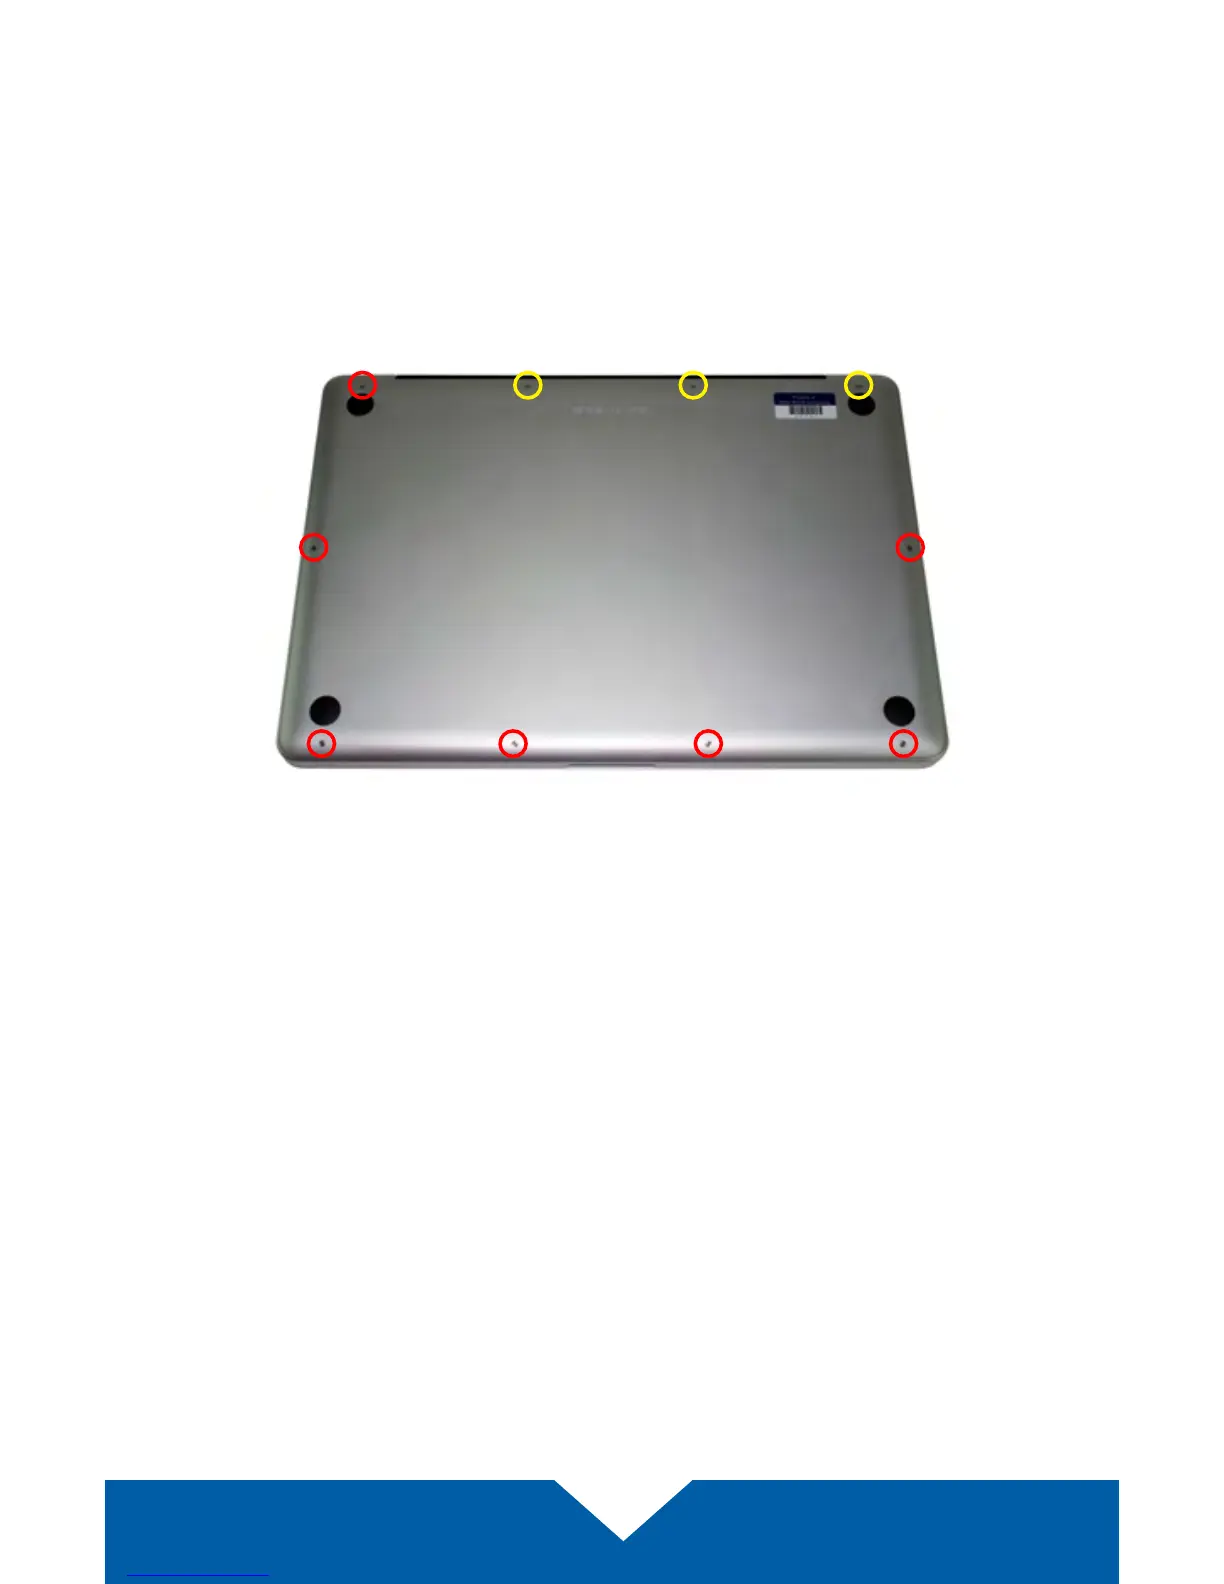
1. Remove the 10 Phillips screws that secure the bottom cover to the chassis.
Note: the three right-most screws along the top edge (shown in yellow) are
longer than the rest; install them in the same screw holes at the end of the
process. The rest can be used interchangeably in the remaining screw holes.
2. Once the screws are removed, place your ngers on the bottom cover near
the black vent, then lift the cover. There are two snap clips attached to the
cover that will release when you do this. Set the cover aside.
Continue to the next page.