OWC Data Doubler Installation
34
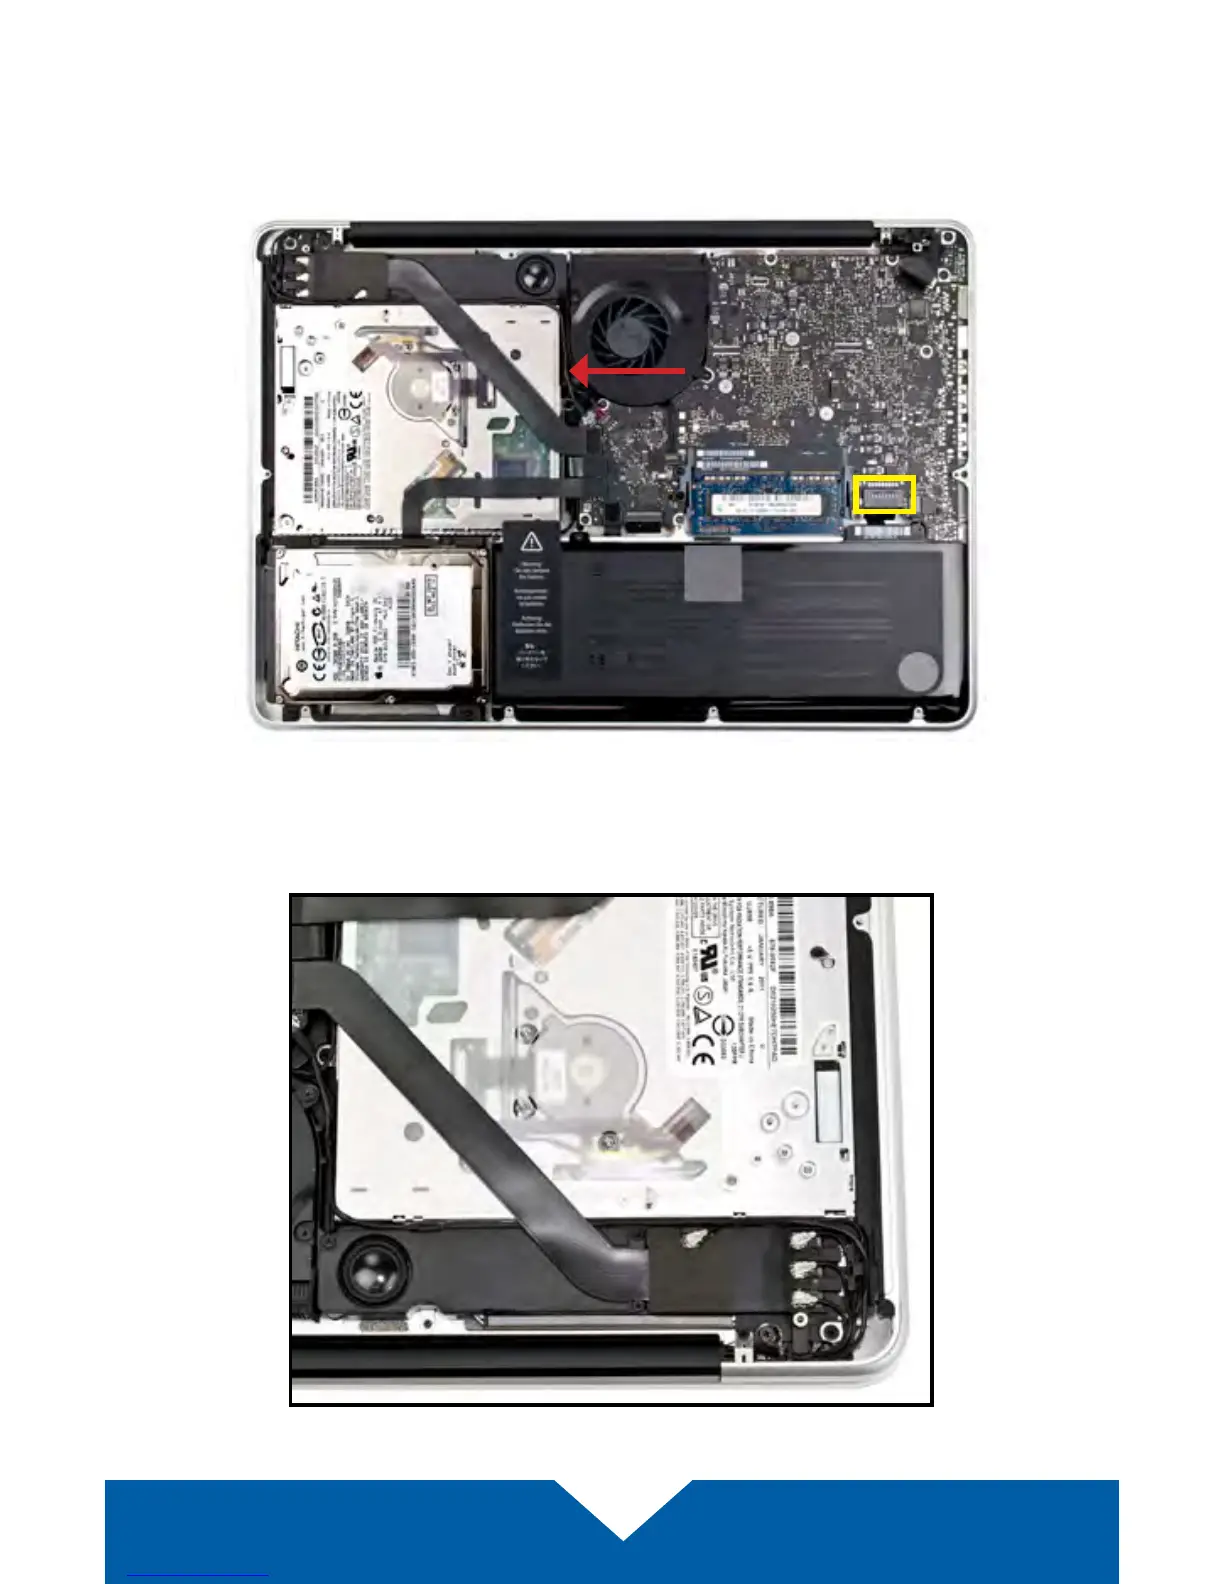
3. You should see the optical drive (indicated below). This drive needs to be
removed before you can install the OWC Data Doubler. Recommended:
before moving to the next step, use the nylon pry tool to gently lift the
battery connector (highlighted in yellow) from the logic board.
4. Rotate the laptop so the optical drive is oriented in the same manner as the
drive shown below.