OWC Data Doubler Installation
22
17. Begin the reassembly process by placing the Data Doubler under the black
plastic bracket rst, then into the optical bay. Be careful not to damage any
of the cables or connectors. Press down on the ribbon cable's connector
to secure it to the logic board again.
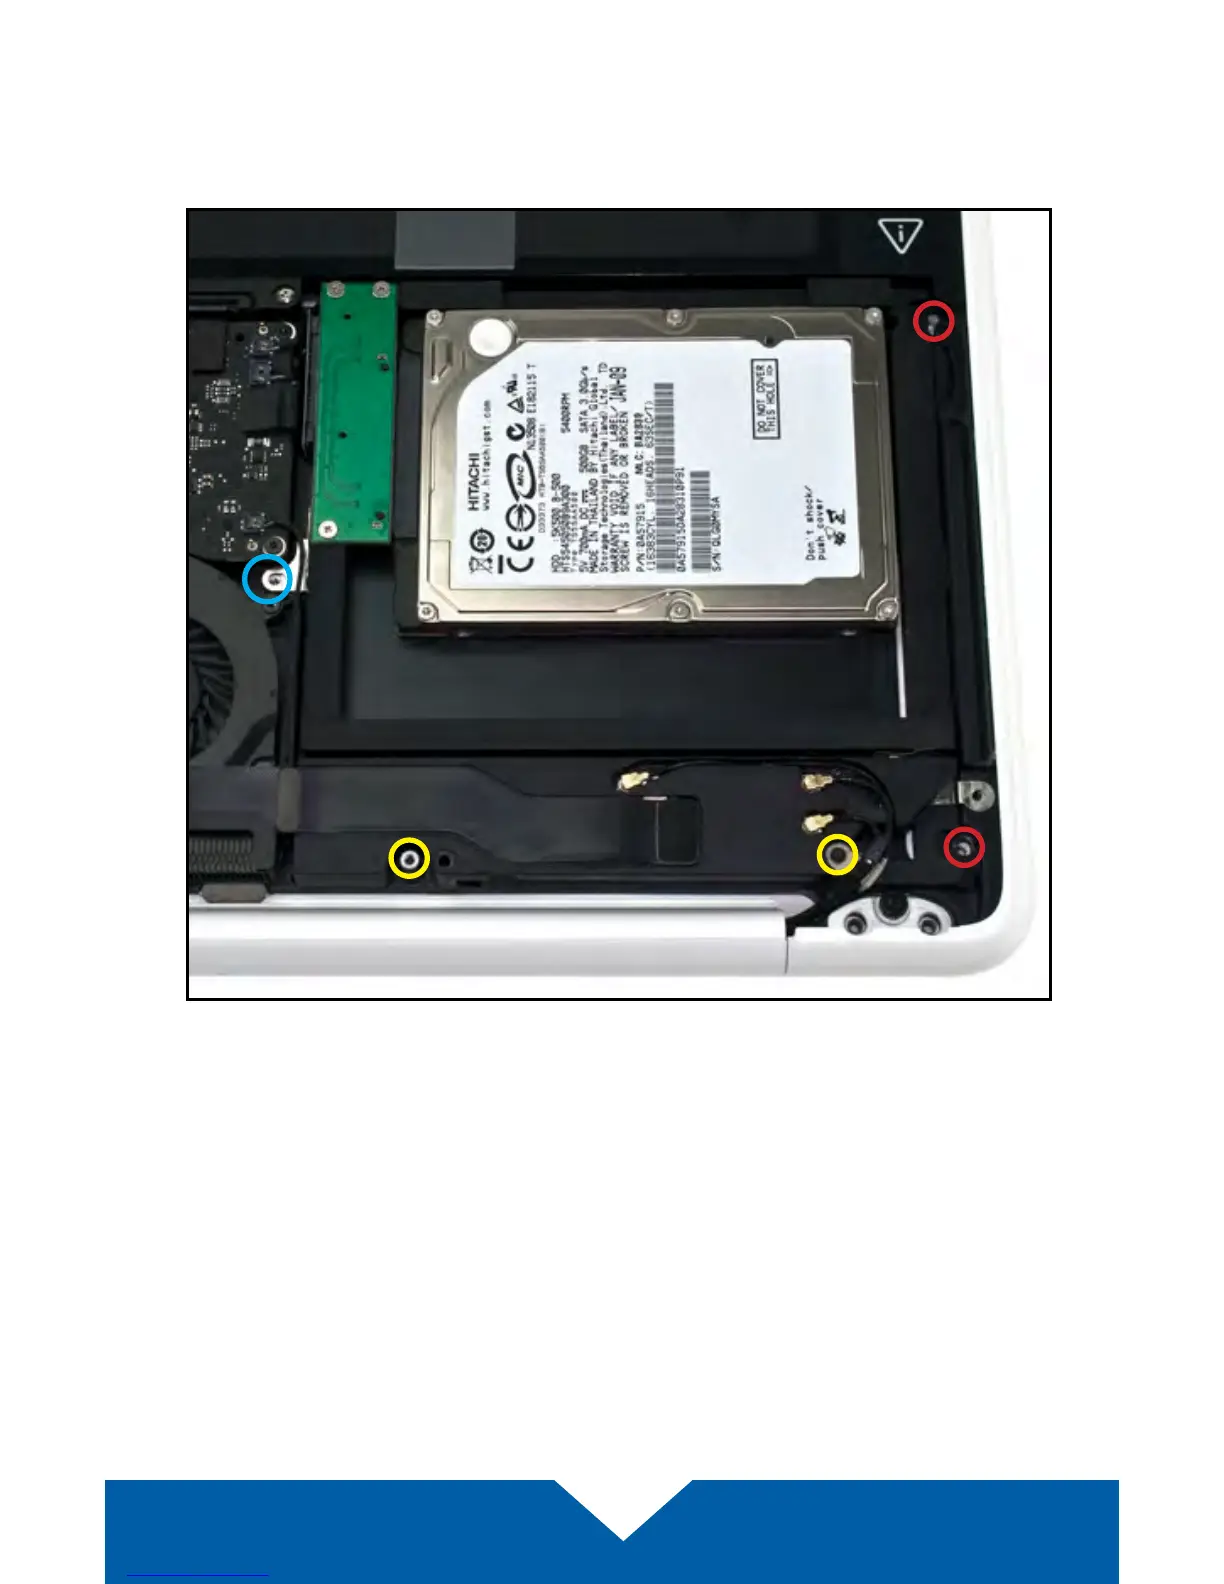
18. Ax two of the longer screws from the kit in the locations highlighted in
red. Note: the lower screw was removed in Step 11.
19. Ax the two remaining screws you removed in Step 11 (shown above in
yellow). The longer screw should be placed in the left-most hole.
20. Ax the optical drive bracket screw from Step 4, highlighted in blue. Next,
ax the screw you removed in Step 10.