OWC Data Doubler Installation
74
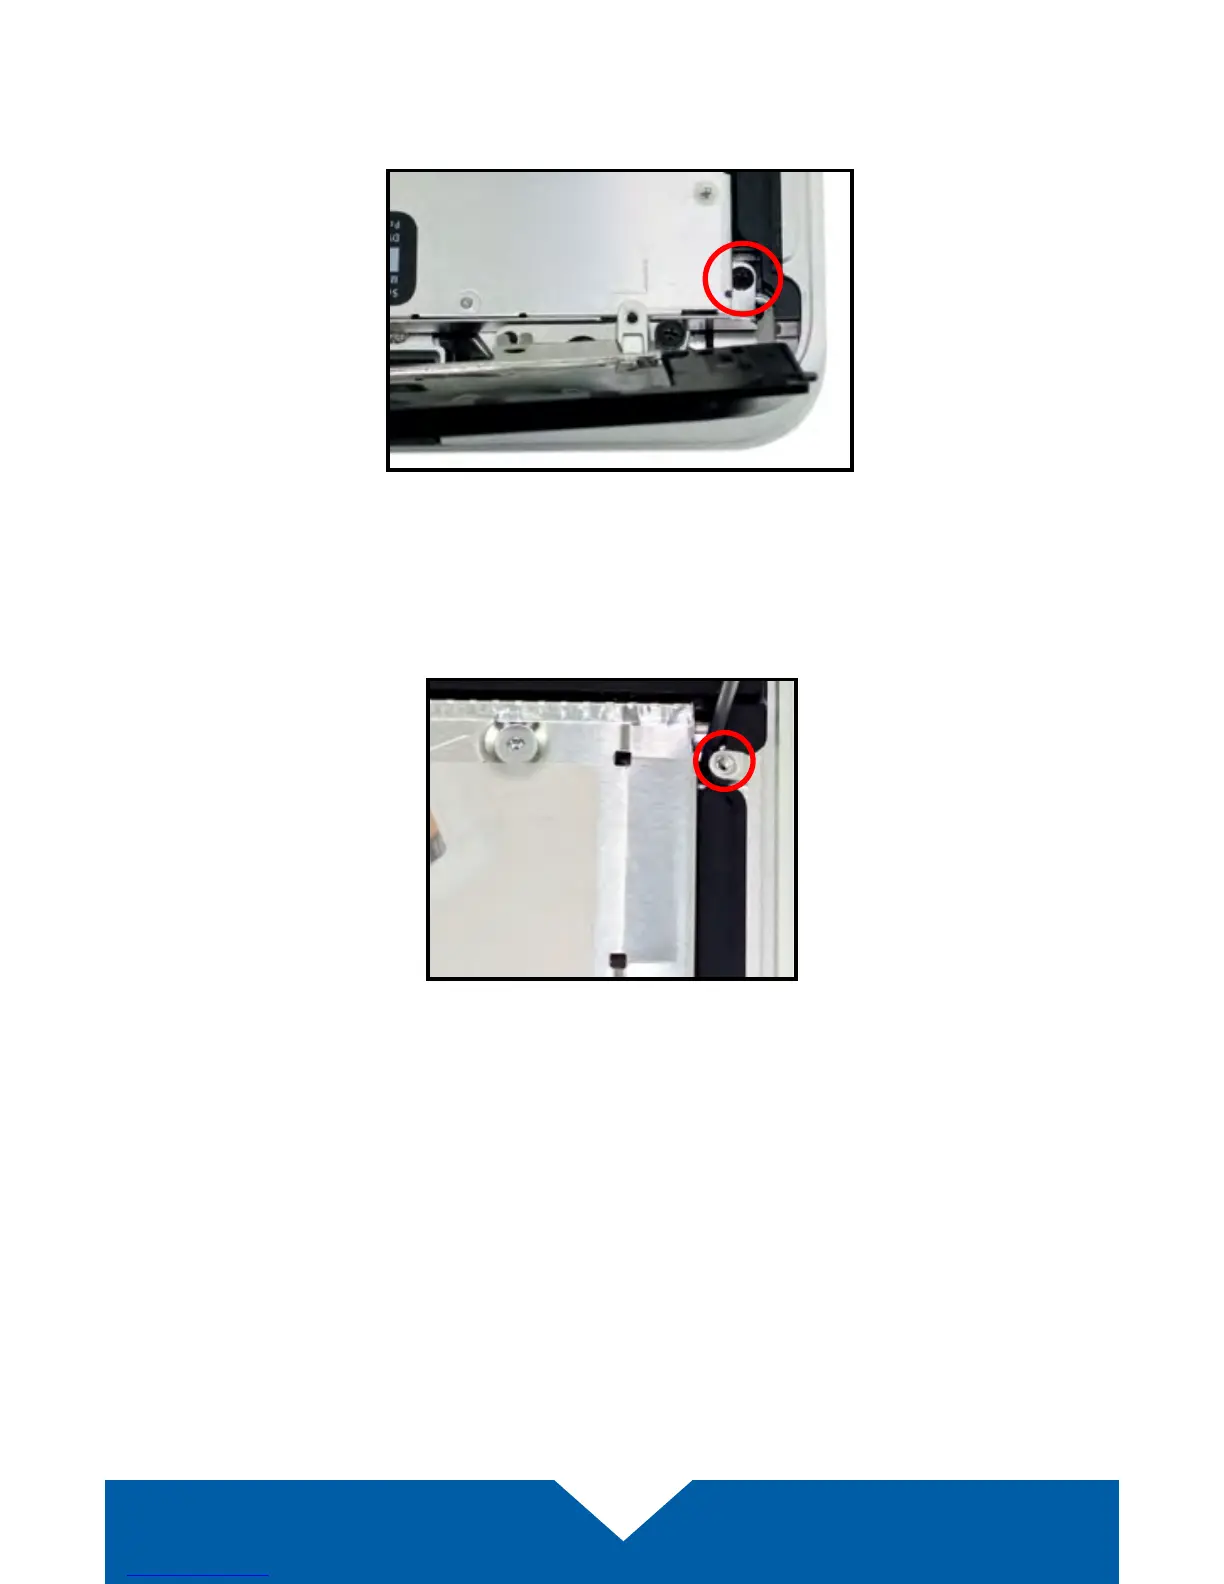
9. Once the bracket has been set aside, remove the black Phillips screw
highlighted below in red. Note: This screw will not be reused during
reassembly; put it in a safe place in case you need it later.
10. At the top right of the optical drive, there is another small Phillips screw
that needs to be removed. Note: This screw will not be reused during
reassembly; put it in a safe place in case you need it later.
11. Lift up the edge of the optical drive nearest the ribbon cables and gently
remove it from the optical bay. Be careful not to damage any of the cables
or connectors.