User’s Manual
56
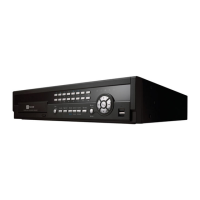
A–B Clip-Copy: Selecting A–B Clip-Copy will set the starting point of the video to be clip copied,
and the
icon displays at the bottom-left corner of the screen. Selecting A–B Clip-Copy again
will set the ending point of the video to be clip copied and displays the Clip-Copy screen.
Clip-Copy: Select Clip-Copy, and the Clip-Copy screen appears to allow clip copy setup.
Print: Selecting Print allows you to print a selected image.
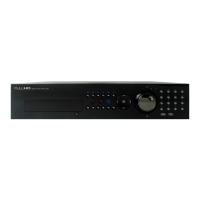
Camera Menu
Selecting
(Camera Menu) in the Search menu displays the following Camera Menu.
NOTE: The Camera Menu also can be displayed by clicking the right mouse button on the screen while in the
search mode.
Alarm Reset
Selecting
(Alarm Reset) in the Search menu resets the DVR’s outputs including the internal buzzer during an alarm.
It is the same as pressing the
ALARM button.
Panic
Selecting
(Panic) in the Search menu starts panic recording of all cameras, and selecting again stops panic
recording. It is the same as pressing the
PANIC button.
Data Source
Selecting
(Data Source) in the Search menu allows you to select the data source to be searched. Selecting Record
searches recorded data on primary storage installed in the DVR, and selecting Other searches recorded data on storage
used for another DVR then installed in this DVR.
Exit
Selecting
(Exit) in the Search menu exits the search mode and enters the live monitoring mode.
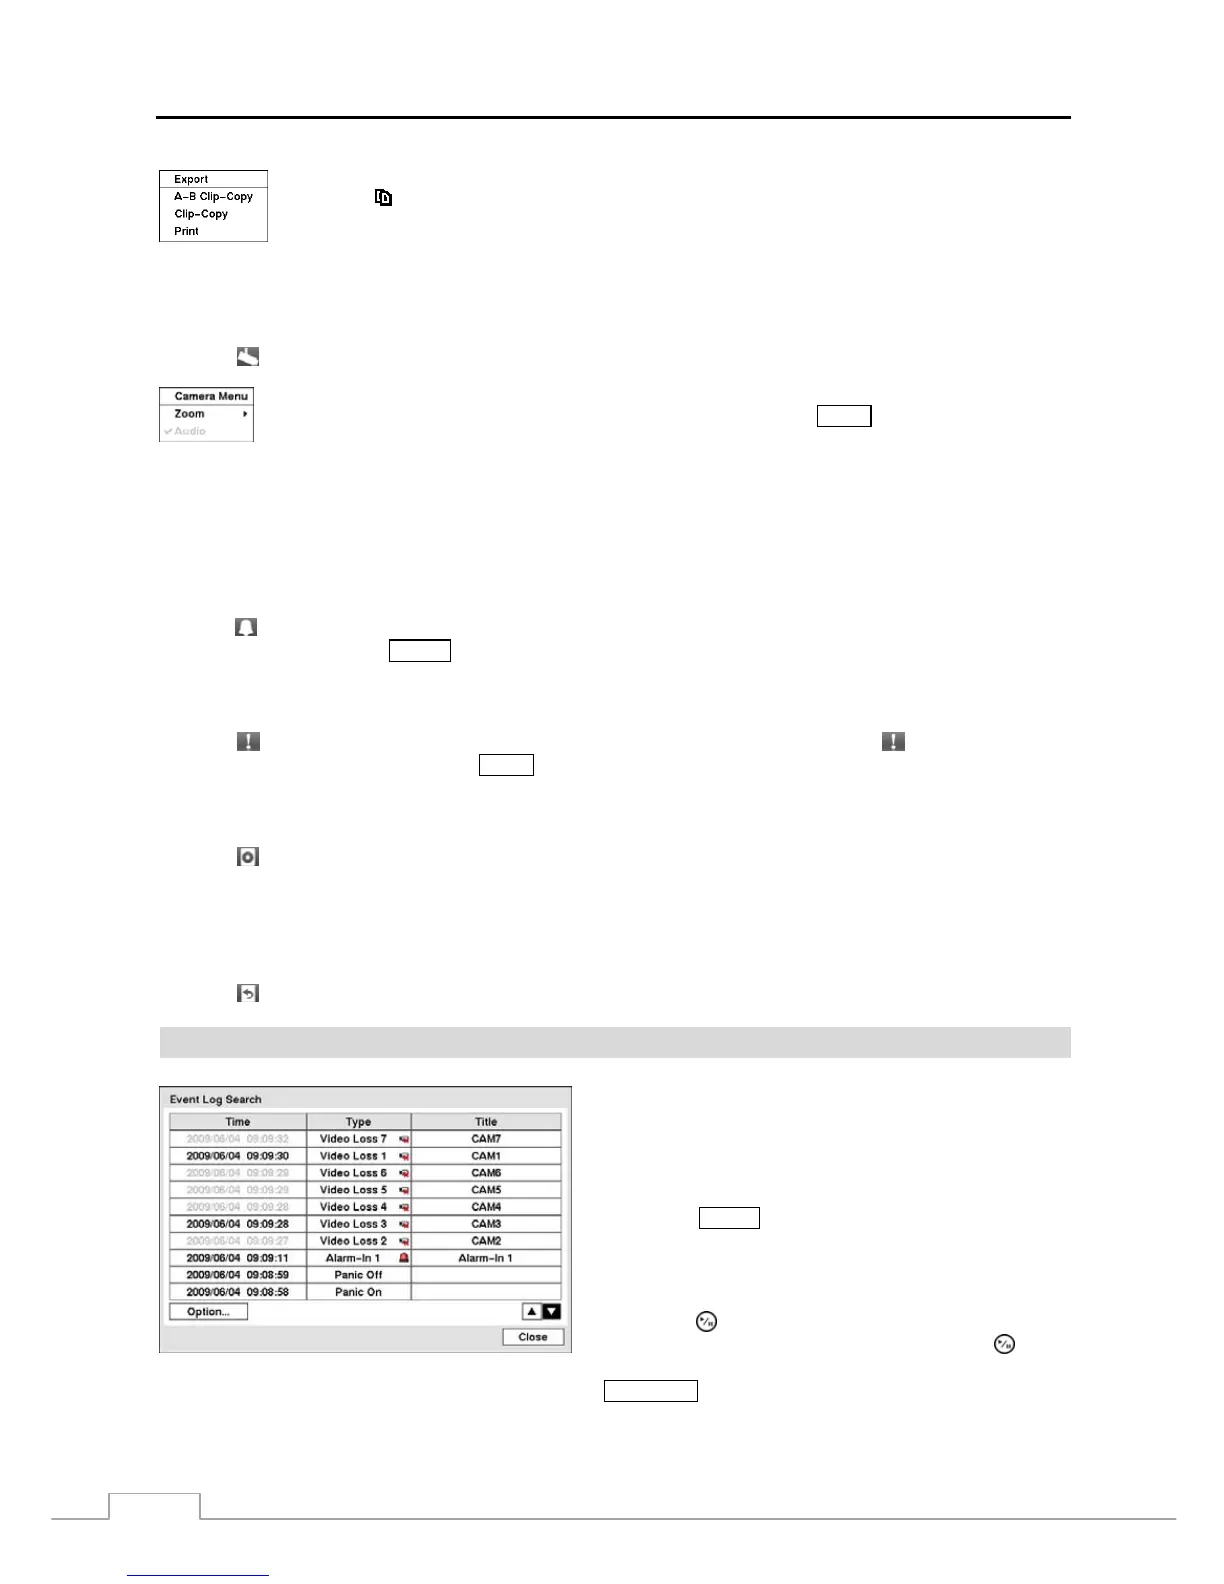
Event Log Search
Figure 73 — Event Log Search screen.
The DVR maintains a log of each time the Alarm Input port
is activated. The Event Log Search screen displays this list.
Use the arrow buttons to highlight the event for which you
would like to see video.
The Event Log Search screen can also be accessed by
pressing the
ALARM button unless there is an alarm. There is
no determined user authority to display the Event Log Search
screen, however, the event video will not be played unless a
user with Search authority logs into the system
.
Pressing the (Play/Pause) button will extract the event video
and display the first image of the event. Pressing the
button
will start playing the “event” video segment. Pressing
PLAYBACK returns to live monitoring.
Zoom: Selecting Zoom and choosing the camera number zooms the current playback image of
the selected camera on the screen. It is the same as pressing the
ZOOM button. Selecting Zoom
again exits the Zoom mode.
Audio: Selecting Audio toggles audio playback On and Off. Recorded audio will be played when
the DVR displays a camera with recorded audio in full screen mode.
 Loading...