41
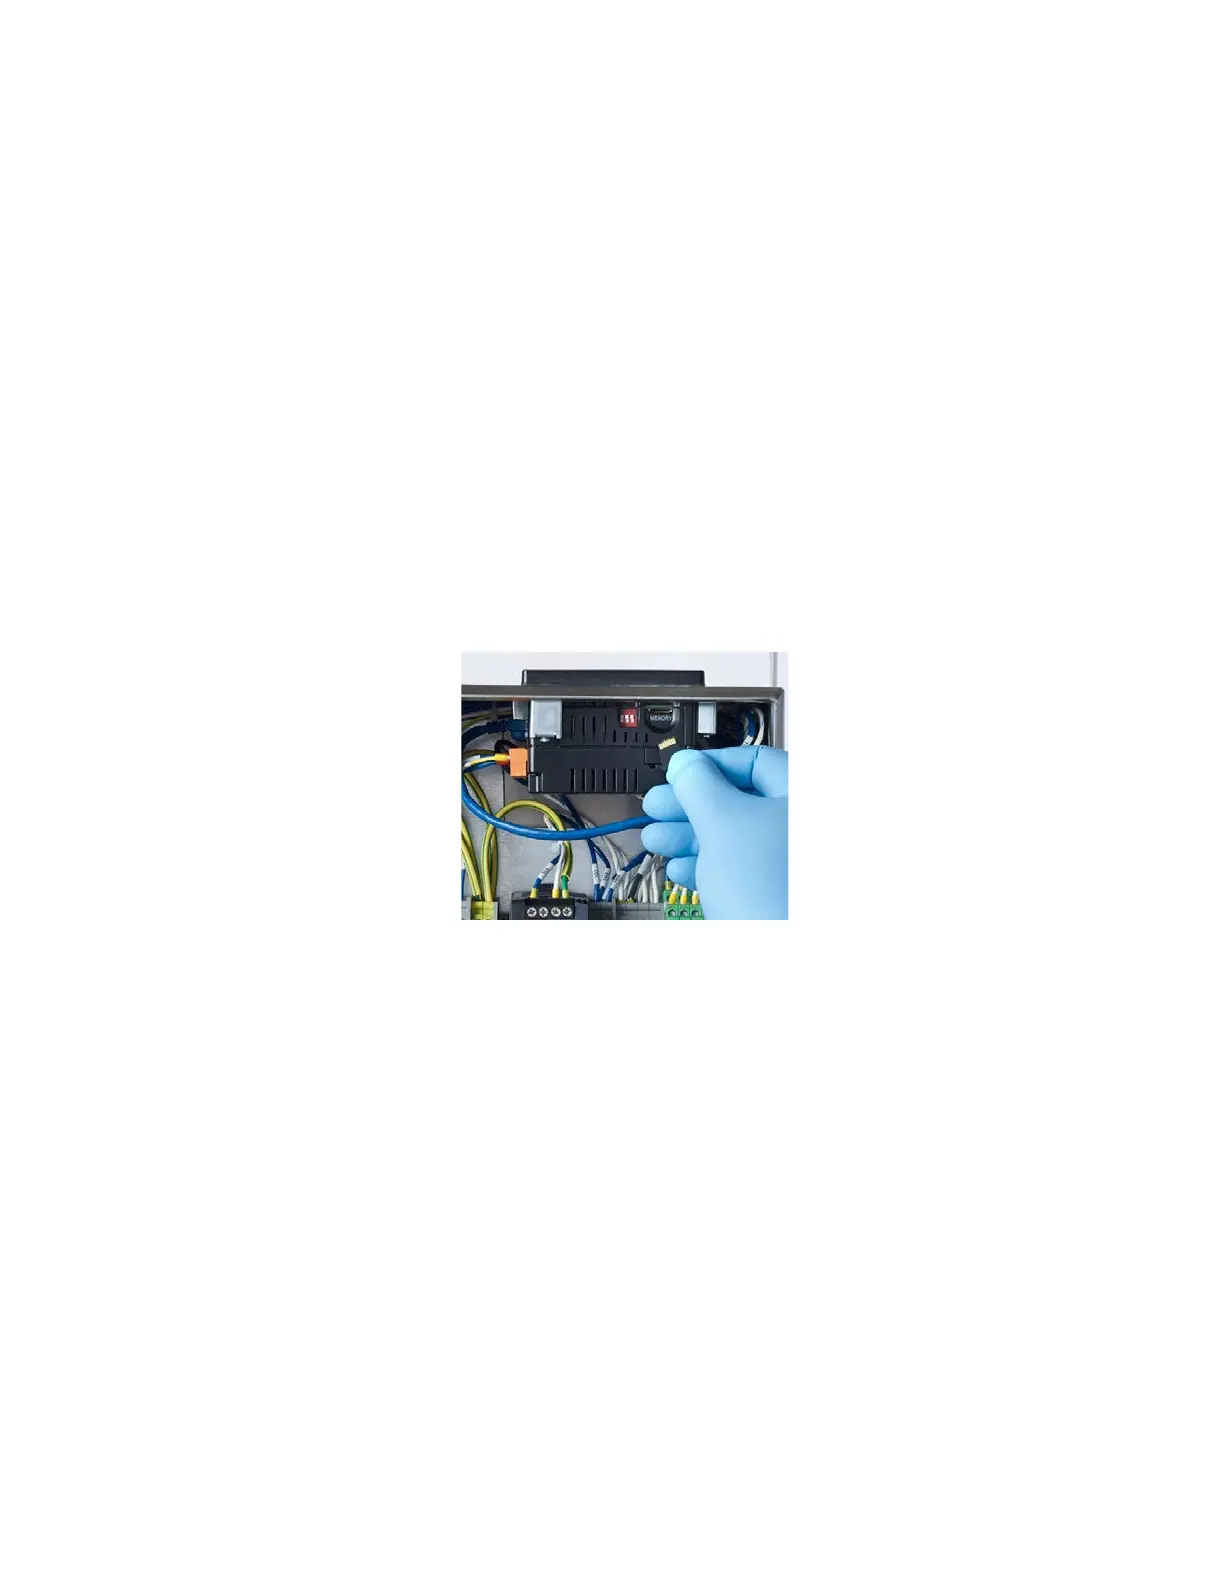
SD Micro Card Replacement: 11.3.3.
Micro SD cards are compatible with the memory slot. The PLC uses a FAT 32 file system format.
The memory slot is equipped with a ‘push-in, push-out’ connector for Micro SD cards insertion.
To change the SD card:
• Switch the unit off and unplug it from the external power source
• Unlock control box by rotating the latch counterclockwise using a flat-head screwdriver
• Open the Control Box door and locate the memory slot on the upper side of the PLC (see
Figure 41)
To insert the SD card
• Align the card so that the 8-pin gold edge connector is facing upwards on the SD card
• Push the Micro SD card in all the way into the memory slot, ensuring that it clicks into
place
To remove the Micro SD card
• Push down on the top of the card gently to release the spring. The card will pop up for
removal
Close the control box door and lock it by rotating the latch 90⁰ in a clockwise direction using a flat-
head screwdriver.
Figure 40: Micro SD card installation
Fuse Replacement 11.3.4.
To change the fuse (see Figure 42):
• Switch the unit off and unplug it from the external power source
• Unlock control box by rotating the latch counterclockwise using a flat-head screwdriver
• Open the control box door and locate the fuse holder
• Grip the fuse holder, pull upwards and rotate it 90⁰
• Unsnap and open the access door on the side of the fuse holder. The fuse will now be
exposed
• Remove and replace the fuse by pulling the old one out and snapping the new one into
the slot on the access door surface
• Close the access door and squeeze firmly to snap it back in place
• Rotate the fuse holder back into its original position and close the control box door. Lock it
by rotating the latch clockwise using a flat-head screwdriver
 Loading...