– 31 –
Chapter 3 Preparation — Attaching and adjusting accessories
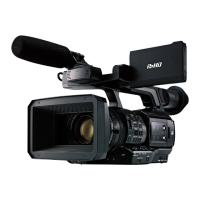
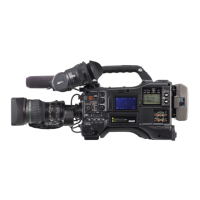
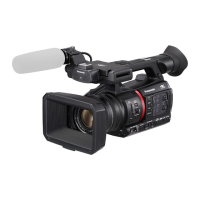
Attaching the front microphone
Microphones such as a super-directional microphone AG-MC200G (optional) can be attached.
Screws for tapped hole protection are attached on the camera body. Remove those screws when you attach the microphone holder.
Microphone holder
Microphone cable clamp
<AUDIO INPUT 1> terminal
Fig. 3Fig. 2Fig. 1
Screw for the microphone holder
1
Attach the microphone holder. (Fig. 1)
2
Attach the microphone and tighten the microphone holder clamping screw. (Fig. 2)
3
Connect the microphone connecting cable to the <AUDIO INPUT 1> terminal on the camera. (Fig. 3)
4
Secure the microphone connecting cable with the microphone cable clamp.
5
Set the <INPUT 1> switch to match the microphone to be connected.
@@
NOTE
t The microphone holder cannot be xed with the screws originally attached on the camera. Use the dedicated screws that came with the camera to x
the microphone holder.
Attaching a tripod
The tripod attachment holes accept 1/4-20 UNC and 3/8-16 UNC screws. Use the hole that matches the diameter of the clamping screw on the tripod.
@@
NOTE
t Use a tripod in safe locations.
t The depth of the tripod attachment hole is 5.5 mm. When attaching the camera to a tripod, do not over-tighten the tripod screw.

 Loading...