
C
Cynthia ClarkAug 20, 2025
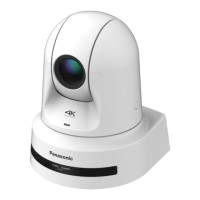
Why Panasonic Security Camera has no power?
- Ggrant34Aug 20, 2025
The AC adapter might not be securely connected to the AC outlet, or the power plug of the AC adapter might not be properly connected. Ensure the network cable for the PoE+ (IEEE802.3at compliant) compatible power supply device and the unit are properly connected. If using power supply devices with multiple PoE+ terminals, the total power limit might be exceeded. Check the operating instructions for the PoE+ power supply device.