56
Camera
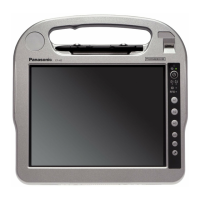
Assigning the Light/Zoom In/Take Photo Functions to an Application Button
You can assign the Light/Zoom In/Take Photo functions to the application buttons (A).
1 Click on the notification area and then click .
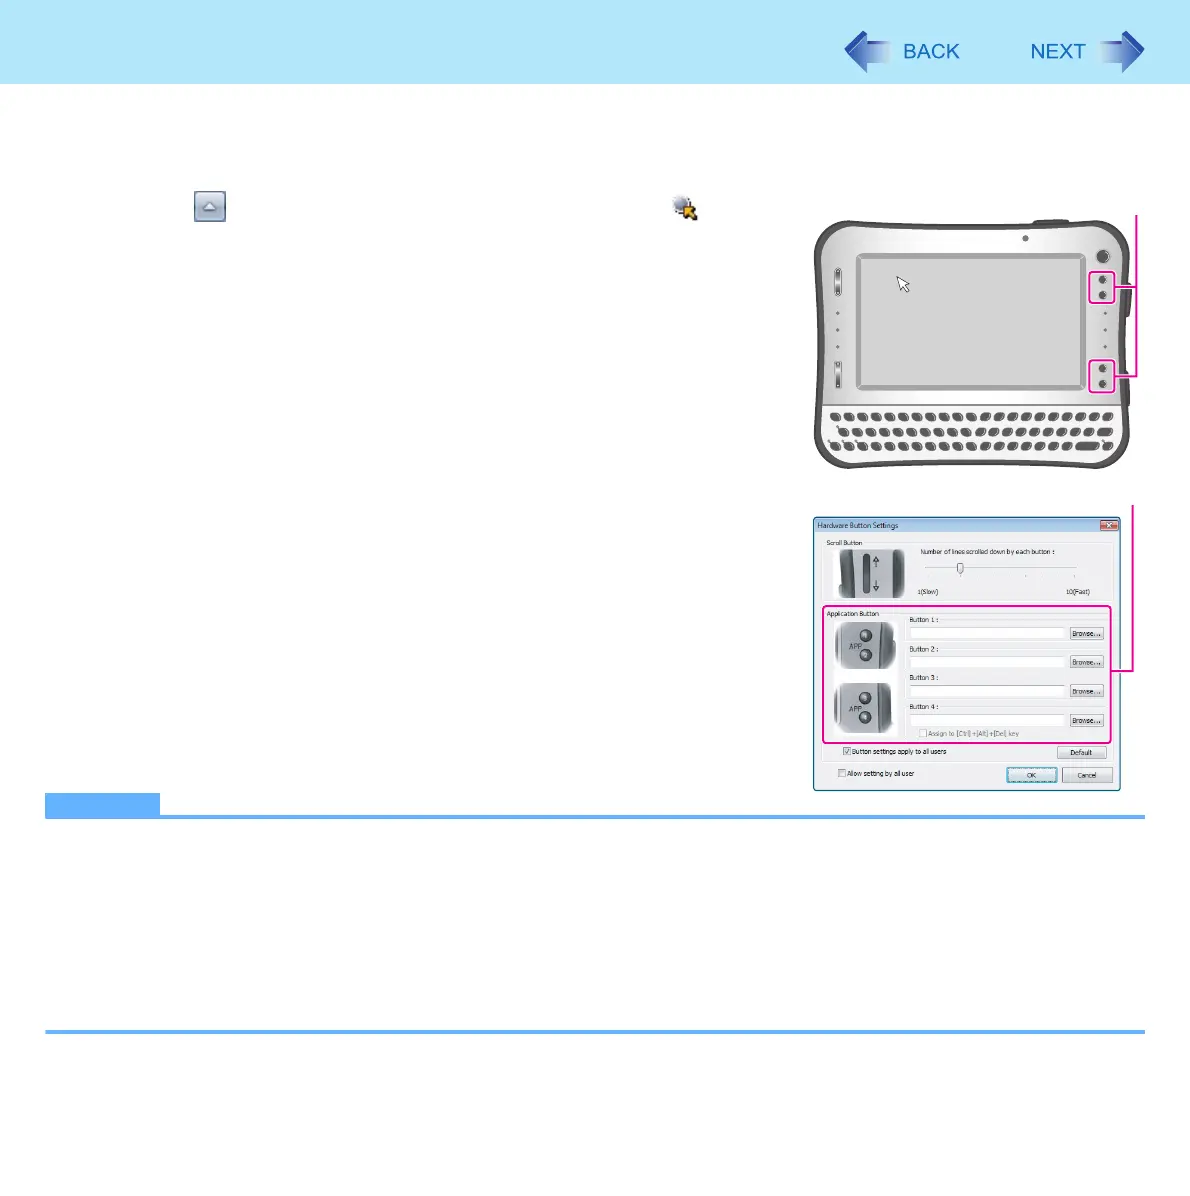
2 Select [Setup] menu to open the Hardware Button
Settings window.
3 Input the following in any one of [Button 1] to [Button 4]
(B).
z Input the following in any one of buttons.
<When assigning the “Switch the light on and off” function> (Î page 50)
c:\program files\panasonic\lightsw\lightsw.exe
<When assigning the “Zoom in” function> (Î page 51)
c:\program files\panasonic\panasonic camera utility\pcam.exe /zoom_in
<When assigning the “Take photo” function> (Î page 51)
c:\program files\panasonic\panasonic camera utility\pcam.exe /shutter
<When assigning the “Take photo” function by specifying the file name>
(Î page 52)
c:\program files\panasonic\panasonic camera utility\pcam.exe /shutter_name
4 Click [OK].
NOTE
z When the Panasonic Camera Utility is not running, and if you press one of the buttons to which the “Zoom in” function,
“Take photo” function, etc. are assigned, the Panasonic Camera Utility will be activated. Press the button again to use
the function assigned.
z If you operate the Utility after assigning the “Take photo” function, the same operation will be performed as the one
when the check marks both for (A) and (B) are not added in “Changing the Settings for Taking Pictures” (Î page 52).
z If you operate the Utility after assigning the “Take photo” function by specifying the file name, the same operation will
be performed as the one when the check mark for (A) is added and check mark for (B) is not added in “Changing the
Settings for Taking Pictures” (Î page 52).
B
A

 Loading...