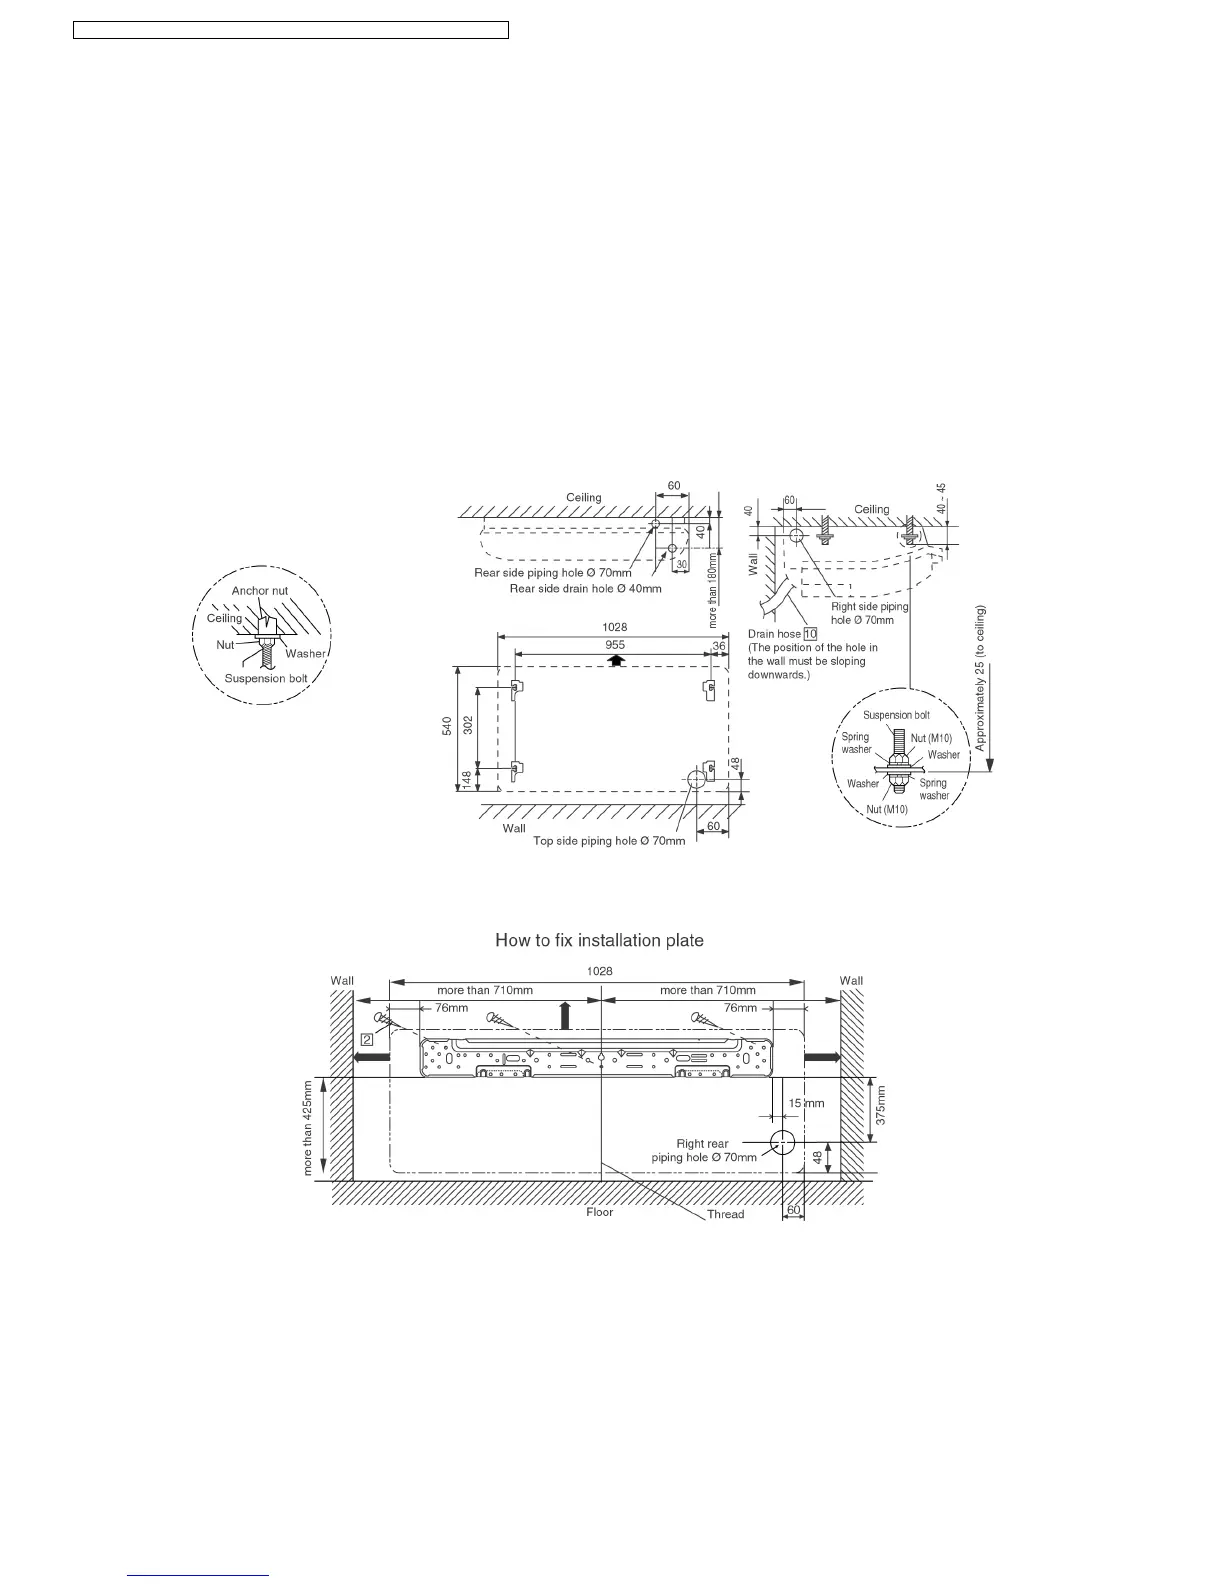
Installation on the ceiling
9.2. INDOOR UNIT
9.2.1. SELECT THE BEST LOCATION
(Refer to “Select the best location” section)
9.2.2. HOW TO FIX INSTALLATION PARTS
•
Measure and mark the position for the Suspension bolts and the piping hole.
•
Drill the hole for anchor nut on the ceiling.
•
Drill the Piping hole slightly tilted to the outdoor side with a Ø 70 hole-core drill.
•
Insert the nuts and washers onto the suspension bolts for locking the Suspension bolts on the ceiling.
•
Mount the suspension bolts to the anchor-nuts firmly as shown in the diagram.
Installation on the wall
The centre of installation plate should be at more than 710 mm at right and left of the wall.
The distance from installation plate edge to floor should more than 425 mm.
From installation plate left edge to unit’s left side is 76 mm.
From installation plate right edge to unit’s right is 76 mm.
1. Mount the installation plate on the wall with 3 screws or more.
(If mounting the unit on the concrete wall consider using anchor bolts.)
•
Always mount the installation plate horizontally by aligning the marking-off line with the thread and using a level gauge.
2. Drill the piping plate hole with ø70 mm hole-core drill.
•
Drill the piping hole slightly slanted to the outdoor side.
42
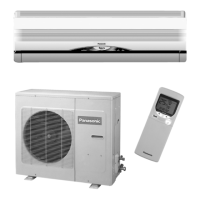
CS-A12CTP CU-A12CTP5 / CS-A18CTP CU-A18CTP5 / CS-A24CTP CU-A24CTP5
 Loading...