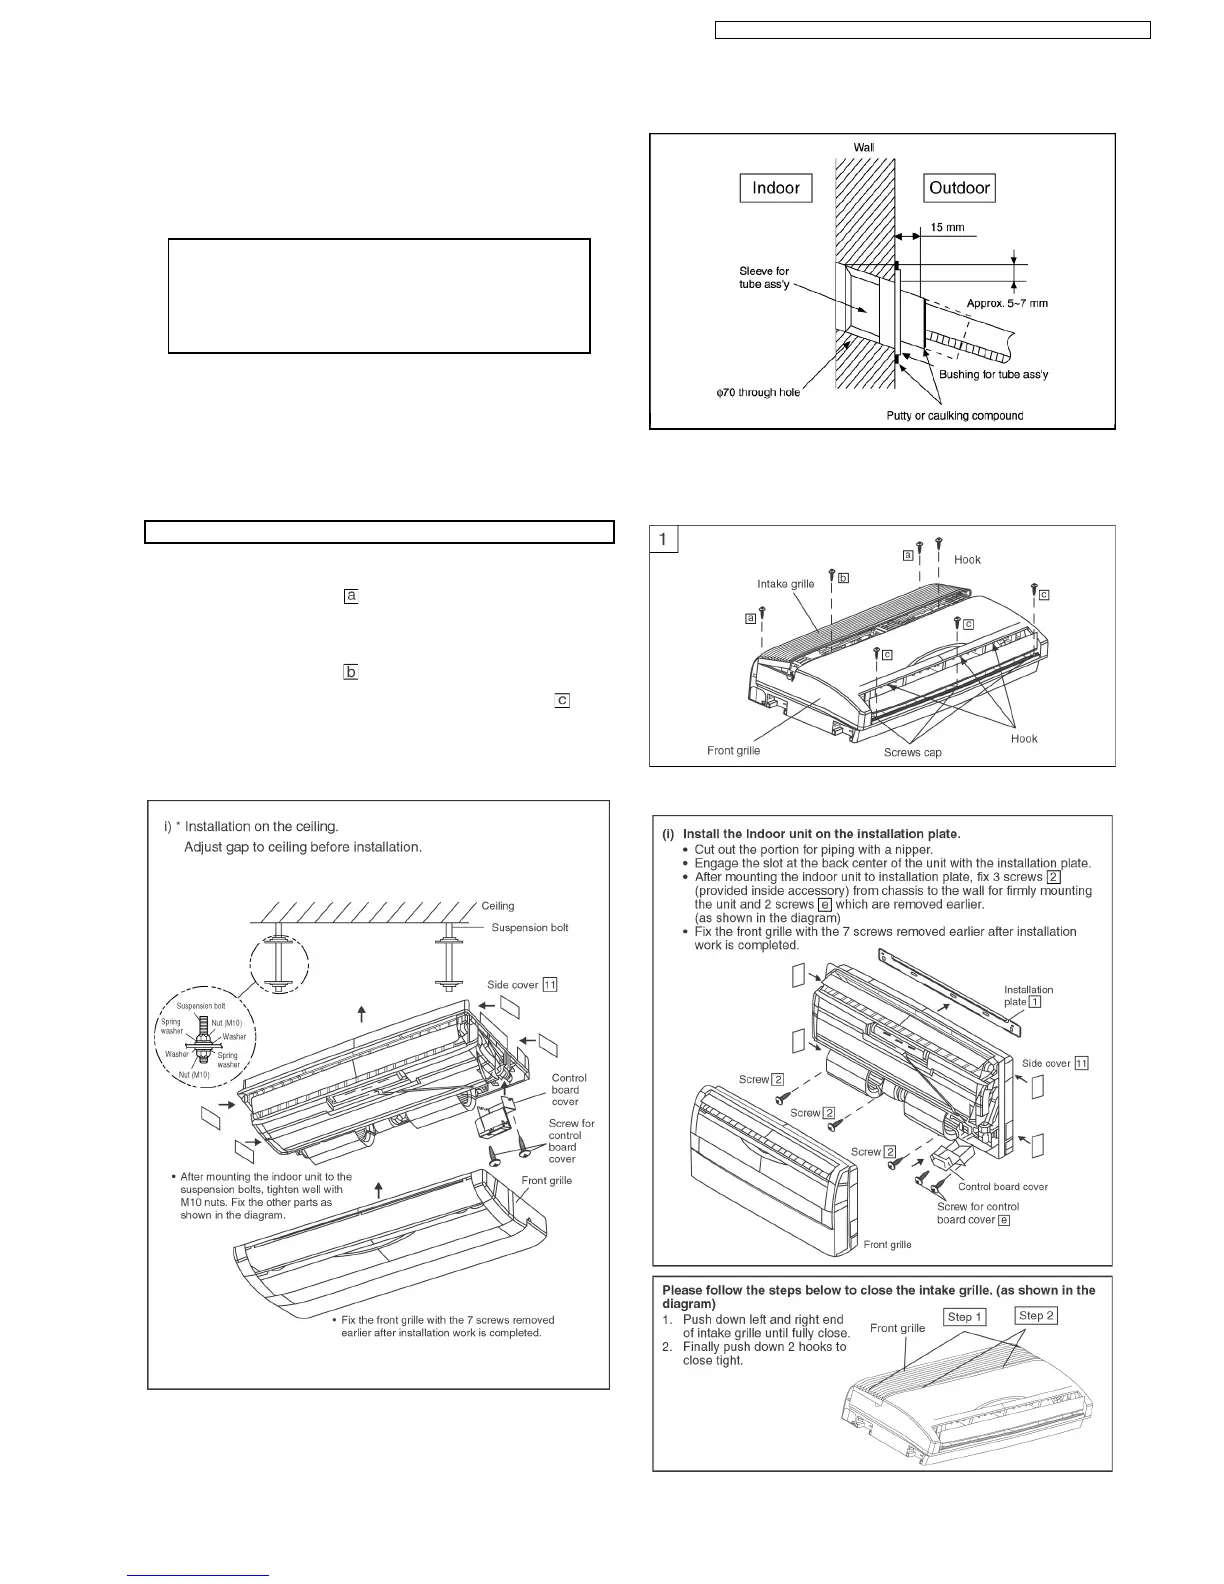
1. Insert the piping sleeve to the hole.
2. Fix the bushing to the sleeve.
3. Cut the sleeve until it extrudes about 15 mm from the wall.
Caution
When the wall is hollow, please be sure to use the
sleeve for tube ass’y to prevent dangers caused by
mice biting the connecting cable.
4. Finish by sealing the sleeve with putty or caulking
compound at the final stage.
Indoor unit installation
1. Remove the Front Grille.
•
Remove 2 screws
from the left and right corners.
•
Pull the upper left and right side of the intake grille
toward you, and it will stop at slightly tilted position.
•
Remove 2 screws
.
•
Remove 3 screws cap, then remove 3 screws
.
•
Release 3 hooks as shown in the diagram.
•
Lift up the front grille.
2a. For installation on the ceiling.
2b. For installation on the wall.
9.2.3. TO DRILL A HOLE IN THE WALL AND INSTALL A SLEEVE OF PIPING
9.2.4. INDOOR UNIT INSTALLATION
43
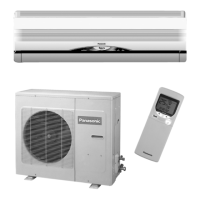
CS-A12CTP CU-A12CTP5 / CS-A18CTP CU-A18CTP5 / CS-A24CTP CU-A24CTP5
 Loading...