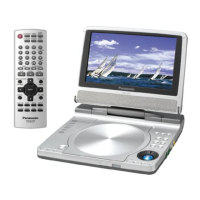
18
19
Advanced Operations
Advanced Operations
RQT5897 RQT5897
Switching vocals ON
or OFF for karaoke
discs
Remote control only
(Karaoke discs)
During play
1 Press [AUDIO].
2 Use the cursor jockey [2, 1]
(DVD)/[3, 4] (Video CD), or press
[AUDIO] (Video CD only) to change
the audio mode.
DVD karaoke disc (Solo)
[---] : Vocal OFF (for karaoke)
[ON] : Vocal ON
DVD karaoke disc (Duet)
[---] : Vocal OFF (for karaoke)
[1i2] : Vocal 1 and 2 ON
[V1] : Vocal 1 only ON (for duet)
[V2] : Vocal 2 only ON (for duet)
VCD karaoke disc
[LR] : Vocals (Vocals seem to come from
the right)
[L] : No Vocals (for karaoke)
[R] : Vocals (Vocals seem to come from
both left and right)
∫ To clear the on-screen display
Press [ENTER].
The on-screen icons will disappear auto-
matically if nothing is selected.
Note
You cannot connect a microphone directly
to this unit. Connect the unit to an amplifier
(➡ pages 34–37) that has a microphone
jack when you want to enjoy karaoke and
sing along.
While stopped or playing
Press [MONITOR] to change the
monitor settings.
The setting mode changes each time you
press the button.
[)A Changing the size of the picture
l
l
l
l;
l B Adjusting the brightness
l
l
l
l;
l C Adjusting color intensity
l
l
l
l;
{----The setting mode is cleared.
Select the indicator for the setting you want
to change then follow the procedures on
page 19.
Turn the indicator off after you complete the
setting.
≥Picture size returns to “1 (Normal)” if the
unit is turned off or [IN/OUT] (➡ page 31)
is pressed.
≥Brightness and color intensity settings are
saved even if the unit is turned off unless
the settings were made while the “LINE-
IN” mode is on.
Note
These changes are effective only for this
unit’s LCD.
Make changes to the television’s settings if
you have connected one.
ª
A
Changing the size of the picture
Use the cursor jockey [3, 4] to change the picture mode.
The mode is shown on the unit’s display as follows.
1 (Normal)()2 (Full)()3 (Zoom)
^------------)4 (Off)(------------J
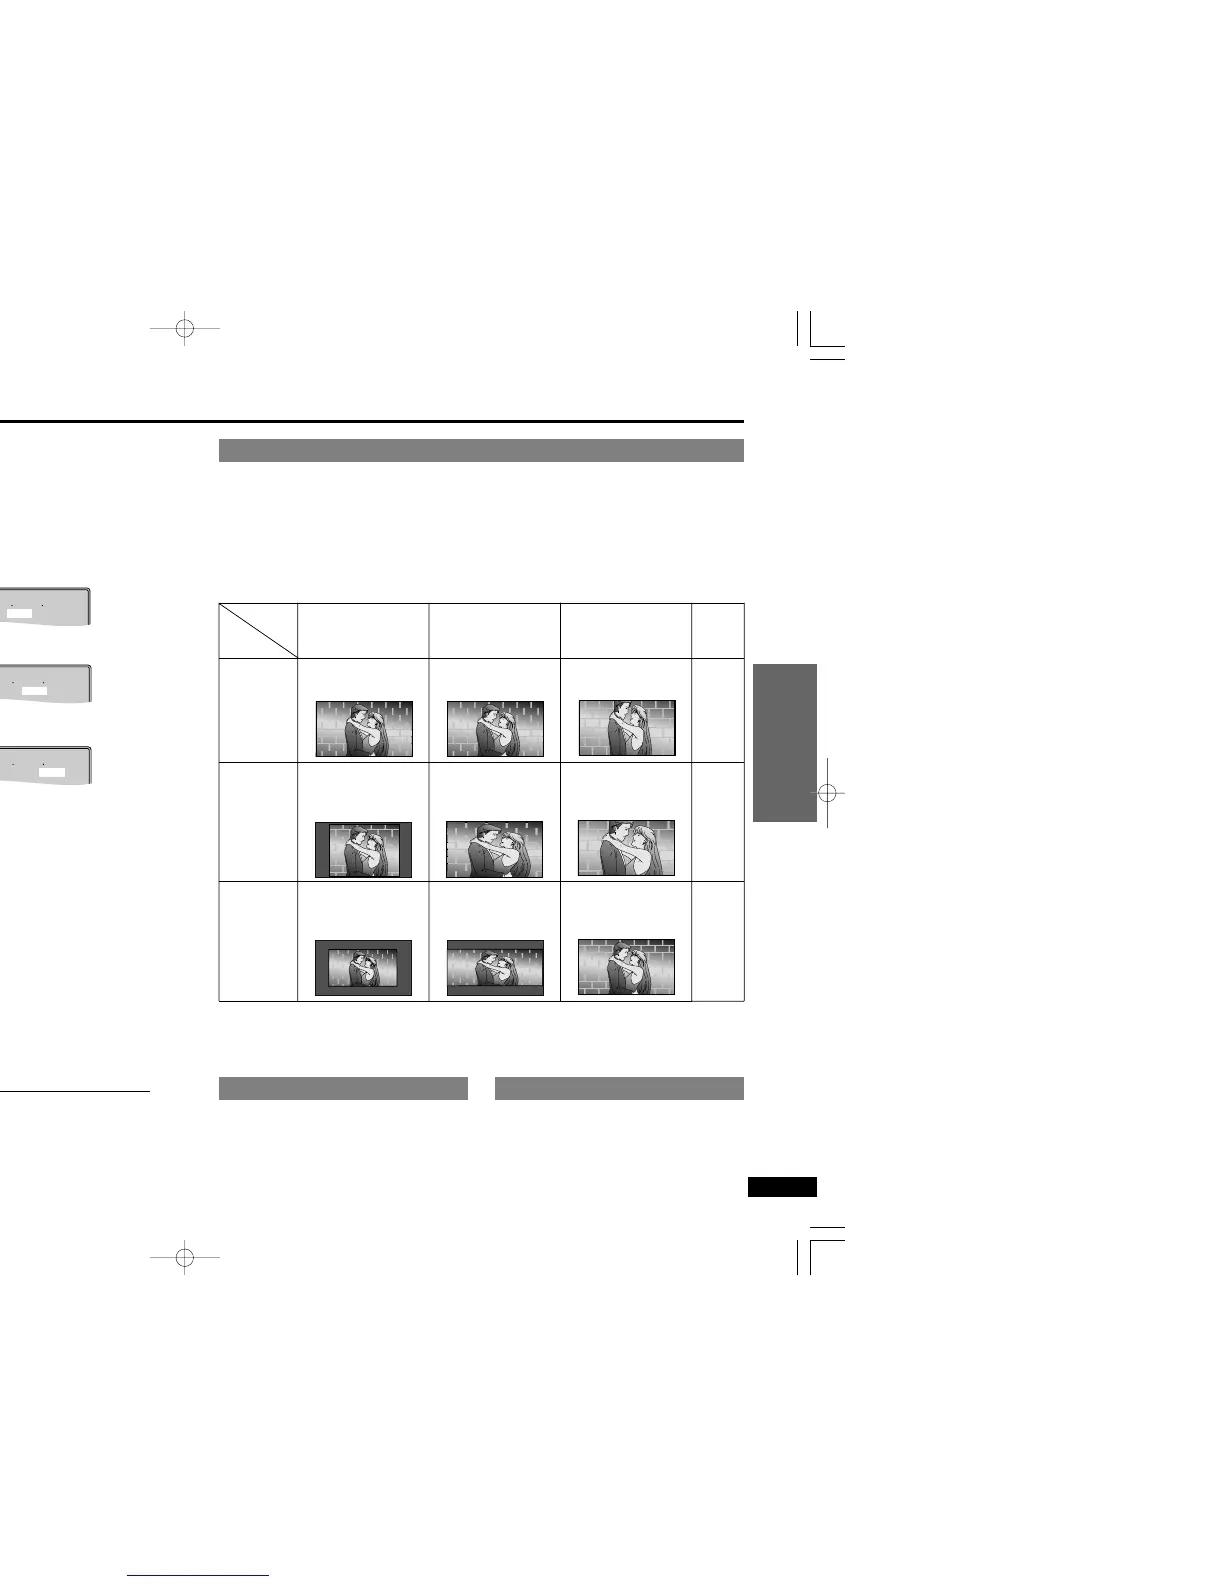
∫ The picture mode and size
The picture shown on the LCD depends on the display mode and the size recorded on the
disc.
Mode
Software
Wide-
screen
Regular
(4:3)
Regular
(4:3),
Letterbox
1
(Normal)
Full screen
Screen with black
bands on the right
and left
The picture is
surrounded by a
black frame.
2
(Full)
Full screen
The “Mode 1”
screen is horizontally
enlarged.
The “Mode 1”
screen is horizontally
enlarged.
3
(Zoom)
Top and bottom
edges are cut off.
Top and bottom edges
of the “Mode 2”
screen are cut off.
Full screen
4
(Off)
Off
Off
Off
ª
B
Adjusting the brightness
Use the cursor jockey [3, 4] to ad-
just the brightness.
j5: dark () 5: light
Power consumption increases with the
level of brightness.
ª
C
Adjusting color intensity
Use the cursor jockey [3, 4] to ad-
just the color shade.
j5: dark () 5: light
≥If you are not using the LCD on this unit, select “4 (Off)” to conserve power.
≥The LCD is turned off if you close the unit.
≥Horizontal lines may appear in the picture when the mode is switched to “3 (Zoom)”, but this is not an
indication of malfunction.
 Loading...