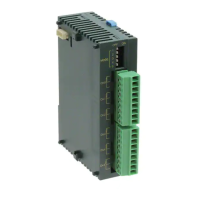
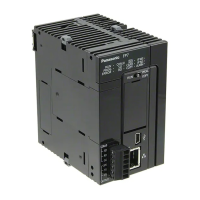
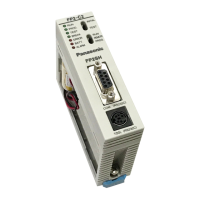
FP2 Serial Data Unit
Communication with External Devices
4 − 4
4.1 Overview of Communication with External Devices
Sample program for data sending
This program sends the character “ABC123DEF456” to external device.
R0
R10
DF
, K0 , DT0 , K7 , K1
R10
R10 Y10
F151 WRT
R10
M ABC123DEF456 , DT0
F95 ASC ,
, H D , DT7
F0 MV
X0
X0 Y10
Y10
Specifies the FP2 serial data unit in
slot no. 0.
The internal relay (R10) is turned on at
the timing of the sending condition
(R0).
The character “ABC123DEF456” is
converted to an ASCII code, and writ-
ten to DT0 to DT6.
The end code (C
R
) “0D” is written to
DT7.
The data is written to the address 1
area of the shared memory (the CH1
sent buffer).
After the sending starts, the sending
directive continues until the sending
has been completed.
The 7−word contents of data register
DT 0 to DT 7
is written to the shared memory
addresses 1 to 7.
The program described above is executed in the following sequence.
1
“ABC123DEF456” is converted to an ASCII code.
2
Data with an end code (H0D) added is stored in a data register.
3
The data is written to the sent buffer of the shared memory in the serial data unit.
4
The “Sending directive (Y10)” contact is turned on by the CPU unit.
5
Sending of data to RS232C device begins.
6
After the sending has been completed, the sent buffer is cleared.
Explanatory diagram
5
Data sending
3
Data writing
“ABC123DEF456”
1
Conversion of ASCII code
“H414243313233444546343536”
2
End code “H0D” adding
RS232C
device
Data register
Shared memory
DT0
Sent buffer
FP2 serial data unit
FP2 CPU unit
An end code is added to
the data converted to an
ASCII code, and the data
is stored in a data register.
4
Sending directive (Y10:on)
6
Sent buffer is cleared
 Loading...
