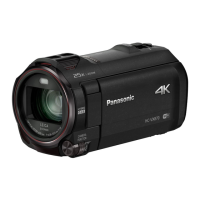
BASIC OPERATIONS
The Panasonic HC can be turned on by opening the flap on the side here and pressing the power
button. The camera roughly has a 2-3 hour battery life, but this can vary depending on how much
of the functions you use as well as how long it is running. It is recommended that when you are
not using the Panasonic to turn it off to conserve battery life. This can be done by closing the
flap, or pressing the power button in the same manner to turn it on.
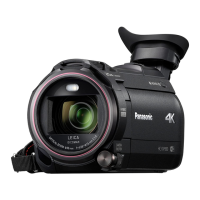
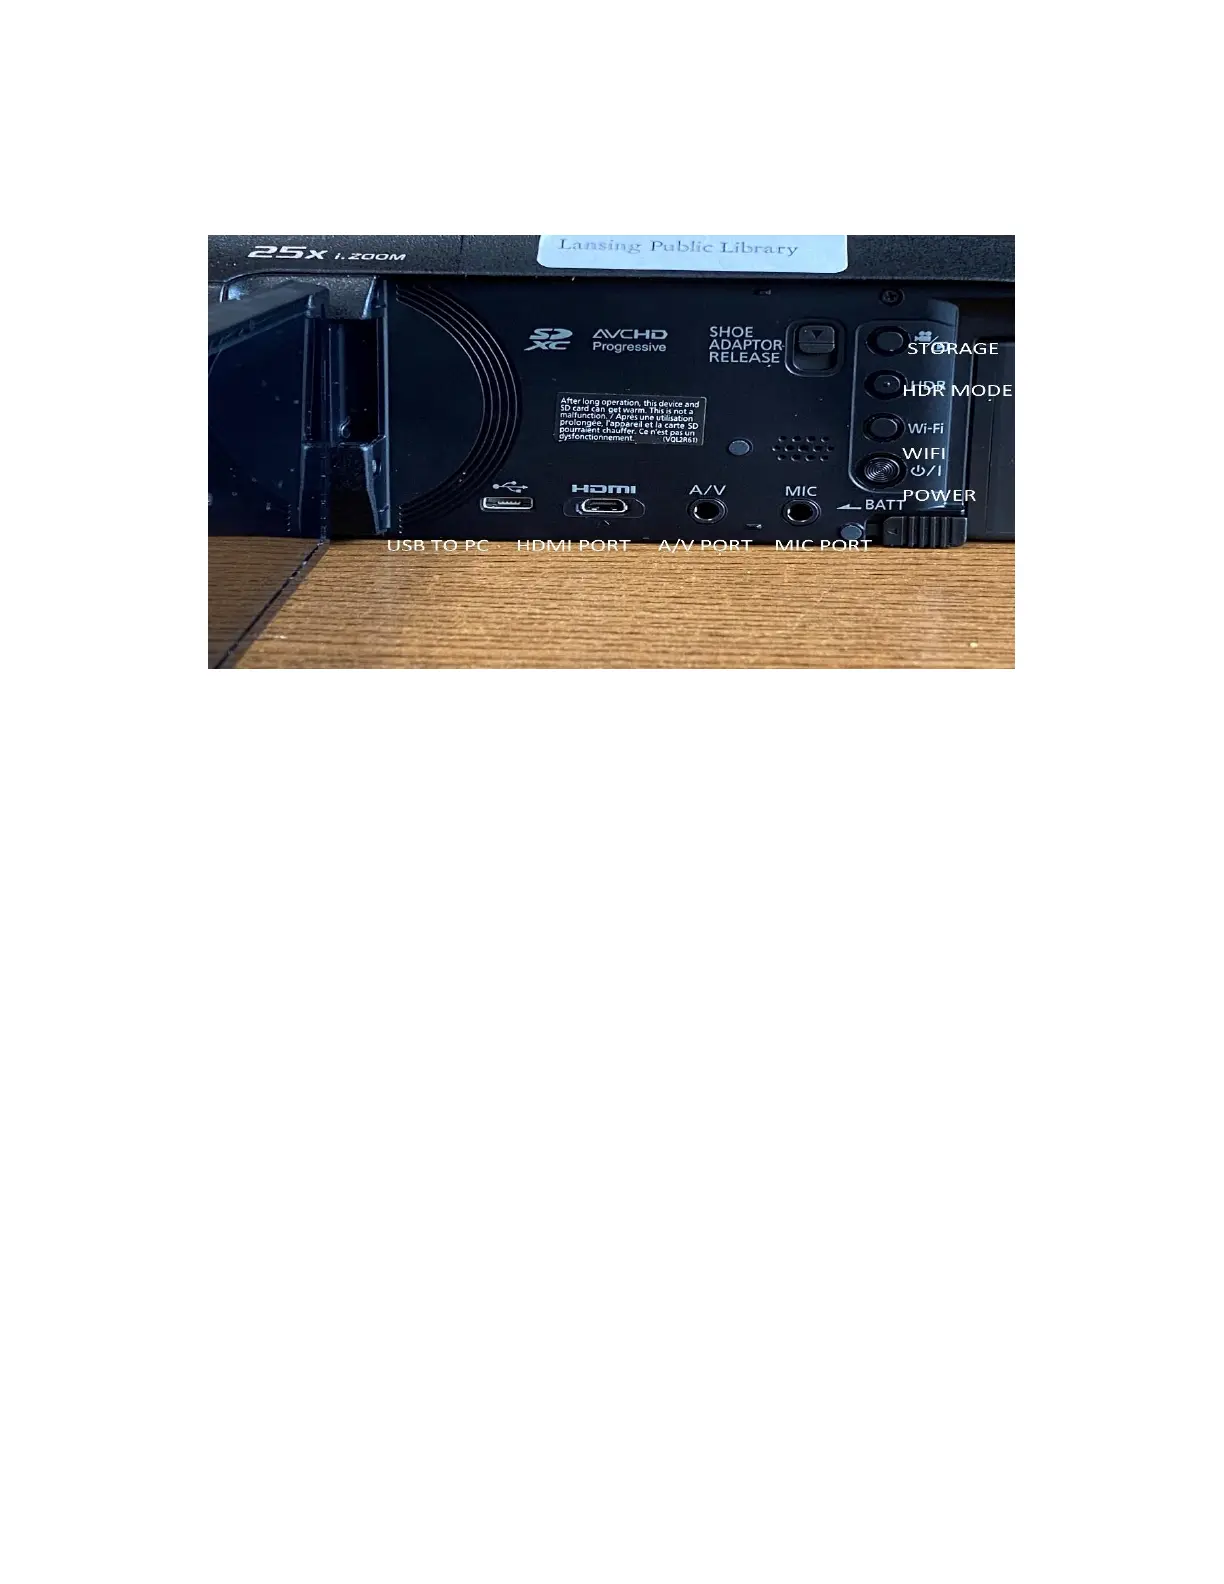
The side panel has various buttons on it that do different things. The power button is first located
there. The Wi-Fi button will take you the Wi-Fi menu on the Panasonic. The HDR button on the
side is a function used primarily if you have the Panasonic hooked into a compatible High Depth
TV. This function is disabled in 4K mode on the Panasonic…we will be talking later on how to
turn this off and on. The top button with the camera and arrow box will take you the SD card
storage mode…where you can see all photos and videos taken on the Panasonic. The inputs at
the bottom of the Panasonic is where you will connect the various cords to connect to the devices
listed. For example, the HDMI slot is where you would hook in the cord to connect the
Panasonic to an HDMI…A/V is where you would connect in an A/V slot, etc, etc. All the cords
are available to rent.