1 Start the [HomeHawk] app by tapping its icon (shown below).
R The end-user license agreement is displayed the first time you start the app.
R Confirm all of the displayed permission screens and agree as necessary.
R Select your country or region if displayed, and then tap [Next].
2 Tap [SHELF Camera].
3 Tap [Connect to Existing].
4 Follow the on-screen instructions, remove the rear cover from the camera, and then tap [Next].
5 Follow the on-screen instructions and confirm the LED color on your camera.
– If the camera’s LED indicator lights in blue or white, tap the blue or white icon and proceed to step
6.
– If the camera’s LED indicator lights in a color other than blue or white, tap the icon for that color
and follow the on-screen instructions.
Note:
R When [Linking] is displayed, wait for up to about 40 seconds until the mobile device finds the
camera on your wireless network.
6 Press the SETUP button on the camera for about 2 seconds until the camera beeps.
R The camera’s LED indicator starts blinking in green.
7 When prompted, enter the login password for the camera, and then tap [Next].
8 When prompted, enter a name for the mobile device, and then tap [OK].
9 When [Congrats!] is displayed, tap [Explore HomeHawk].
R The app’s home screen is displayed when initial setup is completed.
10 Reattach the rear cover.
48
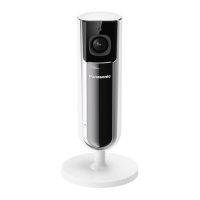
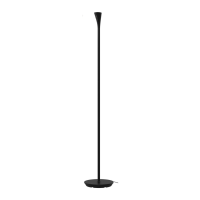
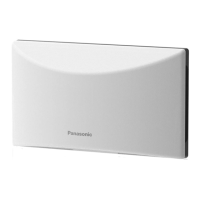
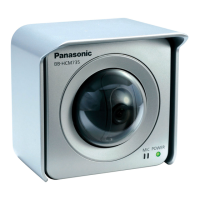
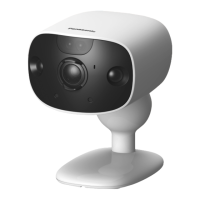
Using a shelf, floor, and window camera
 Loading...