
C
Charles HammondSep 12, 2025
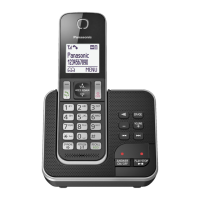
Why can't I activate eco mode on my Panasonic KX-TGD320AL?
- DDeanna BrownSep 13, 2025
If you cannot activate the eco mode on your Panasonic Answering Machine, it is because you have set the repeater mode to 'On'. Set the repeater mode to 'Off'.