61
VQT1U32
Advanced (Recording pictures)
Note
•
Do not bring the flash too close to objects or close the flash while it is activated. The
objects may be discolored by its heat or lighting.
• Do not close the flash soon after the flash is activated prior to taking pictures due to AUTO/
Red-eye reduction etc. It causes a malfunction.
• When you take a picture beyond the available flash range, the exposure may not be adjusted
properly and the picture may become bright or dark.
• When the flash is being charged, the flash icon blinks red, and you cannot take a picture even
when you press the shutter button fully.
• The white balance may not be properly adjusted if the flash level is insufficient for the subject.
• When taking a picture with the flash, we recommend removing the lens hood. In some
cases it may not allow the scene to be illuminated properly.
• It may take time to charge the flash if you repeat taking a picture. Take a picture after the
access indication disappears.
• The red-eye reduction effect differs between people. Also, if the subject was far away from the
camera or was not looking at the first flash, the effect may not be evident.
• When you attach an external flash, it takes priority over the built-in flash. Refer to P128 for the
external flash.
Applicable modes:
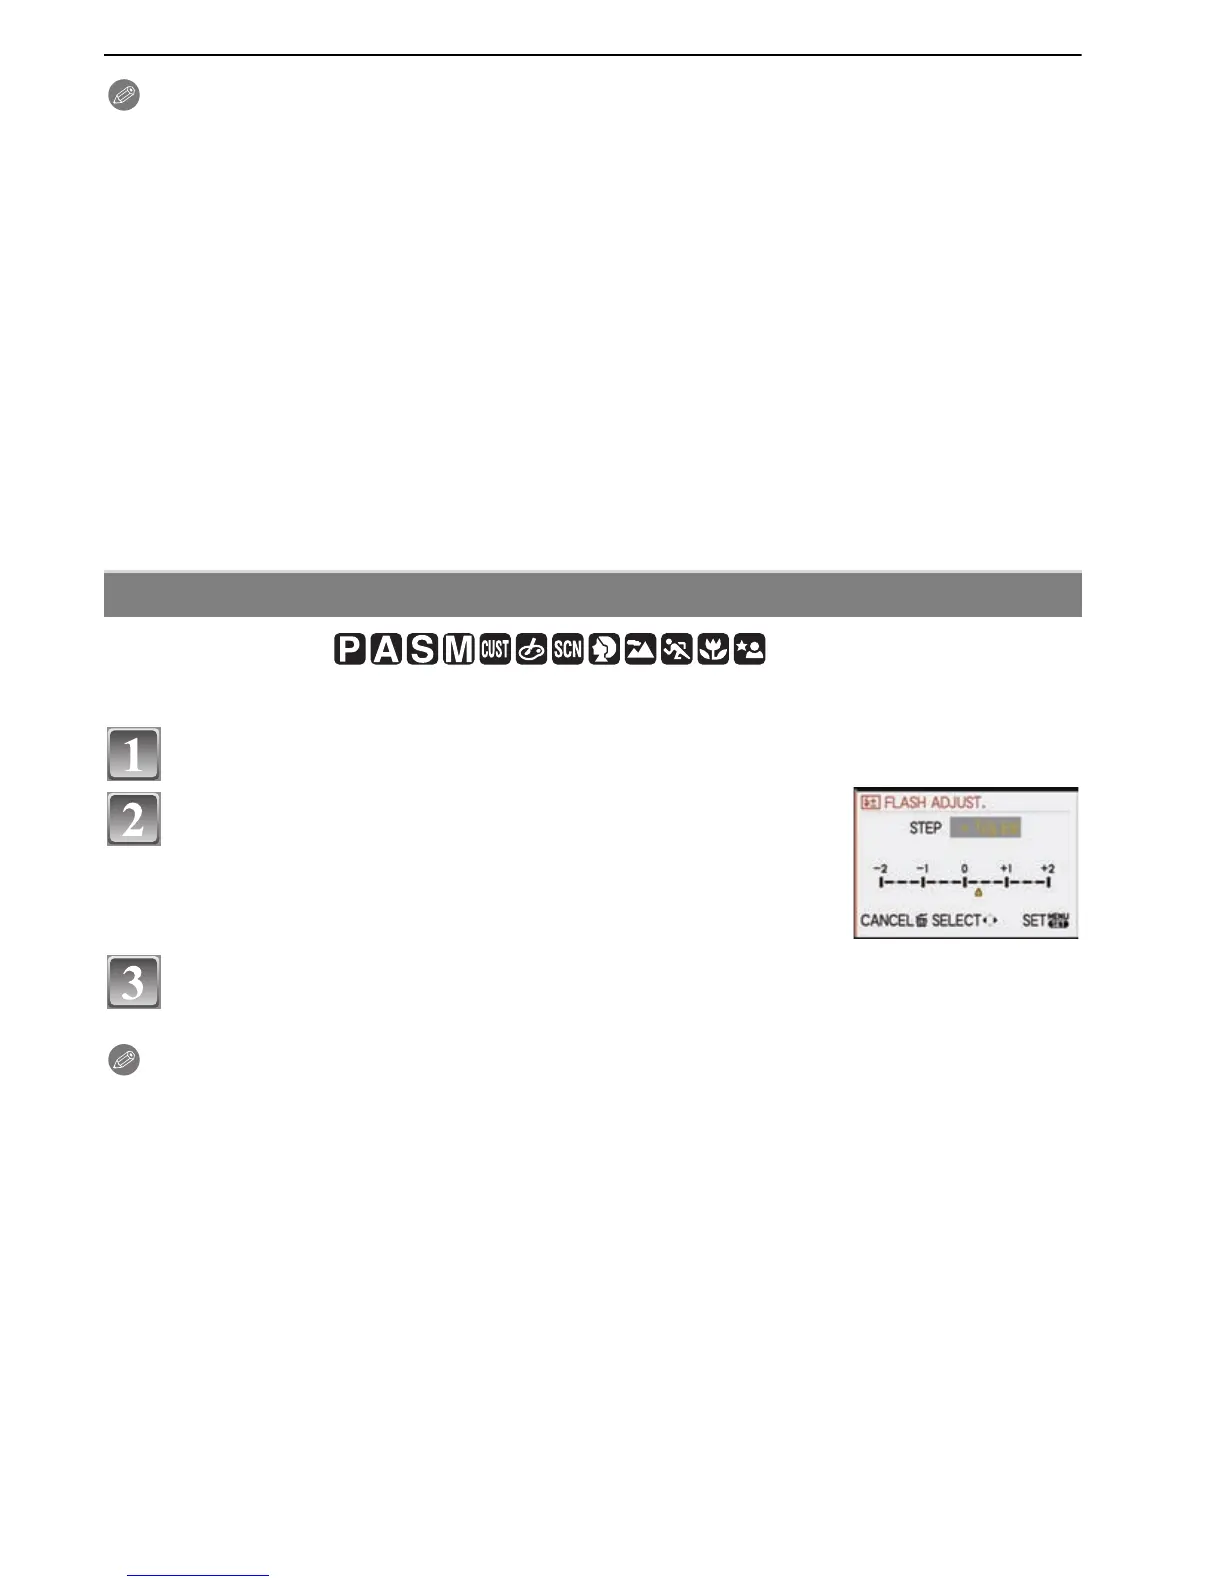
Adjust the flash output when the subject is small, or the reflectivity is very high or low.
Select [FLASH ADJUST.] in the [REC] mode menu. (P27)
Press 2/1 to set the flash output and then press
[MENU/SET].
• You can adjust from [j2 EV] to [i2 EV] in steps of [1/3 EV].
• Select [0 EV] to return to the original flash output.
• You can also use the front dial to set.
Press [MENU/SET] to close the menu.
• You can also press the shutter button halfway to close the menu.
Note
•
[i] or [j] is displayed on the flash icon in the LCD monitor/viewfinder when the flash level is
adjusted.
• The flash output setting is memorized even if the camera is turned off.
Adjust the flash output
 Loading...