82
SQW0547
Basics
Using the [Setup] menu
For details on how to select the [Setup] menu settings, refer to (→65).
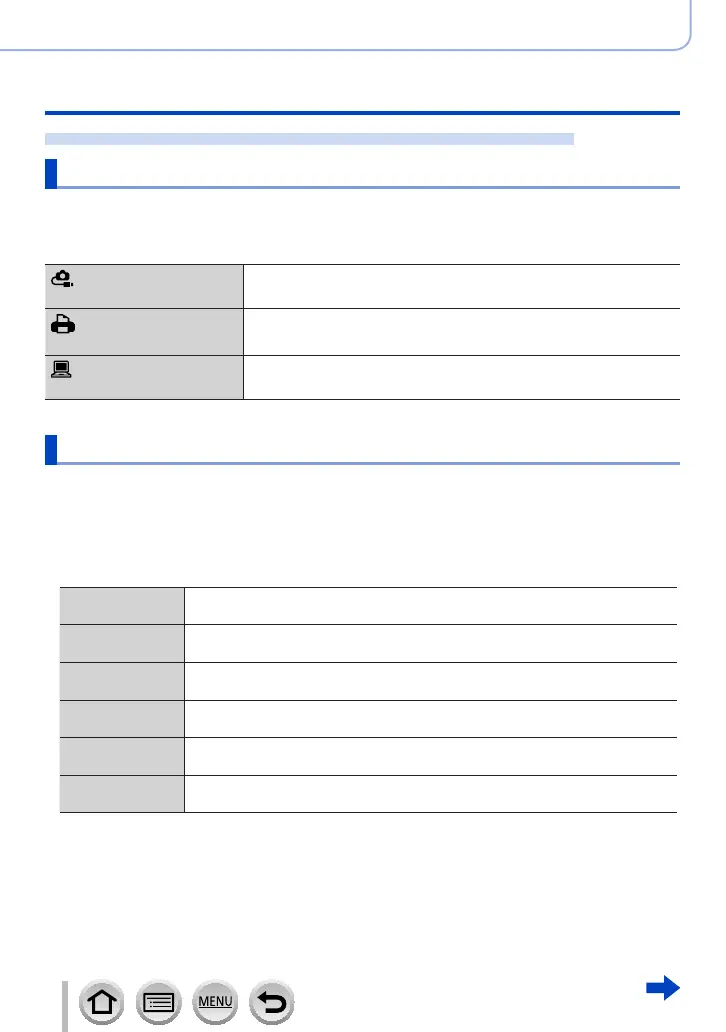
[USB Mode]
Select communication method for when connecting camera to a computer or printer with
USB connection cable (supplied).
Settings
[Select on connection]
Select communication method each time you connect to a computer
or PictBridge-compatible printer.
[PictBridge(PTP)]
Select when connecting to a PictBridge-compatible printer.
[PC]
Select when connecting to a computer.
[TV Connection]
Change the settings to be used when the camera is connected to a TV or other device.
■
[HDMI Mode (Play)]
Set the format for the HDMI output when playing back on the HDMI compatible high-
definition TV connected with this unit using the HDMI micro cable.
Settings
[AUTO]
Automatically sets the output resolution based on information from a
connected TV.
[4K]
Outputs pictures with a resolution of 3840×2160 pixels using a progressive
scan method for the number of effective scanning lines (2,160 lines).
[1080p]
Outputs pictures using a progressive scan method for the number of effective
scanning lines (1,080 lines).
[1080i]
Outputs pictures using an interlace scan method for the number of effective
scanning lines (1,080 lines).
[720p]
Outputs pictures using a progressive scan method for the number of effective
scanning lines (720 lines).
[480p]
Outputs pictures using a progressive scan method for the number of effective
scanning lines (480 lines).
●
If no image appears on the TV with [AUTO], switch the setting to a constant setting other than
[AUTO] to set a format supported by your TV. (Please read the operating instructions for the TV.)

 Loading...